
Your guide to digital paper crafts: tools, tips and projects
Digital paper crafting is the practice of using digital design files and printable templates to create handmade paper art, cards, and decorative objects at home. It sits at the intersection of graphic design and traditional craft, giving you the precision of digital tools alongside the tactile satisfaction of working with real paper. Whether you are drawn to digital scrapbooking ideas, folded 3D structures, or personalised greeting cards, this guide to digital paper crafts covers everything from choosing the right software to assembling your finished piece. You will leave knowing exactly which tools to buy, which file formats to use, and which projects to try first.
What do you need to start digital paper crafting?
The three pillars of digital paper crafting are a cutting machine, design software, and the right paper. Get these right and everything else follows naturally.
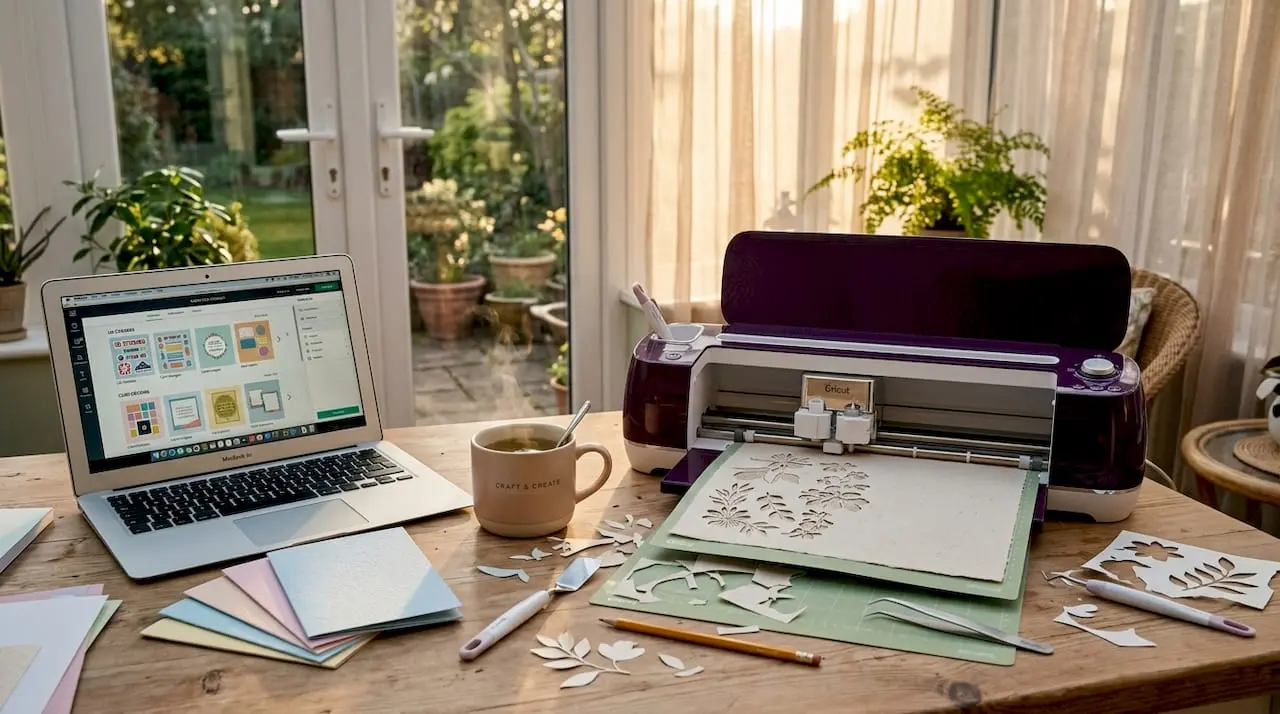
Cutting machines and what they do
Cricut and Silhouette are the two machines most hobbyists start with. The Cricut Maker 3 cuts over 300 materials and connects directly to Cricut Design Space, a browser-based program that handles both design and cut preparation. The Silhouette Cameo 5 pairs with Silhouette Studio, which offers a more advanced vector editing environment suited to crafters who want to modify SVG files before cutting. Glowforge sits at the premium end, using a laser rather than a blade, which makes it ideal for intricate paper filigree and mixed-media projects.
Software for design and file editing
Cricut Design Space is the most accessible starting point because it requires no prior design knowledge. Adobe Illustrator gives you full control over vector artwork and is the industry standard for creating original SVG files. Inkscape is a free, open-source alternative that handles SVG and DXF files competently. For PDF-based templates that you print and cut by hand, a basic PDF reader is all you need, though Adobe Acrobat allows you to resize and annotate files before printing.
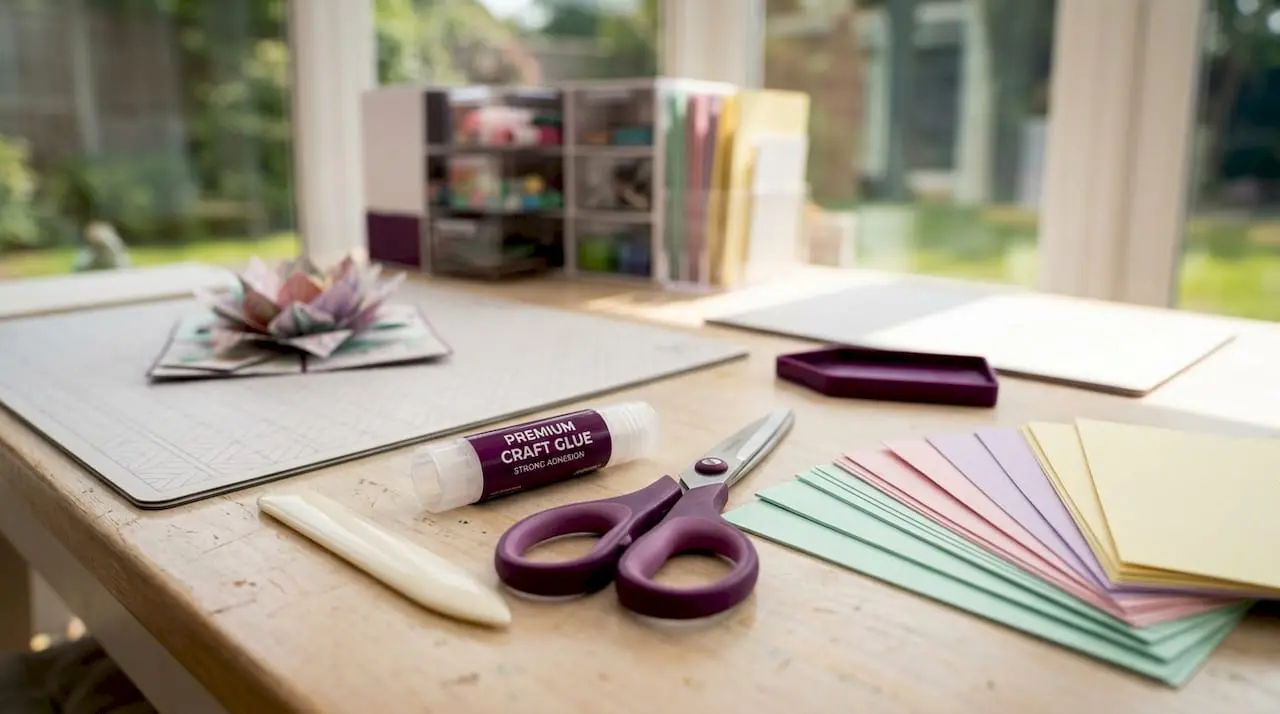
Paper, adhesives, and finishing tools
Cardstock between 160 and 240 gsm offers the best balance for most projects, providing enough rigidity for 3D structures while remaining flexible enough to score and fold cleanly. Lighter paper (80 to 120 gsm) suits layered decorative sheets and digital scrapbooking pages. Acid-free adhesives and sharp blades improve both the longevity and the precision of your finished work, so replace blades regularly and never skimp on glue quality. You will also want a bone folder for crisp folds, a self-healing cutting mat, and a pair of fine-tipped tweezers for placing small elements.
Pro Tip: Calibrate your printer before every new project. Run a test print on plain paper first, check colour accuracy and alignment, then switch to your good cardstock. This single habit prevents wasted materials.
How do you choose and prepare digital craft files?
Selecting the right file format is the first decision you make in any digital paper crafts tutorial, and it determines which tools you can use downstream.
SVG files work best with electronic cutting machines like Cricut and Silhouette because they are vector-based and scale without losing quality. DXF files serve a similar purpose but are better suited to laser cutters and older cutting machine models. PDF files are the format of choice for print-and-cut templates where you cut by hand, and they are the most common format sold on digital marketplaces. Knowing which format you need before you purchase a file saves time and frustration.
Here is a step-by-step process for preparing your files:
- Download and organise your files. Create a folder structure by project type (cards, 3D projects, seasonal) so you can find files quickly. Maintaining notes on settings and materials for each project helps you replicate successful results.
- Check the resolution. For print-and-cut PDFs, 300 dpi is the standard for sharp results. Optimised PDFs for home printing sit between 1 and 3 MB; files over 30 MB with embedded full-resolution images will slow your printer and can cause errors.
- Import into your software. Open SVG files in Design Space or Silhouette Studio. Check that layers are correctly separated and that cut lines are distinct from print areas.
- Resize if needed. Always resize proportionally and confirm the new dimensions against your paper size before sending to the machine.
- Run a test cut. Use a small section of the design on scrap paper to confirm blade depth and speed settings before committing to your good cardstock.
Pro Tip: Try CASEing, which stands for Copy And Share Everything. Recreating an admired design before attempting original work builds technical confidence faster than any tutorial alone.
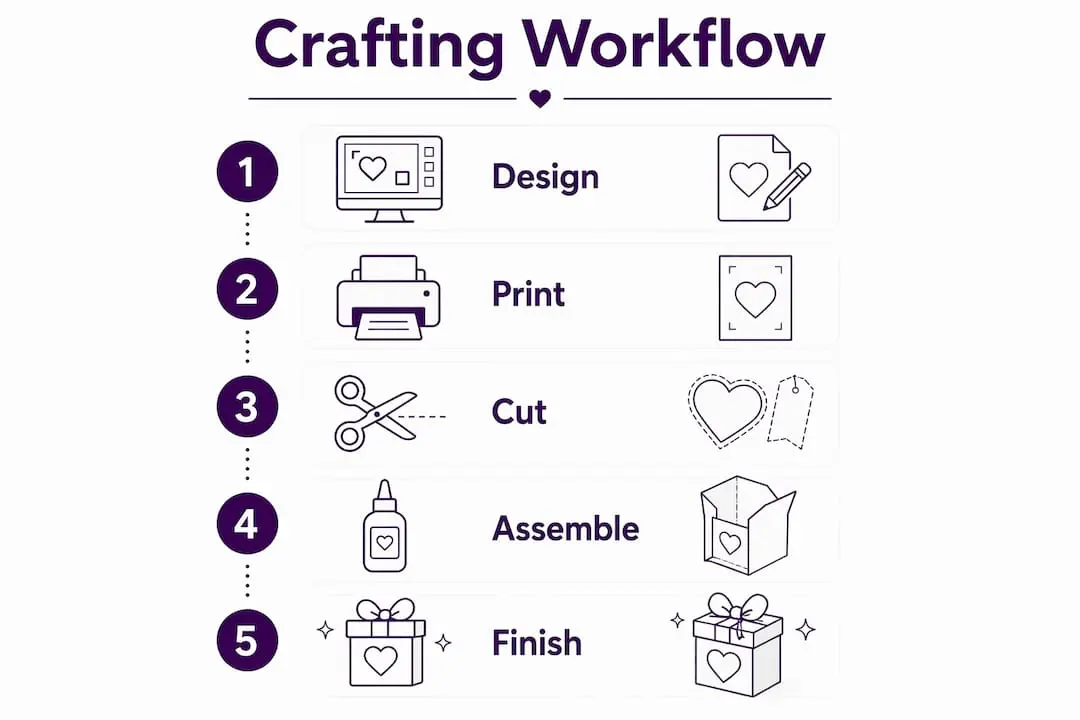
Step-by-step workflow for completing a paper craft project
A reliable workflow is what separates a frustrating afternoon from a satisfying finished piece. Follow these stages in order and you will avoid the most common mistakes.
Stage 1: Print. Load your chosen cardstock into the printer, confirm the paper weight is within your printer’s supported range, and print at the highest quality setting your machine offers. For double-sided projects, home duplex printers carry a 1 to 3 mm print offset that can misalign fold lines on the reverse side. Run a calibration test print, measure the offset, and apply a compensating adjustment in your layout software before printing the final version.
Stage 2: Cut. If you are using a cutting machine, place your printed sheet on the cutting mat, load it into the machine, and send the cut file. If you are cutting by hand, use a metal ruler and a sharp craft knife on a self-healing mat. Precision here directly affects how cleanly your project assembles.
Stage 3: Score and fold. Use a bone folder and a scoring tool to create clean fold lines before bending the paper. Score on the outside of a valley fold and the inside of a mountain fold. Rhythmic repetition and precise folding are what transform flat printed sheets into dimensional art, so take your time with this stage.
Stage 4: Assemble. Work from the inside out on 3D projects, securing internal joins before closing outer panels. Use a fine-tipped applicator for liquid glue to avoid bleed, and allow each join to dry fully before moving to the next. For layered card making, foam pads between layers add depth and a professional finish.
- Common issues and quick fixes:
- Print registration errors: recheck your printer’s paper feed alignment and reduce print speed.
- Tearing along fold lines: your paper may be too heavy; drop to a lighter gsm or score more firmly.
- Blade dragging rather than cutting: replace the blade. A dull blade is the most common cause of ragged edges.
Pro Tip: For 3D modular projects, advanced crafters repeat identical folded units to build stable structures with minimal waste. Start with a simple six-unit cube before attempting larger assemblies.
What digital paper craft projects should you try first?
The best digital craft projects for beginners are those with a small number of pieces, no complex assembly, and a satisfying result that motivates you to continue.
- Greeting cards and gift tags. A single-fold A5 card is the ideal first project. It involves one print, one score, one fold, and a finished object you can actually use.
- Paper pinwheels. Two printed squares, a brad fastener, and a wooden skewer produce a cheerful decoration in under ten minutes.
- Folded paper hearts. These use rhythmic folding modules that teach you the muscle memory needed for more complex 3D work.
- Paper lanterns. A printed cylinder with a cut lattice pattern, assembled around a battery tea light, makes a striking seasonal decoration.
- Honeycomb snowmen and paper mushrooms. These are intermediate 3D projects built from repeated accordion-folded units glued together. They look impressive but follow a logical, repeatable process.
Here is a quick reference for matching projects to skill level:
| Project | Skill level | Key technique |
|---|---|---|
| Single-fold greeting card | Beginner | Score and fold |
| Gift tag with eyelet | Beginner | Punch and assemble |
| Paper pinwheel | Beginner | Layering and fastening |
| Folded paper heart | Intermediate | Modular folding |
| Paper lantern with lattice | Intermediate | Cut pattern and cylinder join |
| Honeycomb snowman | Intermediate | Accordion fold and gluing |
Personalising any of these projects is straightforward. Add stamps, hand-lettering, or layered die-cut shapes to make a design your own. Digital scrapbooking ideas translate well into card fronts: use patterned digital paper as a background layer, then add a focal image and a sentiment strip on top.
Joining online crafting communities accelerates your progress significantly. Seeing how others troubleshoot the same problems you face, and sharing your own solutions, builds skills faster than working in isolation.
Key takeaways
Digital paper crafting succeeds when you match the right file format to the right tool, use 160 to 240 gsm cardstock, calibrate your printer for duplex alignment, and build skills progressively from simple folds to modular 3D structures.
| Point | Details |
|---|---|
| Match file format to tool | Use SVG for cutting machines, DXF for laser cutters, and PDF for hand-cut print templates. |
| Choose the right cardstock | 160 to 240 gsm balances structural rigidity with the flexibility needed for clean scoring and folding. |
| Calibrate before printing | A 1 to 3 mm duplex offset is standard; run a test print and adjust your layout software to compensate. |
| Start with CASEing | Recreating admired designs builds technical confidence before you attempt original work. |
| Build up to 3D projects | Begin with single-fold cards, then progress to modular folded structures as your precision improves. |
Why I think most beginners overcomplicate this
The single biggest mistake I see new digital paper crafters make is buying a cutting machine before they understand the file formats that drive it. A Cricut Explore or Silhouette Cameo sitting unused in a cupboard is almost always the result of someone who purchased the hardware without first spending an afternoon learning what SVG files actually are and how Design Space or Silhouette Studio interprets them. The machine is not the craft. The file is.
My honest advice: spend your first two weeks working entirely with PDF templates, a craft knife, a bone folder, and a cutting mat. No machine required. You will learn more about paper behaviour, fold direction, and assembly logic in those two weeks than you would in two months of fighting with machine settings. Once you understand why a score line sits where it does, operating a cutting machine becomes intuitive rather than baffling.
The other thing conventional wisdom gets wrong is the emphasis on perfection from the start. CASEing, copying and adapting existing designs, is not cheating. It is how every skilled crafter I know actually learned. You work backwards from a finished object, figure out how it was constructed, and then reproduce it. That process teaches you more about proportion, layering, and assembly than any step by step paper crafts tutorial written in the abstract.
3D paper projects intimidate people unnecessarily. The honeycomb snowman looks complex, but it is just accordion folds glued together. Once you understand that most 3D paper structures are built from repeated identical units, the complexity dissolves. Start with six identical units. Then twelve. The skill is in the repetition, not in any single difficult step.
Finally: keep a crafting journal. Note your paper weight, blade depth, print settings, and any adjustments you made. This is not fussy record-keeping. It is the fastest route to consistent results, because you will not remember next month what worked this month.
— Rob
Start your digital paper crafting journey with Craftsuprint
Craftsuprint offers an extensive library of digital download card kits and craft supplies designed specifically for hobbyists at every level. Professional templates remove the guesswork from file preparation, giving you print-ready designs that work first time. Whether you are looking for seasonal card making kits, 3D paper project templates, or step-by-step tutorials to accompany your crafting with digital supplies, Craftsuprint’s marketplace has options to suit. The platform also features weekly freebies and a community of independent designers, so you will always find fresh inspiration. Browse the full catalogue at Craftsuprint and find your next project today.
FAQ
What file format is best for digital paper crafts?
SVG is the best format for electronic cutting machines like Cricut and Silhouette, while PDF suits print-and-cut templates you assemble by hand. DXF works well with laser cutters and older cutting machine models.
What weight of paper should I use for 3D paper crafts?
Cardstock between 160 and 240 gsm is the recommended range for 3D paper projects. It provides enough structure to hold a folded shape while remaining flexible enough to score cleanly without cracking.
How do I fix misaligned double-sided prints?
Home duplex printers typically carry a 1 to 3 mm offset between sides. Print a calibration test, measure the misalignment, and apply an equal compensating offset in your layout software before printing your final sheet.
Where can I find digital paper craft files for beginners?
Platforms like Craftsuprint offer ready-to-print digital download kits suited to beginners, covering cards, 3D projects, and seasonal decorations. Marketplaces with categorised templates make it straightforward to find projects matched to your current skill level.
What is CASEing in paper crafting?
CASEing stands for Copy And Share Everything. It is the practice of recreating an admired design to learn its construction techniques, and it is one of the most effective methods for building confidence and skill before attempting original work.