
What is stamping in card making: a beginner's guide
TL;DR:
- Stamping in card making involves applying ink to a stamp and pressing it onto paper to create decorative images or sentiments.
- Proper technique and the right tools, like photopolymer stamps and dye-based inks, ensure crisp, professional results for beginners.
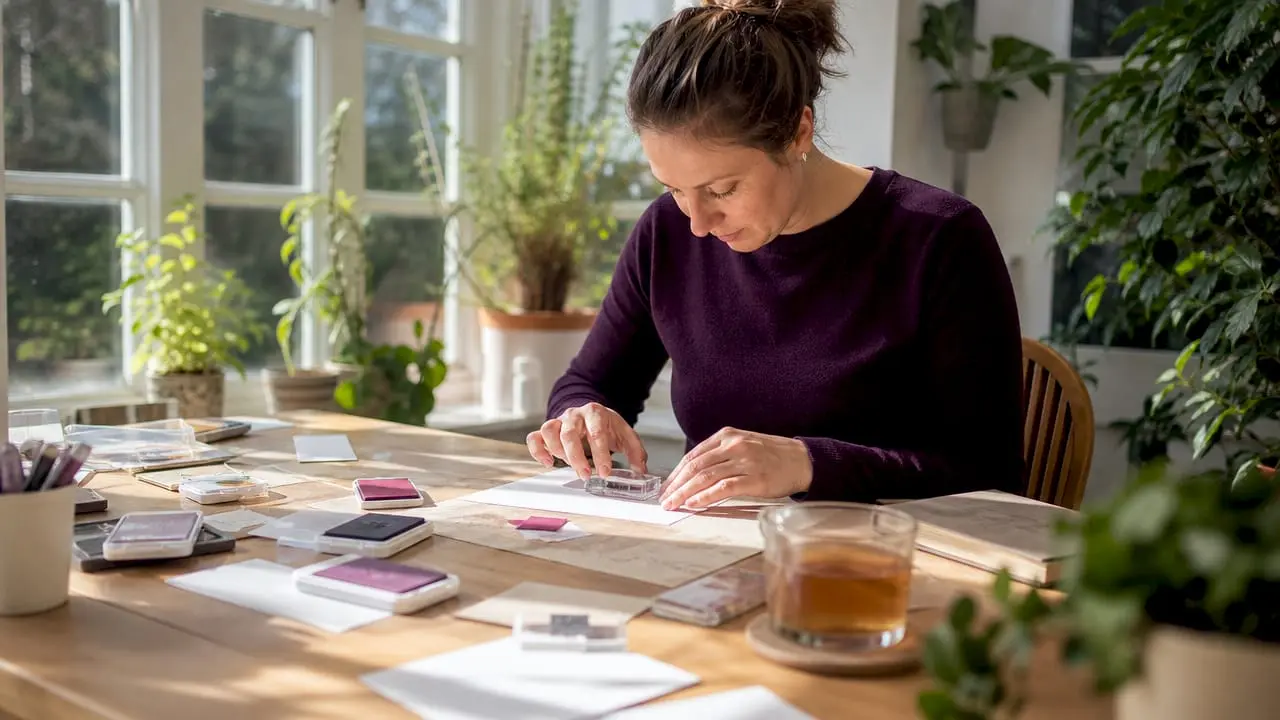
Stamping in card making is defined as the process of applying ink to a stamp and pressing it onto cardstock to transfer a decorative image or sentiment. The technique is one of the most accessible entry points into paper crafting, requiring only three core materials: stamps, ink pads, and cardstock. Modern stamping systems mean you do not need artistic training to produce professional-looking results. Craftsuprint offers a wide range of card making resources to support crafters at every level, from complete beginners to experienced designers building complex layered cards.
What is stamping in card making and why does it matter?
Stamping is the craft technique of inking a raised image surface and pressing it onto paper to leave a clean, repeatable impression. The industry term is rubber stamping or stamp art, though photopolymer stamping has become the dominant method in modern card making. The appeal is straightforward: one stamp can produce dozens of identical images, making it far faster than hand-drawing and far cheaper than buying pre-printed cards.

Modern stamping systems democratise card making, enabling anyone to create high-quality designs with minimal artistic background. That accessibility is what has made stamping the foundation skill for handmade card crafters worldwide. Whether you want to make birthday cards, thank-you notes, or seasonal greetings, stamping gives you a repeatable, reliable method for adding personalised decoration.
The technique also pairs naturally with other paper crafting methods. Crafters regularly combine stamping with die cutting, heat embossing, and watercolour washes to build cards with real depth and texture. Understanding the basics of stamping first gives you a solid platform for all those more advanced techniques.
What tools and supplies do you need for stamping cards?
The right tools make stamping straightforward from your very first attempt. Getting the basics right before you start saves wasted cardstock and frustration.
Stamp types
Three main stamp formats exist in card making:
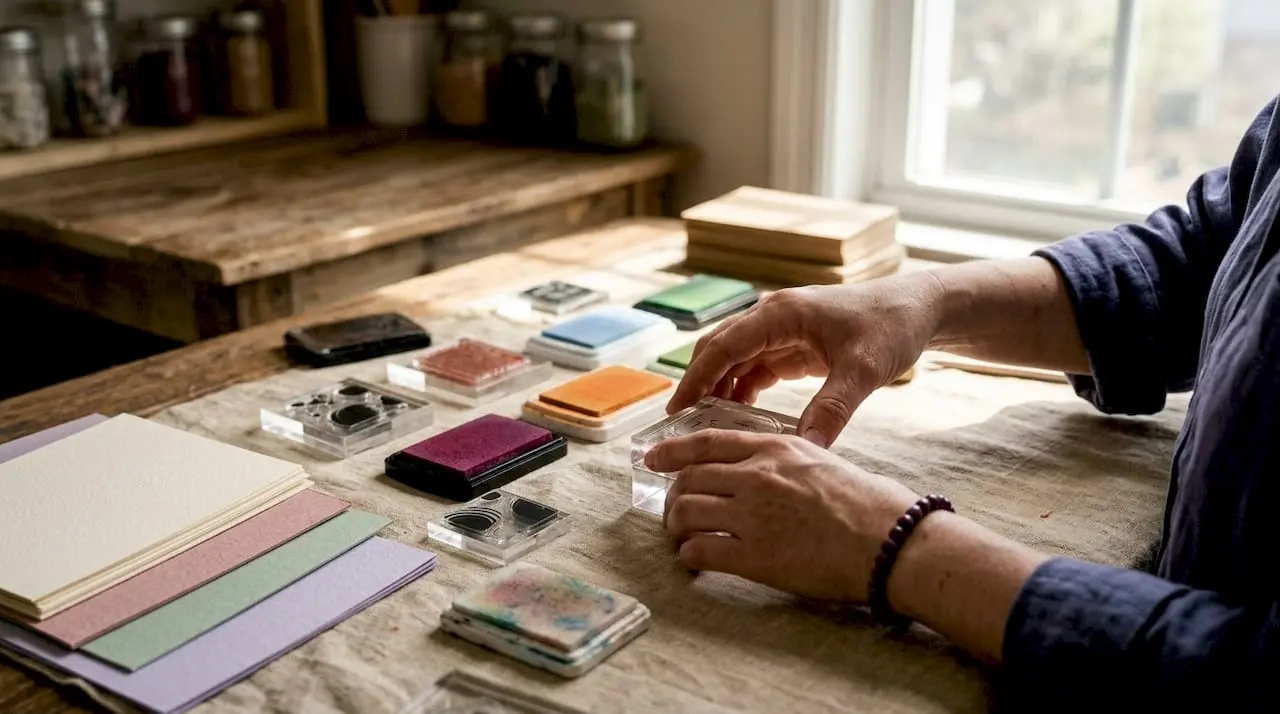
- Clear photopolymer stamps. Clear stamps cling to acrylic blocks, and their transparency lets you position the image exactly where you want it before pressing down. This makes them the best choice for beginners.
- Rubber stamps. Rubber produces sharper impressions and handles fine detail better than photopolymer. The trade-off is that rubber stamps offer durability and crisper results but require more skill to position accurately.
- Wood-mounted stamps. These are pre-mounted rubber stamps on a wooden block. They are sturdy and easy to grip, though the opaque base makes precise placement harder.
Ink pads
Ink type affects the finished look more than most beginners expect:
- Dye-based inks dry quickly, produce vivid colour, and work well on smooth cardstock. They are the most beginner-friendly option.
- Pigment inks are thicker, slower to dry, and ideal for heat embossing because they stay wet long enough for embossing powder to adhere.
- Archival inks are waterproof once dry, making them the right choice when you plan to add watercolour washes over a stamped image.
Accessories
You will also need an acrylic block (for mounting clear stamps), a stamp cleaning pad, and scrap paper for test impressions. A foam craft mat placed under your cardstock helps distribute pressure evenly across the stamp surface, which noticeably improves image clarity.
Beginner kits under £40 typically include a clear stamp set, an acrylic block, dye ink pads, and a cardstock pack. That combination covers everything you need to start practising immediately. Craftsuprint’s craft supplies section lists stamps, inks, and starter kits suited to new and experienced crafters alike.
Pro Tip: Buy a small set of three or four dye ink pads in versatile colours (black, a mid-tone blue, a warm red, and a neutral green) before investing in specialist inks. Those four colours handle the majority of beginner card making projects.
What stamping techniques can beginners easily master?
Most beginners assume stamping is simply pressing a stamp onto paper. The technique has more nuance than that, but the core methods are genuinely learnable in a single afternoon.
Basic straight stamping
This is the foundation of all card stamping work. Follow these steps:
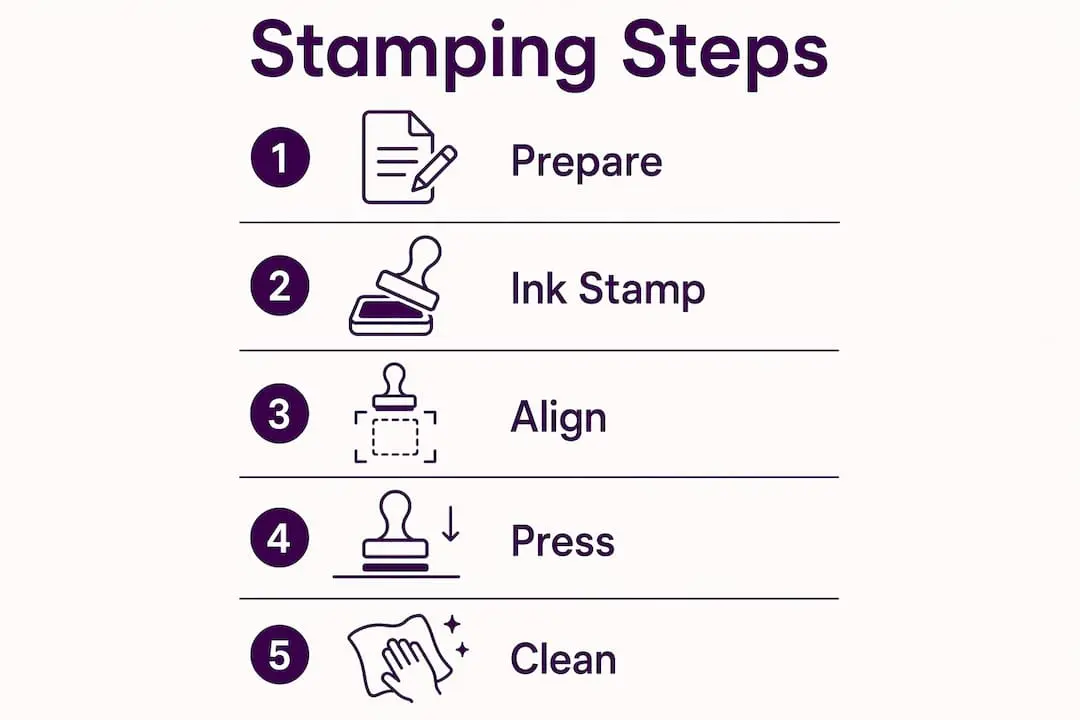
- Tap the ink pad gently onto the stamp surface two or three times. Do not drag the pad across the stamp, as this causes uneven coverage.
- Position the stamp over your cardstock. With a clear stamp on an acrylic block, you can see exactly where the image will land.
- Press down firmly and evenly with both hands. Apply steady pressure across the whole stamp surface for two to three seconds.
- Lift the stamp straight up in one clean motion. Do not slide or rock it.
- Test the impression on scrap paper first before stamping onto your final card.
Pro Tip: Always do a test impression on scrap paper before stamping your card. The first impression after re-inking is often the sharpest, so use it where it counts.
Masking technique
Masking involves covering stamped areas with a cut-out of the same image to protect them while you stamp additional images around or behind them. The result looks as though the images overlap naturally, creating a layered scene from simple individual stamps. It sounds fiddly, but with a clear stamp and a spare piece of cardstock for the mask, most beginners get a clean result on their second or third attempt.
Simple watercolour stamping
Stamp your image in a light grey or pale ink, then colour it in using watercolour pencils or a water brush. Alternatively, colour directly onto the stamp with watercolour markers, mist lightly with water, and stamp immediately. The mist softens the colour and creates a gentle, blended effect without any painting skill required.
Common beginner mistakes include pressing too hard (which squashes fine detail), not re-inking between impressions (which produces faded images), and rocking the stamp (which blurs edges). Each of these has a straightforward fix: use lighter pressure, re-ink every one or two impressions, and always lift straight up.
How to achieve crisp, professional-looking stamped images every time
Crisp stamped images come from consistent technique, not expensive equipment. Confidence and correct method prevent smudging and produce clean impressions far more reliably than premium tools alone.
The three-step method
The 3-step stamping process is: tap the ink pad gently onto the stamp, press firmly and evenly onto the cardstock, then lift straight up. Each step has a specific reason behind it.
- Tapping, not dragging. Dragging the ink pad deposits too much ink on raised edges and too little in recessed areas. Tapping gives an even coat.
- Firm, even pressure. Press with both hands, distributing weight across the whole stamp. Light pressure on one side causes partial impressions.
- Straight lift. Rocking the stamp causes blurry impressions. A single clean upward lift keeps every edge sharp.
Why foam mats matter
A foam craft mat placed under your cardstock compresses slightly under pressure, allowing the stamp to make full contact with the paper surface. Without it, hard desk surfaces create uneven contact, particularly with larger stamps. The mat is one of the cheapest accessories you can buy and one of the most effective.
Excessive pressure causes ink to seep beneath stamp edges, creating blotchy images. A light, even touch suffices with photopolymer stamps. The goal is full contact, not force.
Alignment and re-stamping
Grid paper helps align stamps on acrylic blocks, which is particularly useful when stamping repeated patterns or straight sentiments. Place your acrylic block over the grid, align the stamp to the grid lines, and you get consistent placement every time.
When an impression comes out imperfect, do not discard the card. A stamp positioning tool lets you re-ink and stamp over exactly the same spot, correcting a faint or uneven impression without wasting cardstock. This single tool saves a significant amount of material during the learning phase.
You can also find practical guidance on paper crafting tools and techniques through Craftsuprint’s blog, which covers alignment methods and beginner-friendly approaches in detail.
What creative stamping ideas can enhance your card making projects?
Once you have the basic technique, stamping opens up a wide range of design possibilities. The techniques below move from simple to more involved, so you can build your skills gradually.
Two-tone and layered stamping
Two-tone stamping uses two ink colours on a single stamp to create depth. Apply a lighter colour to the raised edges of the stamp and a darker colour to the centre, then press once. The result looks dimensional without any additional tools. Layering takes this further: stamp a background texture first, let it dry, then stamp a focal image on top. The background reads as a scene rather than a flat surface.
Creative card making ideas to try
- Stamped sentiments with embossing. Stamp a word or phrase in pigment ink, sprinkle with clear embossing powder, and heat with a heat tool. The raised, glossy finish looks far more polished than a flat ink impression.
- Repeat pattern backgrounds. Use a small geometric or floral stamp to tile a background across the card front. Vary the ink pressure slightly between impressions for a hand-printed look.
- Watercolour stamped scenes. Stamp outlines in archival ink, then fill with watercolour washes. The waterproof ink holds its line even when wet colour is applied over it.
- Combining stamping with die cuts. Stamp an image, die cut the shape, and layer it onto the card with foam adhesive for a three-dimensional effect.
Ink colours and textures
| Effect | Ink type | Best use |
|---|---|---|
| Clean outline | Dye-based, black | Colouring in, watercolour stamping |
| Heat embossed finish | Pigment ink | Raised glossy sentiments |
| Waterproof base | Archival ink | Watercolour washes over stamped images |
| Soft blended colour | Watercolour markers on stamp | Floral and nature scenes |
Combining stamping with other paper crafting methods, such as die cutting, paper piecing, or digital paper craft techniques, produces cards that look genuinely complex but are built from simple, repeatable steps. The key is to master one technique at a time before combining them.
Pro Tip: Ink your stamp with two or three colours from the same tonal family (light pink, mid pink, deep rose, for example) for a blended effect that looks hand-painted. Apply each colour to a different section of the stamp before pressing once.
Crafters interested in expanding their toolkit can also explore Cricut pen adapters and accessories for adding machine-cut elements alongside hand-stamped designs, which works particularly well for sentiment banners and shaped card fronts.
Key takeaways
Stamping in card making produces professional results through consistent technique, the right ink for each application, and clear photopolymer stamps that give beginners precise control from the first impression.
| Point | Details |
|---|---|
| Clear stamps suit beginners best | Their transparency allows exact positioning before pressing, reducing wasted cardstock. |
| Technique beats equipment | Firm, even pressure and a straight lift produce crisp images regardless of stamp price. |
| Ink type changes the result | Use dye-based for colour, pigment for embossing, and archival for watercolour overlays. |
| Foam mats improve contact | Placing a foam mat under cardstock helps the stamp make full, even contact with the paper. |
| Grid paper aids alignment | Aligning stamps to grid lines produces straight sentiments and consistent repeat patterns. |
Why I think beginners overthink stamping
Most crafters who are new to stamping spend weeks researching before they buy a single stamp. I understand the impulse. There is a lot of advice out there, and much of it implies you need a large collection of specialist tools before you can produce anything worth keeping.
My experience says the opposite. The first card I stamped that I was genuinely proud of used a single clear stamp set, one black dye ink pad, and a piece of white cardstock. The result was clean and sharp because I had practised the lift technique on scrap paper until it felt natural, not because I had expensive supplies.
The biggest shift for most beginners is realising that a blurry impression is almost always a technique problem, not a stamp quality problem. Rocking the stamp, pressing unevenly, or lifting at an angle accounts for the vast majority of disappointing results. Fix those three habits and the quality of your cards improves immediately, regardless of what you paid for the stamp.
Stamping in 2026 is more accessible than it has ever been. Starter kits are affordable, tutorials are plentiful, and the range of stamp designs available means you can find something suited to any card occasion. Start with one kit, practise the basic technique until it feels automatic, and then add one new method at a time. That incremental approach builds genuine skill far faster than buying a large collection and feeling paralysed by the options.
— Rob
Ready to start your stamping projects with Craftsuprint?
Craftsuprint brings together stamps, ink pads, cardstock, and starter kits in one place, making it straightforward to find exactly what you need for your next card making project.

Whether you are setting up your first stamping kit or looking to add new designs to an existing collection, Craftsuprint’s craft supplies range covers the materials beginners and experienced crafters reach for most. Members can also access the Create and Craft members gift for special offers on supplies that support stamping and paper crafting projects. Browse the full selection and find the tools that match your next card making idea.
FAQ
What is the easiest stamp type for beginners?
Clear photopolymer stamps are the easiest for beginners because their transparency lets you see exactly where the image will land before you press down.
How do I stop my stamped images from looking blurry?
Press the stamp down firmly and evenly, then lift it straight up in one clean motion. Rocking or sliding the stamp during lifting is the most common cause of blurry impressions.
What ink pad should I use for card making stamping?
Dye-based ink pads are the best starting point for most card making projects. They dry quickly, produce vivid colour, and work well on smooth cardstock.
Can I fix a faint or imperfect stamped impression?
A stamp positioning tool lets you re-ink and press the stamp over the same spot again, correcting a faint impression without wasting the card or the cardstock.
Do I need expensive tools to get good results from stamping?
Stamping quality depends on mastering the correct technique rather than on expensive equipment. A clear stamp, an acrylic block, and a dye ink pad are sufficient to produce professional-looking results.