
What is a card making mood board: start today
TL;DR:
- A card making mood board is a visual collection of colors, textures, and layout ideas used for planning a card design. It helps crafters speed decisions, reduce waste, and create cohesive sets by organizing inspiration visually. Virtual platforms like Pinterest and Canva or physical boards serve as flexible, preparatory tools to guide the creative process effectively.
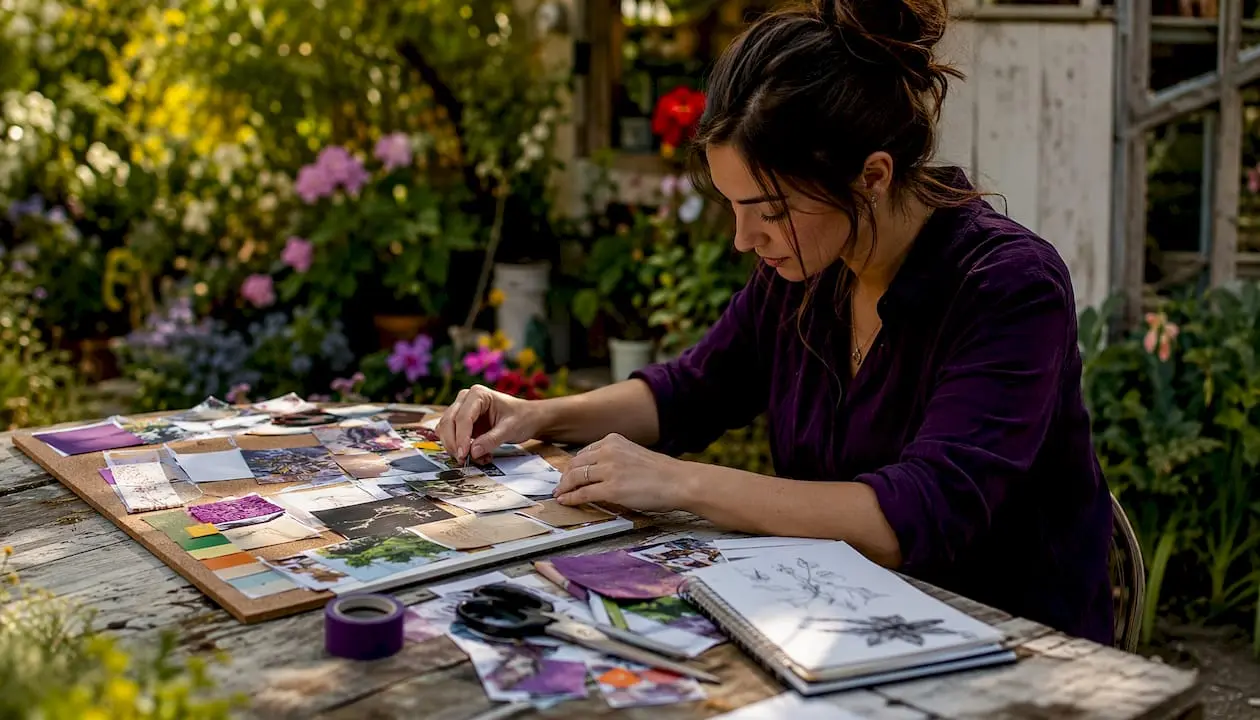
A card making mood board is a visual collection, physical or virtual, that gathers the colours, textures, fonts and layout ideas you plan to draw on when designing a card. Think of it as a creative brief you make for yourself before you touch a single sheet of cardstock.
At a glance, crafters use a mood board to:
- Lock in a colour palette before buying or cutting anything
- Gather texture and pattern references that keep a set of cards cohesive
- Sketch out rough layout ideas without committing to final materials
TL;DR: Spend 15–45 minutes pulling together swatches, photos and paper scraps on a board, or grab a printable kit from Craftsuprint and let the design do the planning for you.
Table of Contents
- What does a card making mood board actually cover?
- Why use a mood board for card making?
- Physical or virtual: which format suits you?
- What should you put on a card making mood board?
- How to make a mood board: two-speed workflows
- How do you turn a mood board into a finished card?
- Where to find templates, printable kits and UK inspiration
- Key takeaways
- The bit most crafters skip
- Craftsuprint printable kits make mood-board crafting faster
- Useful sources
- FAQ
What does a card making mood board actually cover?
A mood board for card design is a flexible, visual planning tool. It captures the feeling of a project: the warmth of a colour story, the roughness of a kraft texture, the elegance of a particular font. Nothing on it is fixed. You can swap, remove or add elements right up until you start cutting.
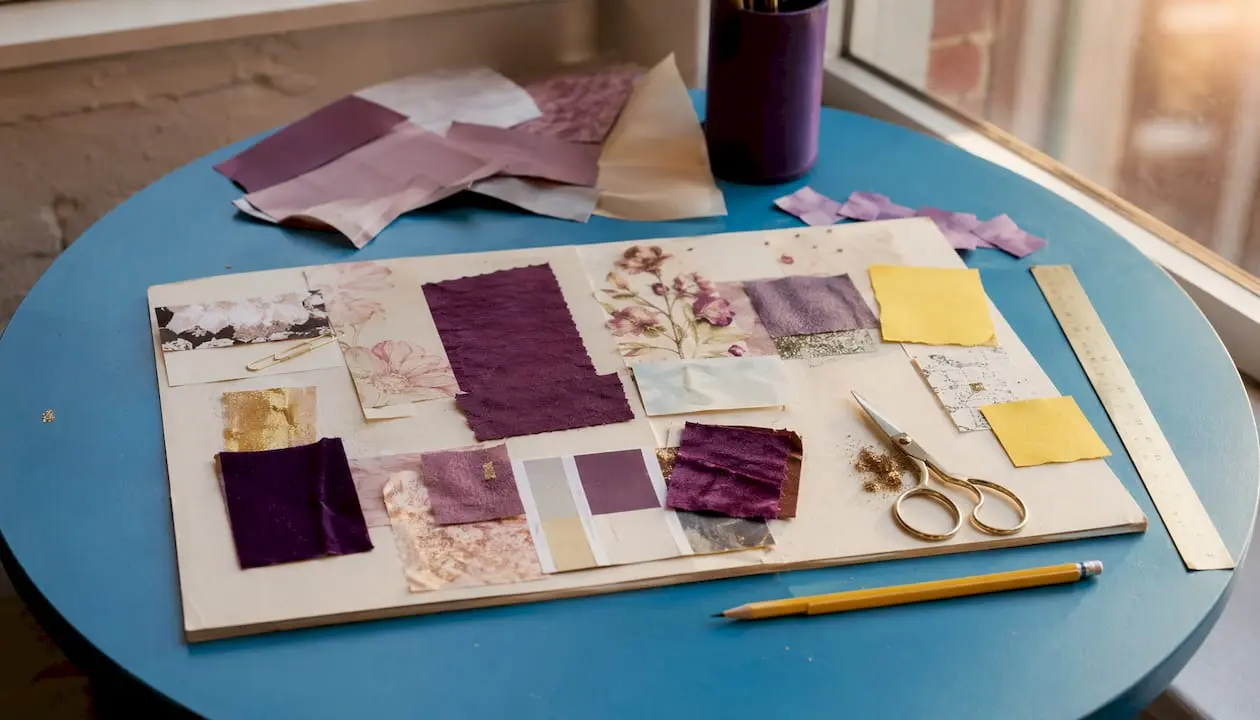
Storyflow’s guide to mood boards draws a clear line between a mood board and a style guide: a mood board is exploratory and emotive, used before the aesthetic direction is decided, whereas a style guide enforces rules once that direction is set. For a hobby crafter, that distinction matters. Your mood board is the place to experiment. The style guide, if you ever need one, comes later.
Mood boards are intentionally non-rigid. You are not obliged to use every element on the board, and you are not bound to match colours exactly. That looseness is the point.
Why use a mood board for card making?
The most practical reason is that it gets you unstuck. According to Craft Industry Alliance, craft expert Hanna Lisa Haferkamp notes that mood boards tighten creative vision and stop makers from wandering aimlessly through their stash. That alone saves time and materials.
Practical benefits for hobby crafters:
- Speeds decisions. Choosing ink colours takes seconds when you have a swatch in front of you.
- Reduces waste. You pre-select what you need, so you are not cutting into expensive cardstock on a whim.
- Keeps a set cohesive. If you are making six birthday cards for a gift set, the board holds the thread between them.
- Clears the workspace. Pre-selecting coordinating printable downloads and dies before you sit down means less mid-project rummaging.
Physical or virtual: which format suits you?
Both work. The choice comes down to your workspace, your tools and how you like to think.
| Format | Pros | Cons | Best for |
|---|---|---|---|
| Physical (corkboard, wall, tray) | Tactile; real texture and paper samples; no screen needed | Takes up space; hard to share or archive | Crafters with a dedicated desk or studio |
| Virtual (Pinterest, Canva) | Easy to share; searchable; accessible on any device | No real texture feel; needs internet | Small spaces, collaborative projects, on-the-go inspiration |
Pinterest is the strongest discovery tool. Its visual search surfaces colour palettes, stamping styles and paper textures you would never find by browsing a shop. Use it to collect raw inspiration before you refine.
Canva is better for assembly. Once you have gathered images, Canva lets you arrange them into a shareable collage, add colour hex codes and annotate with font names. It is free at the basic tier and works in a browser, so no download is needed.
What should you put on a card making mood board?
According to Craft Industry Alliance, mood boards have no strict rules, but the most useful card design mood boards tend to include:
- Colour swatches (paint chips, printed hex squares, torn magazine strips) ? these become your ink and cardstock choices
- Photographs or printed images ? suggest a focal point or scene
- Sketches or doodles ? rough layout ideas, panel positions, layer counts
- Font examples (printed or cut from packaging) ? guide your sentiment stamp or die-cut lettering
- Texture samples (corrugated card, vellum, kraft, linen) ? inform embellishment and background choices
- Patterned paper scraps ? show how prints will sit together
- Found objects (a pressed leaf, a ribbon offcut, a button) ? add tactile inspiration that photographs cannot replicate
A quick visual prompt that many crafters find useful: mark one item on the board as the focal point with a small sticky note or a circle of washi tape. That single decision makes the translation to a finished card much faster.
How to make a mood board: two-speed workflows
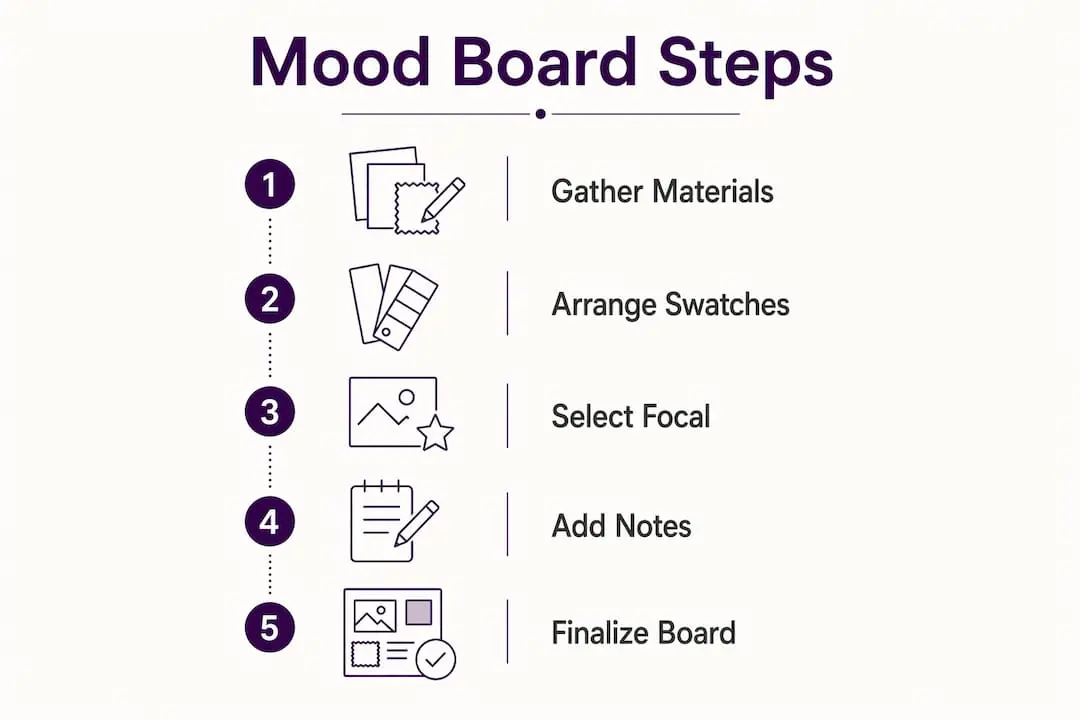
The quick board (15–45 minutes)
This is the one you do on a Sunday afternoon before starting a project.
- Gather your base. A sheet of A3 paper, a spare cereal box lid, or a Pinterest board all work equally well.
- Pull three to five colours. Grab paint chips, tear magazine strips, or screenshot hex codes. Do not overthink it.
- Add one texture reference. A scrap of patterned paper or a photo of a fabric you like.
- Drop in a font example. A printed word from a catalogue or a screenshot of a typeface you admire.
- Mark your focal point. Circle or label the element that will anchor the finished card.
- Photograph it. Even a phone snap means you can refer back to it without the physical board in front of you.
Materials: A3 paper or card, scissors, tape or pins, a phone camera. Cost: near zero if you use what you already own.
Pro Tip: Do not hunt for an exact colour match from your stash. Find the nearest equivalent and use that instead. Experienced makers break a board into four elements: background, focal image, colour story and texture. Match the structure, not the specifics.
The full board (90+ minutes)
Follow the same steps, but expand each stage. Add sketched layout thumbnails, a printed font specimen, real paper samples and a short written note about the mood you are after (“cosy autumn”, “clean and graphic”, “soft florals”). This version is worth the extra time when you are designing a collection of cards or working to a brief.
For a faster start on either version, themed card kits from Craftsuprint come with coordinating elements already chosen, which cuts the colour-matching stage entirely.
How do you turn a mood board into a finished card?
Start with the focal point you marked on the board. That element becomes the centrepiece of your card, whether it is a stamped image, a die-cut shape or a printed panel from a downloadable kit.
From there, work outward:
- Background first. Match the dominant colour or texture from your board to a base cardstock.
- Focal image second. Position it slightly above centre for the most natural visual balance.
- Palette third. Pull two or three supporting colours from the board for layers, mats and embellishments.
- Texture and embellishments last. Add only what the board suggests; restraint here keeps the card from looking cluttered.
A layout tip worth keeping: if your mood board feels busy, your card should be calmer. The board holds all the ideas; the card expresses the best one. Scale down the number of elements and let negative space do the work. The step-by-step card making guide on Craftsuprint covers construction techniques that pair well with this workflow.
Where to find templates, printable kits and UK inspiration
Craftsuprint is the most direct route to ready-made assets. The marketplace carries printable craft downloads, card kits and themed templates that slot straight into a mood-board workflow. Because the elements within each kit are already coordinated, you skip the colour-matching stage and go straight to cutting and assembling.
Pinterest remains the go-to for raw discovery. Search terms like “card making mood board”, “watercolour palette cards” or “clean and simple stamping” surface thousands of boards you can save and adapt.
Canva works well for building a shareable digital board. Its free template library includes mood-board layouts you can populate with your own screenshots and colour codes.
For physical supplies in the UK, most high-street craft retailers stock A4 and A3 cardstock, washi tape and adhesive suitable for a physical board. Hobbycraft branches are widely available, and independent paper shops often carry unusual textures worth adding to a tactile board.
Key takeaways
A card making mood board is the single most effective way to move from a vague idea to a cohesive finished card without wasting materials.
| Point | Details |
|---|---|
| Definition | A mood board is a visual collection of colours, textures and layout ideas, not a set of rules to follow exactly. |
| Physical vs virtual | Physical boards suit tactile thinkers with desk space; virtual boards (Pinterest, Canva) suit small spaces and sharing. |
| Nearest equivalents | Match the board’s structure (background, focal image, colour story, texture) rather than hunting for exact matches. |
| One focal point | Mark one element as the anchor before you start; it makes every subsequent decision faster. |
| Craftsuprint kits | Printable kits from Craftsuprint come with coordinated elements, cutting the colour-matching stage from your workflow. |
The bit most crafters skip
There is a tendency to treat a mood board as a nice-to-have, something you do when you have spare time rather than before you start. That is the wrong way round.
The board is not the decoration on top of the process. It is the process. When you sit down without one, you make a dozen small decisions mid-project: which blue, which texture, which sentiment. Each one costs time and often costs materials. A 20-minute board made from magazine scraps and paint chips eliminates most of those decisions before you have even switched on the kettle.
What surprises many crafters is how little the board needs to resemble the finished card. A mood board challenge run by Scrapbook & Cards Today showed that participants responded to entirely different elements from the same board and produced completely different cards. One person took the colour story; another took a single texture; a third took only the composition. All three cards were cohesive and intentional. That is the point. The board gives you a direction, not a destination.
If you are new to this, start smaller than you think you need to. Three colours, one texture, one focal image. That is enough to make a decision and get moving.
Craftsuprint printable kits make mood-board crafting faster
If the mood-board workflow appeals but the prep time does not, Craftsuprint’s printable downloads are worth a look. Each kit arrives with coordinated colours, patterns and elements already chosen by the designer, so the colour-matching stage is done before you open the file.

The Create & Craft member gift is a low-risk starting point: a free download that lets you see how a coordinated kit works alongside a quick mood board. From there, the Create & Craft downloads area carries a wide range of themed kits suited to every season and occasion. Browse by colour family or theme, download, print on A4 at home, and you are ready to cut. No waiting for delivery, no minimum order.
Useful sources
| Source | What it offers |
|---|---|
| Craft Industry Alliance — mood boards for inspiration | Expert commentary from Hanna Lisa Haferkamp on the practical value of mood boards for makers |
| Storyflow — what is a mood board | Clear explanation of the mood board vs style guide distinction |
| Scrapbook & Cards Today — mood board challenge | Real-world example of how one board yields many different card interpretations |
| All Things Stampy — mood board card ideas | Practical walkthrough of the nearest-equivalents approach and board structure |
| Hip Kit Club — mood board inspired cards | Step-by-step example of translating a board into a finished card |
| iEnjoyWhatIDo — mood board greeting card | Detailed post showing the full journey from inspiration board to finished project |
FAQ
What is a card making mood board?
A card making mood board is a visual collection of colours, textures, fonts and images that guides your card design before you commit to materials. It can be physical (a corkboard or sheet of paper) or virtual (a Pinterest board or Canva collage).
How long does it take to make a mood board for a card project?
A quick board takes 15–45 minutes using items you already own; a fuller board with sketches and paper samples takes 90 minutes or more. Printable kits from Craftsuprint reduce that time by providing coordinated elements ready to use.
What is the difference between a mood board and a style guide?
A mood board is exploratory and used before the design direction is fixed; a style guide sets rules once the palette and aesthetic are decided. For most hobby card projects, you only ever need the mood board.
Do I need to match the mood board colours exactly?
No. Experienced makers substitute the nearest equivalent from their stash and focus on matching the board’s structure: background, focal image, colour story and texture. The board is a prompt, not a prescription.
Where can I find mood board templates for card making?
Pinterest and Canva both offer free mood-board layouts you can populate with your own images. Craftsuprint’s printable downloads and themed kits work as ready-made starting points that slot directly into a mood-board workflow.