
What is a card making base layer: guide for UK crafters
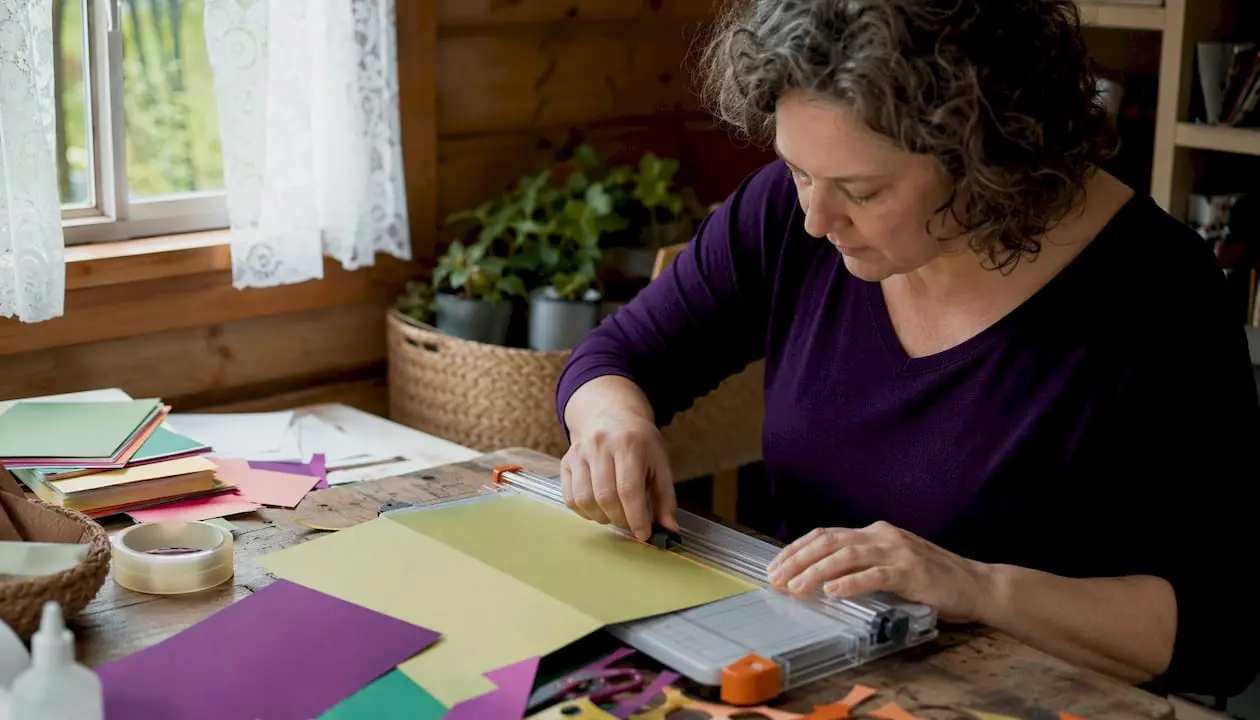
A card making base layer is the folded piece of cardstock that forms the entire structure of a handmade card. Everything else you add sits on top of it. Without a solid base, decorative mats slip, embellishments buckle, and the finished card feels flimsy in the hand. The base layer is distinct from the decorative elements that follow: it is purely structural, providing the card’s stability and shape before any design decisions are made.
Key facts about the card making base layer:
- It is always the largest, heaviest piece of cardstock in the card
- It defines the card’s final dimensions when folded
- Use cardstock in a heavier weight range suitable for card bases to ensure reliability
- Mats, panels, and embellishments are layered on top of it, not part of it
- Craftsuprint offers tutorials and downloadable kits that walk beginners through base construction step by step
Table of Contents
- What are the standard card base sizes and how do you cut them?
- How does the 1/4 inch decrement rule work for layering?
- How do you position layers to make your card design really work?
- Common beginner mistakes when making card bases
- How Craftsuprint supports your card making
- Which cardstock types and weights work best for base layers?
- Which adhesives work best for layering cards?
- How do you add texture and finish to a card base?
- Layering techniques that go beyond the base
- Craftsuprint: ready-made resources for card makers
- FAQ
- Key takeaways
What are the standard card base sizes and how do you cut them?
Standard UK card bases are most commonly made from A4 cardstock cut in half, producing a base about half the size of A4 when folded. That size fits neatly into a standard C5 envelope, which you can find in any UK stationery shop.
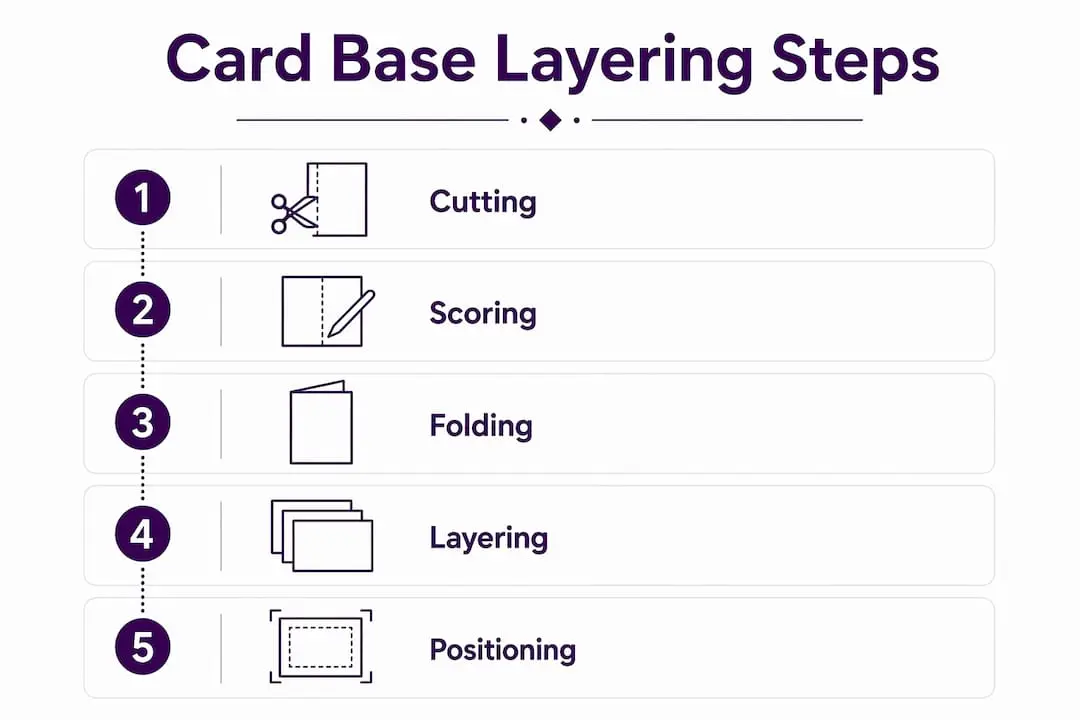
- Place your A4 cardstock on a paper trimmer.
- For a landscape card (opens horizontally): cut vertically at 10.5cm, giving two pieces each measuring 10.5cm x 29.7cm.
- For a portrait card (opens vertically): cut horizontally at 14.8cm.
- Score before cutting when making multiple bases from one sheet — it keeps both pieces uniformly prepared and reduces waste.
- Place the cut piece on a scoring board and score along the centre line.
- Fold along the score line, aligning corners precisely.
- Run a bone folder along the crease to sharpen the fold.
Pro Tip: Always use a paper trimmer rather than scissors for the initial cut. The straight edge makes a measurable difference to how cleanly your layers align later.
How does the 1/4 inch decrement rule work for layering?
Every layer you add on top of the base should be slightly smaller, so a border of the layer beneath remains visible. The standard decrement is 1/4 inch (approximately 6mm) on each side.
- A base measuring 148 x 210mm gets a first mat of roughly 135 x 197mm
- The next layer drops by another 1/4 inch, to around 122 x 184mm
- Continuing this pattern creates a framed, stepped effect that draws the eye inward
| Layer | Approximate size (mm) | Decrement applied |
|---|---|---|
| Card base | 148 x 210 | — |
| First mat | 135 x 197 | 6mm each side |
| Second mat | 122 x 184 | 6mm each side |
| Focal panel | — | 6mm each side |
For a more refined look, smaller increments work particularly well with metallic or pearlescent cardstock, where the border needs to be subtle rather than bold. Mixing increments across layers adds visual rhythm without requiring extra materials.
How do you position layers to make your card design really work?
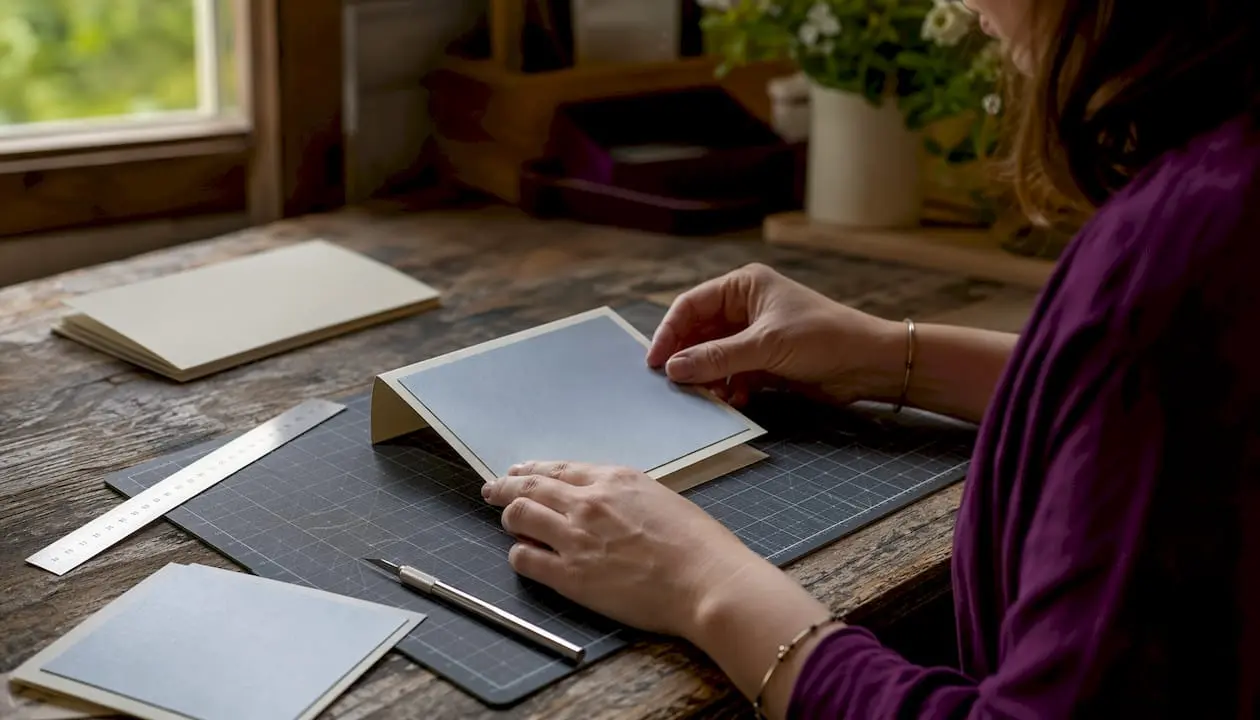
Layering is not just about stacking paper. It is a visual tool that guides the eye from the outer edge of the card toward the focal point at the centre. Colour contrast between the base and the first mat does most of the work: a deep navy base with a cream mat immediately creates depth.
Alignment matters as much as colour. Centre each layer precisely, or offset it deliberately for an asymmetric design. Either approach works, but accidental misalignment reads as a mistake rather than a choice.

Pro Tip: When using metallic cardstock as a mat, reduce the decrement to 1/8 inch. The shimmer catches the light and the narrower border feels intentional rather than cramped.
Common beginner mistakes when making card bases
Most problems with card bases come down to three things: wrong cardstock weight, skipping the score, and rushing the fold.
- Using cardstock of insufficient weight can cause the base to not hold its shape under the weight of layers and embellishments
- Folding without scoring: scoring compresses the fibres and prevents cracking along the fold line; skipping it almost always produces a rough, uneven crease
- Burnishing directly on the card surface: always place a scrap piece of paper between the bone folder and your cardstock to prevent burnishing marks on the finished base
- Scoring on the wrong side: score on the outside of the fold, not the inside
- Using the wrong adhesive: glue sticks designed for paper crafting and acid-free double-sided tape are the reliable choices; standard PVA can warp lightweight layers
Pro Tip: Score slightly to the left or right of dead centre if your cardstock has a visible grain. Folding against the grain causes cracking even when you score correctly.
How Craftsuprint supports your card making
Craftsuprint is a UK-based digital crafting platform built specifically for paper crafters at every level. Its library covers card base tutorials, layering guides, and downloadable mini kits that remove the guesswork from sizing and design.
Resources worth exploring:
- Downloadable card templates with pre-marked score lines and layer guides
- Mini kits that include coordinated base and mat designs, sized for A5 and A6 formats
- Step-by-step tutorials on the Craftsuprint blog covering base construction and layering schemes
For beginners, the step-by-step card making guide is a practical starting point. Intermediate crafters looking to expand their range will find the mini card kit essentials post useful for sourcing coordinated materials.
Which cardstock types and weights work best for base layers?
The recommended weight for a card base is 80–110lb (216–300gsm) cardstock, which ensures the base is sturdy enough to support layers and embellishments without being too stiff to score and fold accurately. Weights below 80lb (under 216gsm) result in a flimsy base that does not hold its shape.
Smooth cardstock gives the cleanest fold and the sharpest score line, making it the best starting point for beginners. Textured cardstock adds tactile interest but requires firmer pressure when scoring. Kraft cardstock sits in the middle: sturdy, easy to fold, and it pairs well with both rustic and contemporary designs. Avoid glossy cardstock for bases as adhesives tend to grip poorly on coated surfaces.
Which adhesives work best for layering cards?
Double-sided tape is the most reliable choice for attaching flat layers to a card base. It bonds instantly, lies flat, and does not introduce moisture that could warp the cardstock. Acid-free tape is worth the small extra cost if you want cards to last.
Glue sticks designed for paper crafting work well for lighter layers and patterned paper. Apply them evenly from the centre outward to prevent air bubbles. Foam pads (often called 3D foam squares) add dimension when you want a mat or focal panel to sit proud of the surface rather than flush against it. Avoid liquid PVA for layering: it takes time to dry and frequently causes lightweight papers to cockle.
How do you add texture and finish to a card base?
The base layer does not have to be plain. Dry embossing with an embossing folder and a die-cutting machine presses a raised pattern directly into the cardstock without adding any thickness, which keeps layers sitting flat. Ink blending across the base with distress inks creates a soft, watercolour-style background in seconds.
Stamping a tone-on-tone pattern (using ink only slightly darker than the cardstock) adds subtle texture that reads as intentional design rather than decoration. For a clean, modern finish, a solid-colour base left unembellished lets patterned mats and focal panels do the visual work without competition.
Layering techniques that go beyond the base
Matting is the most common next step: a single mat of contrasting cardstock placed directly on the base, sized using the 1/4 inch decrement. From there, the options expand considerably.
Triple matting stacks three progressively smaller layers, each in a different colour or texture, before the focal image is added. Partial matting, where the mat extends only partway across the base, creates an asymmetric look that suits contemporary card styles. Embellishments such as ribbon, brads, and die-cut shapes sit on top of the layered panels rather than directly on the base, keeping the structural layers clean. Washi tape applied along one edge of a mat adds a quick stripe of pattern without cutting an additional layer. For a dimensional finish, foam pads beneath the top mat lift it 2–3mm off the surface, creating shadow and depth that photographs particularly well.
Craftsuprint: ready-made resources for card makers
Craftsuprint gives UK crafters direct access to craft supplies and downloadable designs built around the layering principles covered in this guide. Whether you need coordinated mat designs, printable card templates, or themed mini kits, the platform removes the time spent sourcing and sizing materials yourself.

The Create and Craft Members Gift is a good first stop: it gives new members access to free downloads that include card base templates and layered designs ready to print and assemble. For crafters who want to explore further, the classifieds section lists paper crafts and card making supplies from independent UK sellers. Visit Craftsuprint to browse the full range and download your first card kit today.
FAQ
What is a card base?
A card base is the folded piece of heavyweight cardstock that forms the structure of a handmade card. All decorative layers and embellishments are attached on top of it.
What is the best thickness for card making?
Cardstock weighing 80–110lb (216–300gsm) is the recommended range for card bases. Below 80lb (under 216gsm), the base is too flimsy to support additional layers and decorations.
How do you create a card base?
Cut A4 cardstock in half to create two A5 pieces, score along the centre line with a bone folder, then fold and burnish the crease using a scrap piece of paper to protect the surface.
What are common card making mistakes?
The most frequent errors are using cardstock that is too thin, folding without scoring first, and applying adhesive unevenly. Scoring before folding is the single change that most improves fold quality.
Key takeaways
A card making base layer is the structural foundation of every handmade card, and choosing the right weight, scoring correctly, and applying the 1/4 inch decrement rule are the three skills that separate a professional result from an amateur one.
| Point | Details |
|---|---|
| Base layer weight | Use 80–110lb (216–300gsm) cardstock for a base that holds its shape under decoration. |
| Scoring is non-negotiable | Score before folding to compress fibres and prevent cracking along the fold line. |
| The 1/4 inch rule | Reduce each successive layer by approximately 6mm per side to create visible, balanced borders. |
| Adhesive choice | Acid-free double-sided tape bonds flat layers cleanly; foam pads add dimension without warping. |
| Craftsuprint resources | Craftsuprint offers downloadable card templates, mini kits, and layering tutorials sized for UK A5 and A6 formats. |