
Stepper card tutorial: make one from a printable template
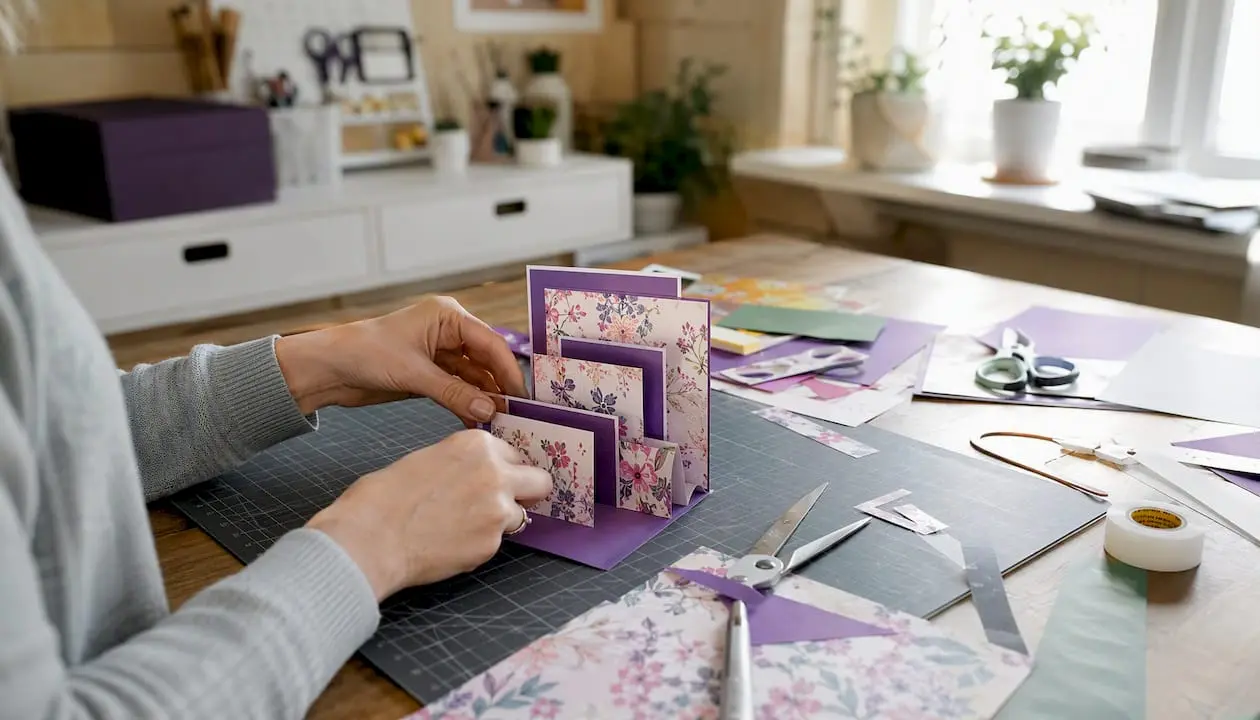
A stepper card is a tiered, stand-up greeting card with multiple stepped display panels that folds completely flat for posting. This stepper card tutorial walks you through everything you need: a reproducible metric template (available as PDF or SVG), exact cut and score measurements, and a step-by-step build sequence that ends with a card that stands, folds, and survives the post. You can find printable templates on the Craftsuprint marketplace, or follow the measurements below to cut your own from scratch.
Key takeaways
A stepper card folds flat for posting because every score, panel width, and embellishment placement works together as a system — get the flat fold right first and the decoration follows naturally.
| Point | Details |
|---|---|
| Core template measurements | Trim base to 15 × 29 cm; mark at 2.5 cm, 5 cm, 9 cm, 13 cm, and 21 cm. |
| Flat-fold test | Card must close flush, with no embellishments catching, before you consider it finished. |
| Embellishment rule | Plan all decoration while the card is flat; limit foam pads to 3 mm on closing panels. |
| Scaling proportions | Keep step heights in equal thirds of the card height when resizing the template. |
| Craftsuprint templates | Printable PDF/SVG templates with cut and score lines are available via Craftsuprint’s Create & Craft downloads. |
Table of Contents
- What tools and materials do you need?
- Basic stepper template: what are the measurements?
- Step-by-step build: cut, score, fold, assemble, and test
- What are the common stepper card variations?
- How to plan embellishments so the card still closes
- Common problems and how to fix them
- Pro tips for flat folding and where to find printable templates
- Why stepper cards are genuinely worth learning
- Ready to download your first stepper card template?
- Sources
- FAQ
What tools and materials do you need?
Gather everything before you start. Stopping mid-build to hunt for a bone folder is how panels end up misaligned.
Essential supplies:
- Heavyweight cardstock (250–300 gsm) for the card base
- Patterned papers (120–160 gsm) for the stepped panels
- Scoring tool: a bone folder or a dedicated scoreboard
- Craft knife or paper trimmer with both metric and imperial markings
- Metal ruler (for knife cuts)
- Double-sided tape for clean, repositionable bonds
- PVA glue for heavier toppers and dimensional pieces
Optional but useful:
- Foam pads (3 mm) for raised embellishments
- Die cuts or printed toppers
- Corner rounder punch
- Removable clips or bulldog clips to hold panels while adhesive sets
Pro Tip: Test your card base weight on a scrap piece before committing. Fold it in half twice and check it springs back flat. If it buckles or resists, the stock is too heavy for a multi-panel stepper and will fight you at the flat-fold stage.
Basic stepper template: what are the measurements?
The table below gives a reproducible metric template based on a standard basic stepper base. Cut your base card to standard card size, then mark the panel positions along the length before scoring.
| Mark position | Distance from left edge | Action |
|---|---|---|
| Panel 1 edge | 2.5 cm | Score (valley fold) |
| Panel 2 edge | 5 cm | Score (valley fold) |
| Step rise 1 | 9 cm | Score (mountain fold) |
| Step rise 2 | 13 cm | Score (mountain fold) |
| Back panel | 21 cm | Score (valley fold) |
Cut versus score rules:
- Solid lines on any printed template = cut through with a craft knife or trimmer
- Dashed lines = score only; do not cut
- Valley folds open toward you when the card faces up; mountain folds push away
- The two mountain folds at 9 cm and 13 cm create the raised steps; the valley folds define the panel faces
Scaling the template: keep step heights in roughly equal thirds of the total card height. If you scale the 15 cm width up to 21 cm, scale each mark proportionally. A DL-sized stepper uses the same proportional logic applied to a 10 × 21 cm base. Avoid changing only one dimension, as unequal steps will throw off the flat fold.
Step-by-step build: cut, score, fold, assemble, and test
- Cut the base. Trim your cardstock to a standard card size. Use a metal ruler and craft knife for a clean, straight edge. A torn or bowed edge will cause misalignment later.
- Mark the score lines. Using a pencil and ruler, lightly mark 2.5 cm, 5 cm, 9 cm, 13 cm, and 21 cm along the top and bottom edges.
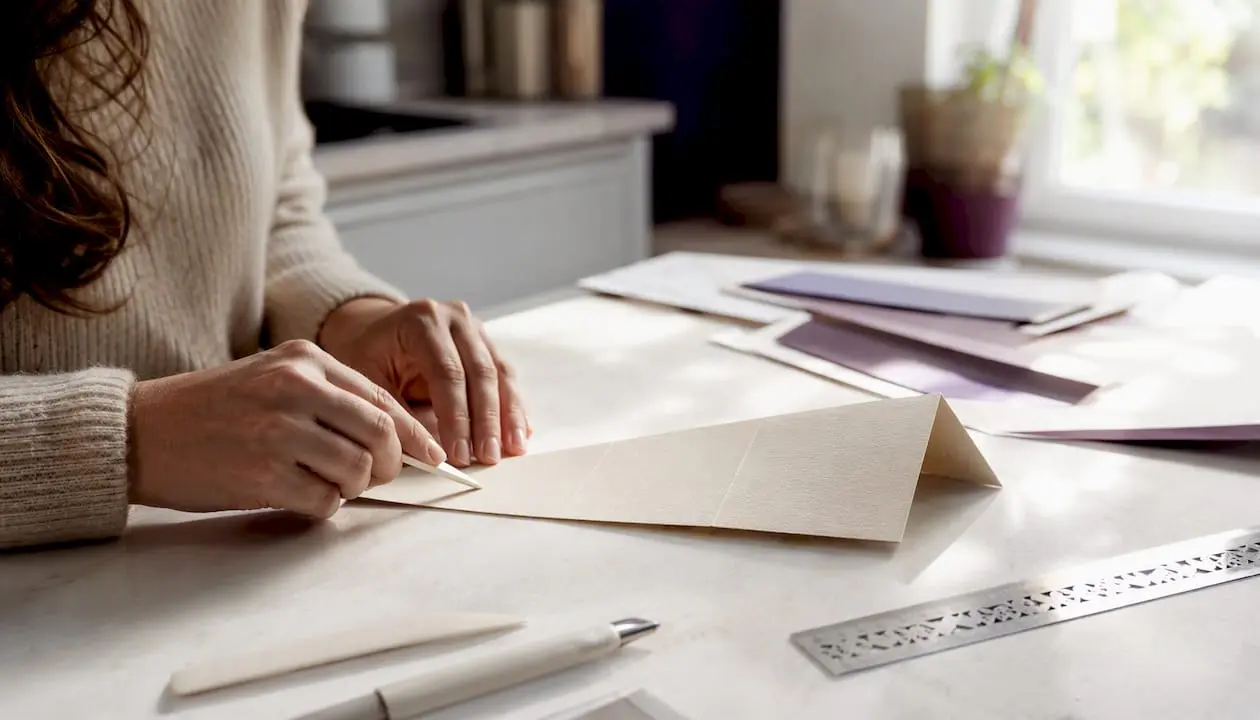
- Score each line. Run your bone folder firmly along each mark against the ruler. Consistent pressure matters more than speed. Light scores produce weak folds that spring open.
- Crease the folds. Fold each scored line in the correct direction: valley folds at 2.5 cm, 5 cm, and 21 cm; mountain folds at 9 cm and 13 cm. Burnish each crease firmly with the flat of the bone folder.
- Form the stepped shape. Gently coax the card into its tiered form. The two mountain folds rise upward; the valley folds drop the panels forward to create the display faces.
- Adhere the panels. Apply double-sided tape to the back of each patterned paper panel and press firmly onto the corresponding step face. Start from the back panel and work forward so you can see alignment as you go.
- Test the flat fold. Close the card completely and press it flat. Check three things: the card closes without forcing, no embellishments catch or bulge, and the card stands upright when reopened on a flat surface.
Flat-fold pass/fail checklist:
- Card closes to roughly the thickness of the base card alone ?
- All panels lie flush with no corners lifting ?
- Card stands at a stable angle when open ?
Pro Tip: Apply adhesive to one panel at a time and use removable clips to hold each in place while it sets. Rushing all panels at once leads to slippage, and repositioning tape-bonded cardstock often tears the surface.
For a detailed look at layer order and how gluing sequence affects the flat fold, Highlight Crafts demonstrates a practical method using two 6 × 6 blanks with a scored A6 flap attached to the front.
What are the common stepper card variations?
Stepper cards fall into three main styles: Basic, Side, and Stage. Each uses the same flat-fold principle but changes where the steps sit.
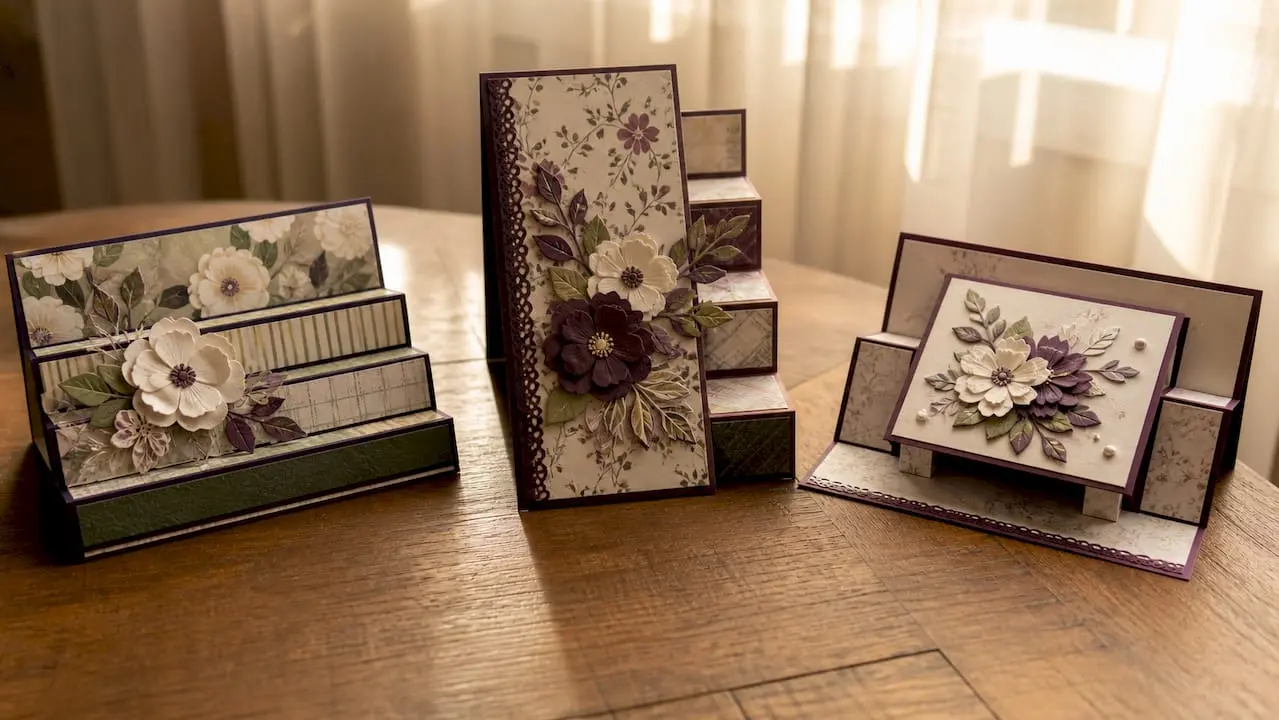
Basic stepper: steps run horizontally across the card face, as in the template above. The display panels face the viewer when the card stands open.
Side stepper: the steps run vertically up one side of the card. The base is cut in a portrait orientation and scored along the shorter dimension. Panel widths stay the same; the step rises shift to the side edges rather than the top.
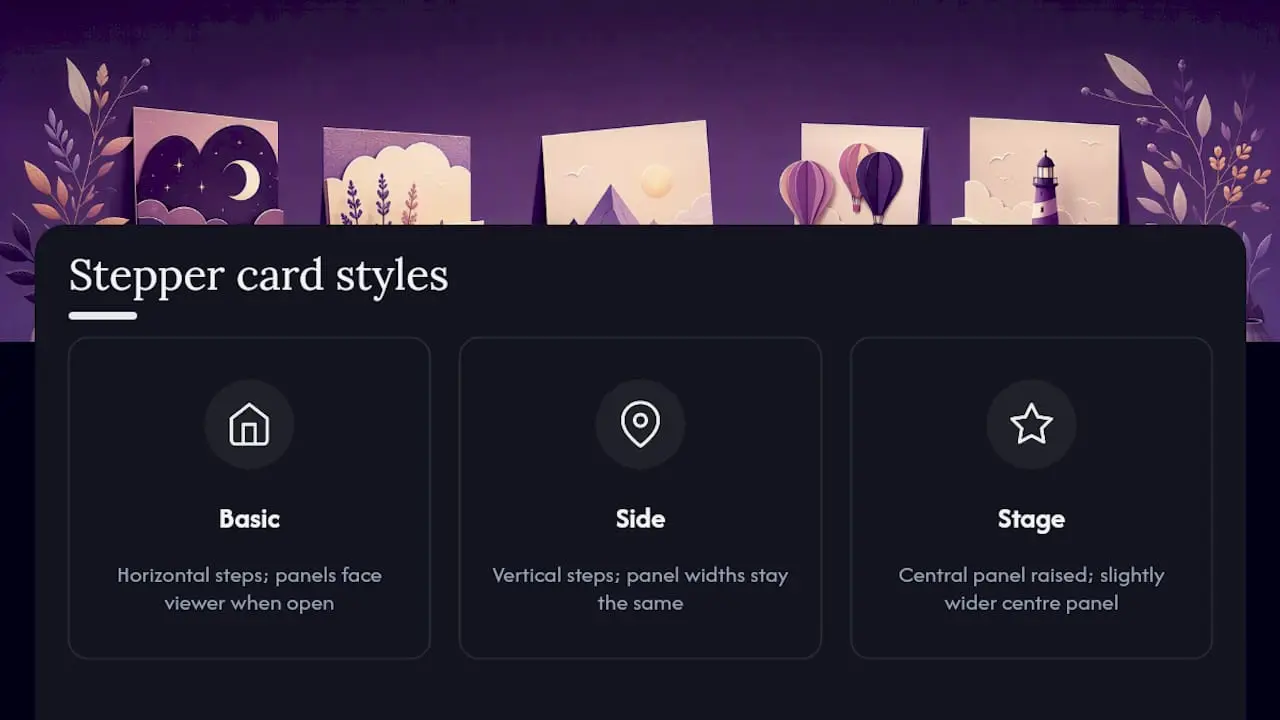
Stage stepper: the central panel is raised higher than the flanking panels, creating a stage-like focal point. This requires an additional score and a slightly wider centre panel. Foam pads work well here to lift a topper above the stage surface.
Quick project: a tent-fold stepper in about five minutes
The tent-fold stepper is the fastest gateway into the format. One tutorial demonstrates it assembled in roughly five minutes using scores at 4", 8", 9", and 9¾" on a single strip of cardstock.
Cut a strip of cardstock approximately standard card dimensions. Score at equivalent positions along the strip. Valley-fold the first two scores; mountain-fold the last two. The result is a small tent shape with a front flap that leans forward. Decorate the front flap with a single topper and a sentiment strip. No gluing required until you add embellishments. Use flat layers rather than foam pads here; the tent structure is shallow and foam thickness will prevent it closing.
How to plan embellishments so the card still closes
The single rule that separates a card that works from one that doesn’t: plan all decoration while the card is flat. Lay the card open on your desk, add every topper and layer in position, then close it. If anything catches, adjust before the adhesive is permanent.
Decoration by panel:
- Back panel: sentiment stamp or printed sentiment strip; keep it flat, no foam pads
- Central stage (middle step): focal topper, raised on a single foam pad if the step is deep enough; this is the visual centrepiece
- Front steps: repeating motifs, small die cuts, or patterned paper strips; keep them thin
Embellishment checklist for posting:
- Use double-sided tape rather than wet glue on paper layers (dries faster, no warping)
- Limit foam pad height to 3 mm on any panel that needs to close against another
- Avoid ribbon bows, bulky buttons, or thick chipboard pieces on the front two steps
- Printed toppers from a card embellishments resource travel better than dimensional ones
Pro Tip: Photograph the card open before you seal the envelope. If a topper has shifted in transit, you will know it was fine when it left you.
Common problems and how to fix them
Card won’t stand upright. The mountain folds are under-scored. Open the card, re-score both mountain lines with firm pressure, and burnish again. A crease board under the card helps.
Card won’t close flat. A panel is sitting proud. Check whether a foam pad is too thick or a topper overlaps the fold line. Trim any overlapping layer by 1–2 mm and re-test.
Uneven steps. The score marks were not measured from the same reference edge. Lay the card flat, measure again from the left edge, and re-score the offending line. If the card is already assembled, a thin strip of matching cardstock glued over the gap can disguise a misaligned step face.
Bulging layers. Too many patterned paper layers have been stacked on one panel. Remove the top layer and replace it with a lighter-weight printed sheet. Alternatively, score the back of the patterned paper lightly to help it conform to the step face.
Toppers catching the fold. The topper extends past the panel edge. Trim it back so at least 2 mm of clear panel shows around every edge. When in doubt, swap a dimensional topper for a printed flat one.
Pro tips for flat folding and where to find printable templates
The difference between a stepper that folds cleanly and one that fights you usually comes down to three things: score depth, layer overlap allowance, and adhesive choice.
- Score depth: press firmly enough to compress the paper fibres without cutting through. A light score will spring back; a cut-through weakens the hinge.
- Overlap allowance: each patterned panel should sit 1–2 mm inside the panel edges so it never catches the adjacent fold.
- Adhesive: double-sided tape for paper layers; PVA only for heavy toppers, applied sparingly and allowed to tack before pressing.
PDF versus SVG templates:
PDF templates print at a fixed size and are ideal when you are cutting by hand. SVG files are resolution-independent and designed for electronic cutting machines such as a Silhouette or Cricut. SVG templates for the basic, side, and stage stepper are available as design assets when you need machine-cut precision.
Papercrafter Magazine offers a downloadable stepper card template with solid cut lines and dashed score lines clearly labelled, accessible directly from the browser.
Download tip: before printing any PDF template, check the print dialogue and set scaling to “Actual size” or “100%”. A single percentage point of scaling error on a 29 cm base shifts every score mark out of position and the flat fold will fail.
The Craftsuprint marketplace carries printable folded card templates and downloads that include cut and score guides, making them a reliable starting point for both hand-cutting and machine-cutting workflows. For readers who prefer visual walkthroughs alongside their templates, P.S. Paper Crafts provides printable project sheets with diagrams for tent-fold and front-panel steppers.
Why stepper cards are genuinely worth learning
Most fun-fold cards look impressive but rely on a single trick. The stepper is different. Once you understand the flat-fold engineering, you can scale it, rotate it, and layer it into something that looks far more complex than it actually is. The basic template in this article takes about twenty minutes to build cleanly on a first attempt. After three or four, the scoring and folding become instinctive.
The real payoff is presentation. A stepper card opens into a small scene, not just a flat surface. That three-dimensional reveal is what makes recipients keep them on a shelf rather than in a drawer.
My suggestion: master the basic template first, fold it five times until the crease positions feel natural, then try a stage stepper with a single raised topper. After that, download one new template from a marketplace and see how a designer has solved the same engineering problem differently. Share what you make with a crafting community. The feedback you get from other makers will teach you more than any single tutorial.
Ready to download your first stepper card template?
Craftsuprint is a digital marketplace built specifically for hobby crafters, and its Create & Craft downloads section is one of the most practical places to start. You get printable PDF and SVG templates with cut and score lines already marked, bundled project sheets, and coordinating patterned papers, all in one download.

New members can access a free Create & Craft members gift as an entry point, which typically includes a selection of printable downloads you can use straight away. Browse the folded card and paper craft categories, filter by beginner level, and download a template to test on scrap paper before cutting into your good cardstock. The cut/score guides are included in every template file, so you are not left guessing which lines to cut and which to fold.
Sources
- How to make a stepper card - Gathered
- Front Panel Stepper Cards - Tina Zinck, Stamping Artist & Creative Educator
- Karentitus
- Stepper Card Template paper craft download
- How To Create A Flat Folding Stepper Card - Highlight Crafts
Licence note: check each template’s download page for personal-use versus commercial-use terms before printing or sharing files.
FAQ
What is a stepper card?
A stepper card is a tiered, stand-up greeting card with multiple stepped display panels that folds completely flat for posting. The stepped structure is created by a series of alternating mountain and valley folds scored into a single card base.
What cardstock weight works best for a stepper card?
250–300 gsm cardstock is the standard for the base, with 120–160 gsm patterned papers for the panel faces. Heavier stock on the panels adds bulk that can prevent the card closing flat.
How do I stop my stepper card from falling over?
Check that both mountain folds are scored firmly and creased all the way to the card edges. A weak or partial crease on either rise fold is the most common reason a stepper won’t hold its standing position.
Where can I download a free stepper card template?
Papercrafter Magazine offers a browser-based PDF download with cut and score lines labelled. Craftsuprint’s Create & Craft downloads section includes printable templates, and new members can access a free gift pack as a starting point.
Can I make a stepper card with a cutting machine?
Yes. Use an SVG template rather than a PDF. Open the file in your machine’s software (Silhouette Studio or Cricut Design Space), assign cut lines to the solid paths and score lines to the dashed paths, and run a test cut on plain paper before using your good cardstock.