
Step by step handmade decorations: a beginner's guide
TL;DR:
- Step-by-step handmade decorations involve careful preparation, assembly, and drying to ensure success. Patience and tool discipline are essential for avoiding mistakes and achieving professional results. Following detailed instructions for tools, safety, and curing times makes even beginners capable of creating attractive decor pieces.
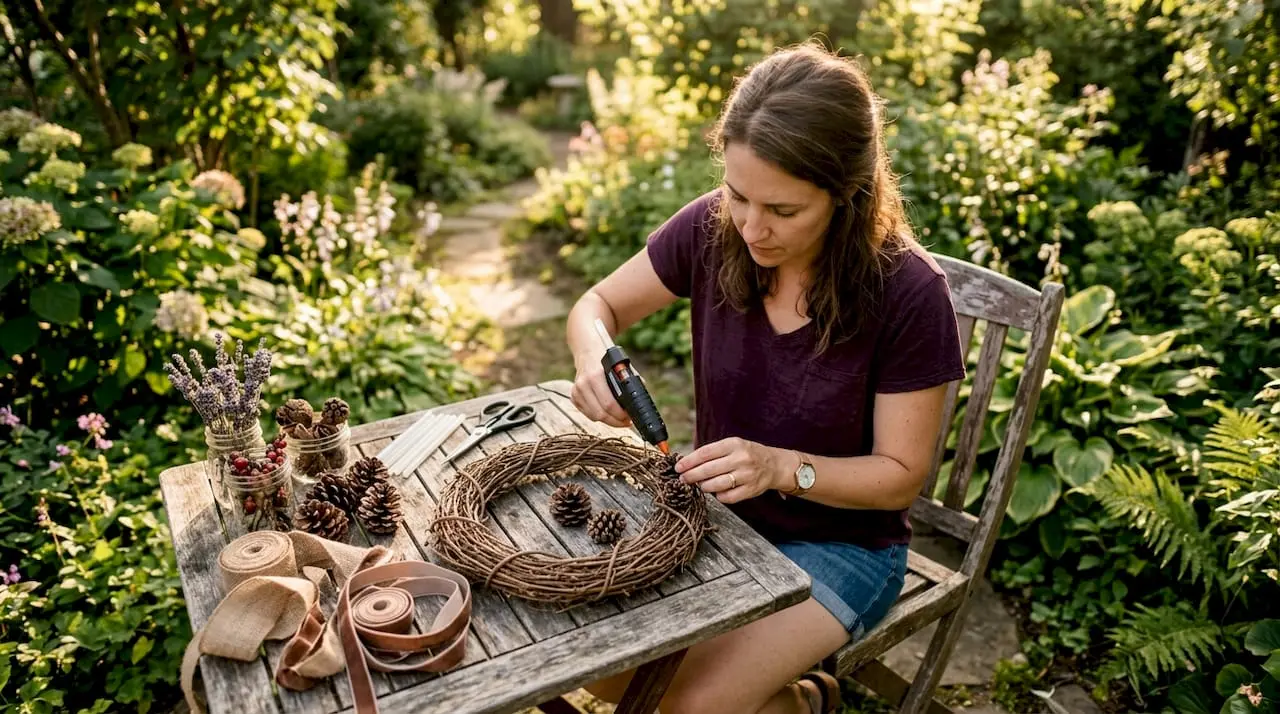
Step by step handmade decorations are craft projects built through a defined sequence of preparation, assembly, and finishing stages that produce personalised decor for the home, events, or gifts. The craft industry commonly calls this process “guided DIY crafting,” and the term covers everything from nature-inspired wreaths to textile snowflakes and resin coasters. Following a clear sequence matters because skipping steps, particularly drying and curing times, is the single most common cause of failed projects. This guide walks you through essential tools, three complete projects, and the safety habits that separate tidy results from sticky disasters.
What are the basic tools and materials needed for handmade decorations?
Every successful handmade decor project starts with the right kit. The tools below appear across nearly all beginner and intermediate craft projects, so buying them once pays off across dozens of makes.
Core tools and their roles
A hot glue gun is the workhorse of most easy craft decorations. It bonds materials quickly, works on wood, fabric, dried botanicals, and paper, and costs very little. A rotary cutter paired with a self-healing cutting mat produces clean, straight edges on felt and fabric far more reliably than scissors. Mod Podge is a water-based sealer, glue, and finish in one bottle. It is the standard choice for decoupage, paper layering, and sealing pressed flowers onto surfaces. Floral wire adds invisible structure to wreaths and garlands without adding bulk. Felt is the go-to textile for seasonal handmade decorations because it does not fray when cut, holds its shape, and comes in every colour imaginable.
You can browse craft tools and supplies at Craftsuprint to compare options before buying. The Craftsuprint essential craft supplies checklist also gives a thorough buying guide for new crafters.
Glue gun safety: non-negotiable rules
Hot glue guns cause more craft injuries than any other beginner tool. Work in a ventilated area, test glue on a small patch, and wear protective gloves when working with sensitive materials or for long sessions. That advice is not overcautious. Glue reaches temperatures that cause instant burns on bare skin. Never touch the nozzle while the gun is on or shortly after use; always rest the gun upright on its stand and unplug it when you step away. Keep glue guns away from children at all times.
Pro Tip: Use a low-temperature glue gun for delicate materials such as thin paper, dried petals, and foam. High-temperature guns can scorch or warp these surfaces before the bond sets.
Tools and recommended uses at a glance
| Tool | Best used for |
|---|---|
| Hot glue gun | Bonding pinecones, felt, ribbon, and dried botanicals |
| Rotary cutter | Cutting precise felt strips and paper shapes |
| Mod Podge | Sealing, decoupage, and adhering pressed flowers |
| Floral wire | Securing wreath elements without visible adhesive |
| Resin | Creating a hard, glossy finish on tile coasters |
| Felt | Textile snowflakes, garlands, and fabric ornaments |
How do you create a pinecone wreath step by step?
A pinecone wreath is one of the most satisfying homemade holiday decor projects because the materials are free or very cheap and the result looks genuinely impressive. The key is patience during assembly, not artistic skill.
Preparing your pinecones
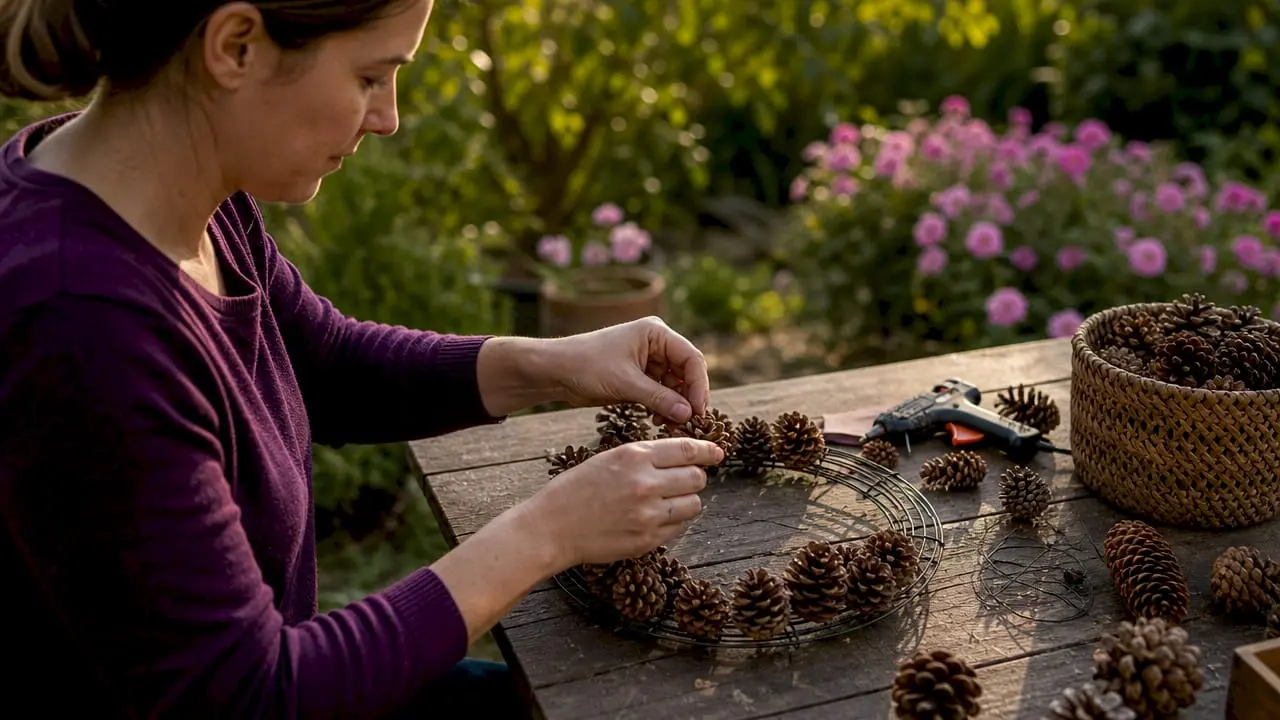
Start by collecting or purchasing dry pinecones. If you gathered them outdoors, bake them on a foil-lined tray at 200°F (93°C) for about 30 minutes. This kills any insects or mould and opens the scales fully, which makes gluing far easier. Allow them to cool completely before handling. Sort them by size so you can plan a balanced layout.
Planning the layout before you glue
Arrange your pinecones on a flat wreath base before applying any glue. This dry-fitting step takes ten minutes and saves you from repositioning cones mid-glue, which leaves visible residue and weakens bonds. Aim for a mix of large cones at the outer edge and smaller ones filling gaps toward the centre. Once you are happy with the arrangement, photograph it on your phone so you have a reference during assembly.
Assembling the wreath
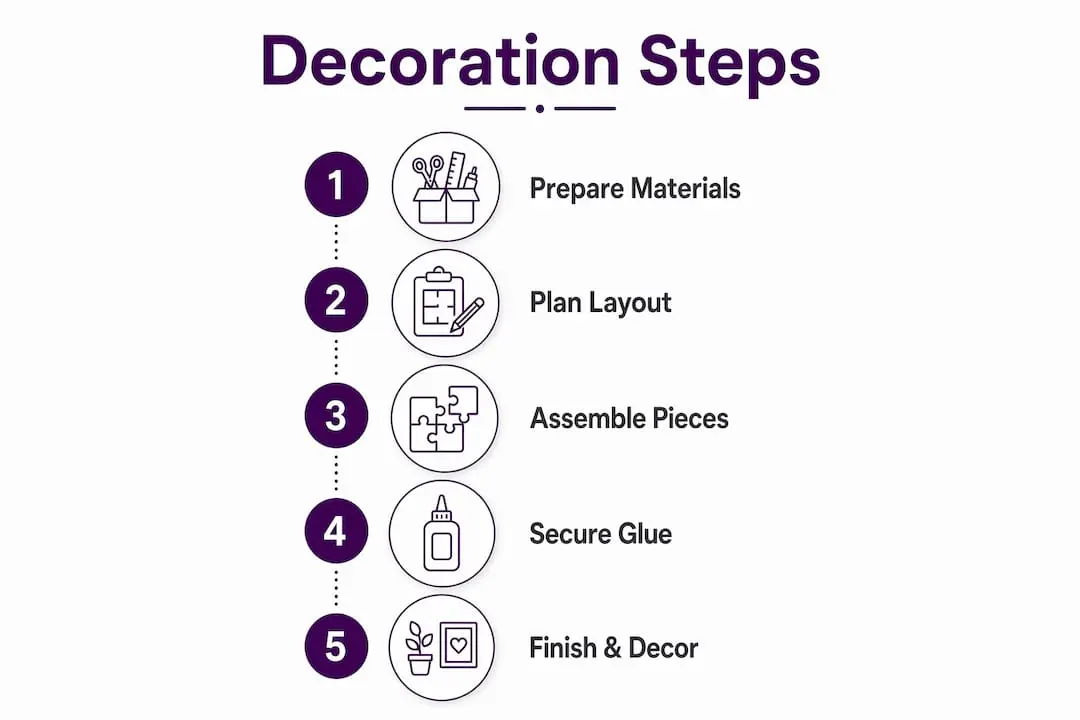
Follow these steps in order for a clean, durable result.
- Apply a generous bead of hot glue to the flat base of the first pinecone.
- Press the cone firmly onto the wreath base and hold it in place. Press each pinecone for 10–15 seconds to allow the glue to grip fully before releasing.
- Work in sections around the wreath, placing large anchor cones first.
- Fill gaps with smaller cones, angling them to hide the base material beneath.
- For cones that sit awkwardly, thread floral wire through the scales and twist it around the base frame as a secondary fix.
- Allow the completed wreath to rest flat for at least one hour before hanging.
“Avoid moving cones while the glue is still setting. Shifting a cone even slightly breaks the bond and leaves a white glue mark on the scales that is very difficult to remove.”
Pro Tip: Spray the finished wreath lightly with brown or bronze craft paint to unify the colour of mixed pinecone varieties and give the whole piece a polished, intentional look.
Troubleshooting common wreath problems
Glue strings are the most common issue. A quick pass with a cool hair dryer on the lowest setting melts them away in seconds. If a cone falls off after drying, the base was probably dusty or damp. Sand the contact point lightly, wipe it clean, and re-glue.
What are the essential steps to make felt snowflake decorations for winter?
Felt snowflakes are one of the most popular seasonal handmade decorations because they require no sewing, cost almost nothing, and can be scaled from simple to intricate. The finished pieces work as window hangings, gift toppers, or tree ornaments.
Cutting and preparing the felt strips
Precision at the cutting stage determines the final shape. Use a rotary cutter and ruler for clean edges.
- Cut six strips of felt, each ½ inch wide and 6 inches long, for the main arms.
- Cut twelve shorter strips, each ½ inch wide and 2 inches long, for the side branches.
- Cut one felt circle approximately 1 inch in diameter as the central hub.
- Optional: cut thin lengths of craft wire to the same lengths as your strips for stiffer arms.
Cut felt strips to ½ inch wide with specified lengths and allow each glue joint to dry completely before moving to the next stage. That drying discipline is the single most important rule in this project.
Assembling the snowflake arms
- Fold each long strip in half and apply a small dot of hot glue inside the fold. Press firmly and hold for ten seconds.
- Allow the fold to dry completely before handling. Rushing this step causes the arm to spring open and the glue to squeeze out visibly.
- Glue two short branch strips to each long arm, one on each side, at a 45-degree angle. Hold each for ten seconds and set aside to dry.
- Once all six arms are fully dry, arrange them evenly around the felt circle hub, spacing them at 60-degree intervals.
- Glue each arm base to the hub circle, pressing firmly and allowing each to dry before attaching the next.
- Thread a loop of thin ribbon through the top arm for hanging.
Repeated clamping and drying between each fold and glue stage prevents visible glue marks and keeps the arms structurally sound over time. Skipping even one drying stage causes the snowflake to warp as the glue contracts.
Pro Tip: Stiffen the arms by sandwiching a short length of craft wire inside each fold before gluing. This keeps the snowflake flat and symmetrical, which matters most when you are making a set of matching decorations.
How to make pressed flower travertine tile coasters with resin finish?
Pressed flower coasters sit at the more advanced end of easy craft decorations, but the step-by-step process is entirely manageable for beginners who respect the curing times. The result is a functional, gift-worthy piece that looks professionally made.
Preparing the tiles and pressing flowers
Travertine tiles have a naturally porous surface, which means they absorb liquids readily. Sealing them before any decoration is applied is not optional. Press your flowers at least two weeks in advance by placing them between sheets of absorbent paper inside a heavy book. Fully dried flowers lie flat and bond cleanly. Damp flowers cause cloudiness under resin.
Layering the decoration: step by step
- Apply one coat of Mod Podge across the entire top surface of the tile. Allow it to dry fully (approximately 20–30 minutes).
- Arrange your pressed flowers on the sealed surface. Experiment with the layout before committing.
- Brush a thin layer of Mod Podge over the flowers to adhere them. Work from the centre outward to avoid trapping air bubbles beneath petals.
- Once dry, apply a second top coat of Mod Podge and allow it to dry completely.
- Apply two light coats of matte spray from a distance of approximately 30 cm. Allow each coat to dry for 15–20 minutes before applying the next.
Apply one sealing coat of Mod Podge before flower placement, followed by two top coats and two light matte spray coats for a clear, durable finish. This layering approach prevents the cloudiness that ruins many first attempts at this project.
Applying the resin finish
| Resin stage | Action | Timing |
|---|---|---|
| Base layer | Pour resin to approximately 2mm depth | Mix and pour immediately |
| Tack check | Test surface with gloved fingertip | 2–4 hours at 70–75°F (21–24°C) |
| Flower placement | Press flowers gently into tacky resin | After tack check passes |
| Full cure | Leave undisturbed on a level surface | Up to 72 hours |
| Cork backing | Peel and stick cork sheet to underside | After full cure only |
The resin base layer should be approximately 2mm thick and cured until tacky before placing flowers. Placing flowers before the resin reaches the tacky stage causes petals to float and shift. Full cure can take up to 72 hours for maximum hardness. Patience here is the difference between a coaster that lasts years and one that clouds or peels within weeks.
Pro Tip: Pop any surface bubbles in wet resin by passing a lighter or heat gun briefly over the surface from a distance of 10 cm. Do not hold the heat in one spot or you will scorch the resin.
Key takeaways
Handmade decorations succeed when you follow a defined sequence of preparation, assembly, and finishing, and respect every drying and curing time along the way.
| Point | Details |
|---|---|
| Plan before you glue | Dry-fit all elements first to avoid messy repositioning and wasted materials. |
| Glue gun safety is non-negotiable | Work in a ventilated space, use the stand, unplug after use, and never touch the nozzle. |
| Drying times determine quality | Skipping drying stages in felt snowflakes and Mod Podge projects causes warping and visible glue marks. |
| Resin demands patience | Allow 2–4 hours for tack and up to 72 hours for full cure before handling coasters. |
| Seal before you decorate | One base coat of Mod Podge on travertine tiles prevents cloudiness and extends the life of the finished piece. |
Why patience is the real craft skill nobody talks about
I have made every mistake in this article at least once. I have pulled a pinecone off a wreath two seconds after pressing it, watched a felt snowflake arm spring open because I rushed the fold, and poured a second resin layer before the first had properly cured. Each time, the project either failed or needed significant repair work.
The honest truth about step by step crafts is that the steps are not the hard part. Reading a numbered list takes thirty seconds. The hard part is stopping yourself from moving to the next step before the current one is finished. Glue needs ten to fifteen seconds of firm pressure, not three. Resin needs hours, not minutes. Felt joints need to be fully cold and set before you stress them with the next fold.
Tool discipline matters just as much as technique. Crafting issues stem from neglecting basic habits, such as keeping the glue gun on its stand and not touching hot nozzles, rather than from poor artistic ability. A crafter who handles tools carefully and waits for materials to dry will consistently produce better results than a skilled artist who rushes.
The projects in this guide, the pinecone wreath, felt snowflakes, and pressed flower coasters, are all genuinely beginner-friendly. None of them require special artistic talent. They do require you to read the steps, gather the right materials, and resist the urge to hurry. That discipline is the actual skill. Once you have it, every handmade decor tutorial becomes achievable.
— Rob
Craftsuprint: your starting point for craft supplies and downloads
Craftsuprint brings together craft supplies, tools, and downloadable design resources in one place, which makes it a practical first stop for anyone starting a new decoration project.

Whether you need decoration materials and supplies for a wreath, felt for snowflakes, or paper craft kits for cards and gift toppers, Craftsuprint’s marketplace covers the full range. Independent designers on the platform also offer printable craft downloads including templates, patterns, and project guides that take the guesswork out of cutting and assembly. Craftsuprint members can also claim a free Create and Craft gift as a welcome bonus. If you are ready to build your kit, the craft supplies section is the best place to start.
FAQ
What tools do I need to start making handmade decorations?
A hot glue gun, rotary cutter, Mod Podge, felt, and floral wire cover the majority of beginner decoration projects. Add resin and travertine tiles if you want to make coasters.
How long does hot glue take to set on a pinecone wreath?
Press each pinecone firmly for 10–15 seconds after applying glue. The bond is strong enough to hold after that time, but avoid moving the wreath for at least one hour after completing assembly.
Why do my felt snowflake arms keep warping?
Warping happens when glue joints are not fully dry before the next fold or assembly stage is attempted. Allow each joint to cool and set completely before applying pressure or adding the next element.
How long does resin take to cure on flower coasters?
The resin base layer reaches a tacky, workable state in 2–4 hours at room temperature. Full hardness takes up to 72 hours. Do not add cork backing or use the coasters before the full cure is complete.
Can children help with these decoration projects?
Children can assist with planning layouts, pressing flowers, and cutting felt with safety scissors. Hot glue guns and resin are adult-only tools due to burn and chemical exposure risks.