
Step by step decoupage tutorial for beginners
You have a beautiful piece of paper, a wooden tray, and big plans. Then you apply the glue, smooth down the paper, and watch a bubble appear from nowhere. Sound familiar? This step by step decoupage tutorial is written specifically for hobbyists who want clean, professional-looking results without the guesswork. You will learn exactly how to prepare your surfaces, apply your materials, smooth out every crease, and seal your work so it lasts. Follow each stage carefully and those wrinkles and bubbles become a thing of the past.
Table of Contents
- Key takeaways
- What you need for a step by step decoupage tutorial
- How to apply paper: the step by step process
- Sealing and finishing your project
- Fixing wrinkles, bubbles, and common problems
- What experience has actually taught me about decoupage
- Start your next project with Craftsuprint
- FAQ
Key takeaways
| Point | Details |
|---|---|
| Preparation determines success | Sanding and cleaning your surface before you start prevents peeling and adhesion failures later. |
| Thin layers are non-negotiable | Applying adhesive in thin, manageable coats stops wrinkles forming and keeps the finish clear. |
| Patience with drying pays off | Wait fully between coats; full cure takes 24 to 72 hours depending on conditions. |
| Troubleshooting is part of the craft | Bubbles and wrinkles have straightforward fixes when you know what caused them. |
| Sealing locks in the work | Multiple light sealing coats give durability and a finish that looks properly embedded. |
What you need for a step by step decoupage tutorial
Before you touch any paper or adhesive, you need the right kit. Skipping this stage is how most beginners end up frustrated. Inadequate surface prep is the single biggest cause of peeling and texture failures, so treat your supply and preparation stage as seriously as the application itself.
Supplies checklist
- Decoupage papers: Tissue paper, napkins, scrapbooking paper, or printed sheets from downloadable resources. Thinner papers conform to curved surfaces more easily.
- Adhesive: Mod Podge is the most beginner-friendly choice because it works as an all-in-one glue, sealer, and finish. You can also use a dedicated decoupage medium or diluted PVA.
- Brushes: Use flat, soft-bristled brushes. Foam brushes reduce streaks on large flat surfaces.
- Scissors and a craft knife: Sharp scissors for cutting shapes; a craft knife for precise edges near borders.
- Sandpaper: 120-grit for initial surface prep, 400-grit for sanding lightly between sealing coats.
- Brayer or bone folder: These tools smooth the paper firmly against the surface without stretching it.
- Clean cloth and water: For wiping surfaces before you begin.
Preparing your surface
For wood, sanding the surface smooth and removing every trace of dust is non-negotiable. Grit and debris create bumps under the paper that no amount of smoothing will fix. Wipe down with a barely damp cloth and allow it to dry fully before you touch the adhesive.
If you are working on glass or ceramic, clean with a little rubbing alcohol to remove any grease. Metals benefit from a light primer coat to give the adhesive something to grip. Plastics are trickier. Sand lightly and apply a thin base layer of gesso or primer to help the medium bond.
Pro Tip: Choose your paper weight to match your surface. Heavyweight scrapbooking paper is brilliant for flat, rigid items like trays and boxes. Switch to single-ply tissue or napkin paper for curved or contoured surfaces, where thick paper would bunch and resist conforming.
Lay out your papers, adhesive, brushes, and tools before you start. Working in sequence without hunting for supplies means your adhesive does not dry in the wrong place while you rummage in a drawer.

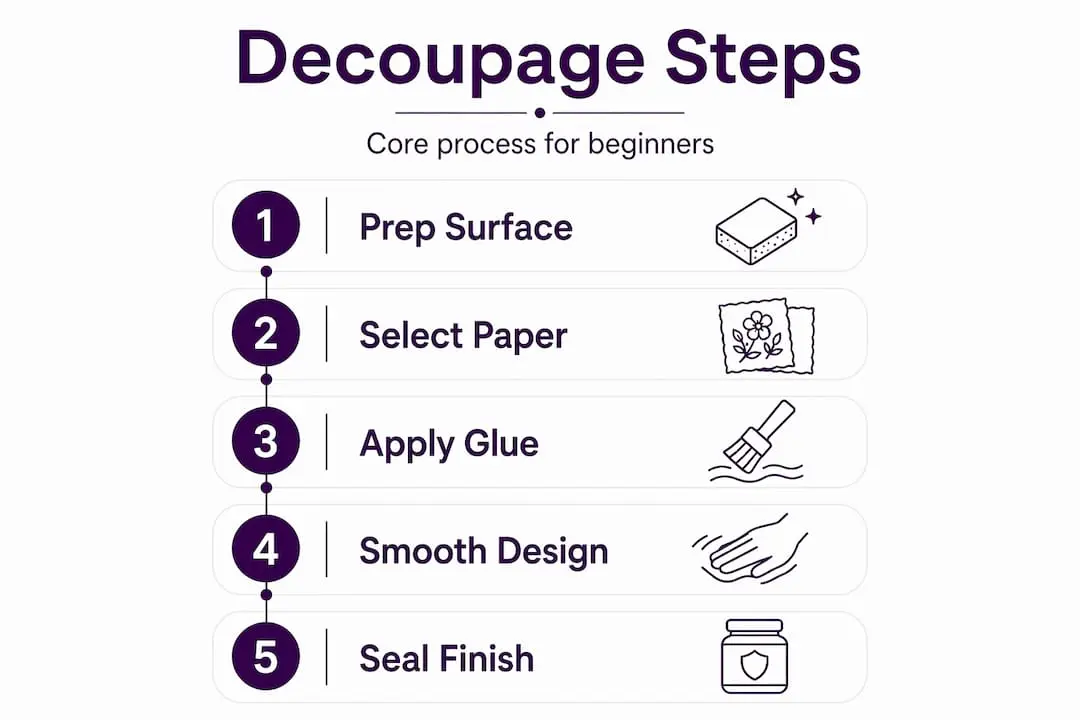
How to apply paper: the step by step process
This is where most how to decoupage step by step guides skip the important details. It is not just “stick the paper down.” The order and method matter enormously.
-
Cut and arrange your papers first. Lay out all your pieces on the object without any glue. This dry-fitting stage lets you arrange paper before gluing and adjust overlaps, check colour balances, and plan the sequence before anything is committed.
-
Apply adhesive to the surface in one small section. Brush a thin, even coat of Mod Podge or your chosen medium over an area slightly larger than the piece of paper you are placing. Do not coat the whole surface at once. Working in small sections stops the adhesive from becoming tacky before your paper arrives.
-
Lay the paper down from one edge. Place one edge of your paper first, then lower the rest gently. Avoid pressing the whole sheet down in one go. This gives you a moment to shift position if it lands crookedly.
-
Smooth from the centre outward. Use your fingertips or a brayer to smooth paper from centre outward, pushing air bubbles toward the edges. Work methodically rather than randomly. Random smoothing just moves bubbles around without releasing them.
-
Press edges and trim as needed. Use a craft knife or damp fingertip to press paper into grooves and edges. For curved surfaces, cut small relief slits into the paper’s border so it lies flat rather than bunching. Score excess paper along edges with your knife after placement, then peel away cleanly.
-
Apply a top coat of adhesive immediately. Before the paper dries, brush a thin layer of medium over the top. This seals the paper in place and removes surface fuzz from tissue papers.
-
Repeat in sections until the piece is covered. Allow each section to become touch-dry before starting the adjacent area to avoid distorting paper you have already placed.
Pro Tip: Work in a cool room if possible. Warm environments dry your adhesive too quickly, shrinking your window for smooth placement. A hairdryer on a cool setting can speed up drying between sections without introducing the heat that accelerates skinning.
Sealing and finishing your project
Sealing is not a single step; it is a process. Many beginners apply one thick coat, declare the project done, and then find the finish cracks or clouds within weeks. The professional look comes from building up the protection gradually.
Choosing your finish
- Matte finish: Creates a natural, flat look that disguises paper edges particularly well. Great for botanical and vintage-style designs.
- Satin finish: A balanced option offering a slight sheen without being overly glossy. Works with most home decor projects.
- Gloss finish: Maximum shine and depth. Particularly effective on bright, photographic imagery and decoupage on glass.
Applying the sealing coats
Brush on your first sealing coat thinly and evenly, then step away. Dry to touch time is 1 to 2 hours, but treating this as the green light to add another coat is a common error. Allow a minimum of two hours between each sealing coat, and apply at least three to four coats total for durability.
After your second coat is fully dry, take your 400-grit sandpaper and sand lightly by hand. You are not sanding aggressively. You are knocking down any raised fibres or dust nibs that settled in the wet coat. Wipe away the dust with a barely damp cloth and apply the next coat. Thin layers with sanding between coats produce that smooth, embedded look that makes it hard to tell where the paper ends and the surface begins.
One often-overlooked detail: blend the visible edges of your paper by brushing a little matching paint or a thin wash of colour over the surrounding surface. This eliminates the step where the eye is drawn to the paper’s border and makes the entire design look like it belongs there.
Full cure on a decoupage project runs anywhere from 24 to 72 hours. In humid conditions it can push longer. Keep your project away from direct sunlight and dampness during this period, as sealing too early traps moisture and produces a cloudy, milky finish that is very difficult to correct.
Fixing wrinkles, bubbles, and common problems
Even with careful technique, issues arise. The difference between a beginner and someone with experience is knowing what the problem is telling you.
-
Wrinkles from too much adhesive: This is the most common beginner mistake. Excess adhesive causes wrinkles and cloudiness. If you see ridging as the paper dries, your layer was too thick. Let it dry fully, then sand lightly and apply a fresh thin coat over the top.
-
Bubbles appearing after placement: Gently pierce the bubble with a fine pin while the adhesive is still slightly tacky, then press flat with your fingertip. Applying pressure with a barely damp cloth helps the paper bond back down without tearing.
-
Napkin papers wrinkling and tearing: This is almost always a ply problem. Removing extra napkin plies reduces thickness and moisture absorption dramatically, making the paper far easier to smooth. Separate the layers and work with the printed top ply only.
-
Edges lifting after drying: This points to surface prep being insufficient. Sand the lifted area lightly, apply a small amount of fresh adhesive under the edge using a fine brush, press down, and weight or clamp while it dries.
Sealing over paper that has not fully dried traps moisture inside the layers. This produces a cloudy white haze that is nearly impossible to remove once cured. When in doubt, give it another hour.
Pro Tip: For napkin decoupage specifically, place a sheet of parchment paper over the positioned design and run a warm iron gently across the surface. The iron-on method re-activates the adhesive and smooths out micro-wrinkles without tearing the delicate paper. This technique works particularly well on flat wooden objects.
What experience has actually taught me about decoupage
I have seen a lot of first decoupage projects, and the pattern is almost always the same. People rush. They apply too much adhesive because they are worried about dry patches, then they try to smooth the paper before the medium has had any time to settle, then they seal the whole thing while the surface is still slightly soft. Every one of those shortcuts produces the exact results they were trying to avoid.
The uncomfortable truth is that professional results depend on patience and preparation far more than skill. You do not need artistic talent to produce a beautiful decoupage piece. You need to let the medium dry. You need to sand between coats. You need to clean your surface thoroughly before you start, because any dust or grease left behind will cause lifting within weeks.
The moment that genuinely satisfies me most in a finished decoupage project is when the edges blend and the paper looks like it was always part of the object. That does not happen from clever technique. It happens from three or four patient sealing coats, a little blending paint at the borders, and adequate cure time. Troubleshooting is not a sign that you are doing it wrong. It is how you learn what the materials are telling you, and that knowledge makes every project after it better.
— Rob
Start your next project with Craftsuprint

If this tutorial has given you the confidence to pick up a brush and start, the next step is finding designs and papers you are genuinely excited to work with. Craftsuprint brings together a wide collection of printable designs, craft tutorials, and project ideas specifically for hobbyists like you. Whether you are looking for themed papers perfect for home decor projects, or step-by-step guides that take you through easy decoupage projects from print to finish, the site has resources built for both newcomers and experienced crafters. Browse craft supplies and tutorials at Craftsuprint to find printable designs ready to cut, apply, and display. From card making kits to decorative paper patterns, there is always something worth creating.
FAQ
What is the best adhesive for beginner decoupage?
Mod Podge is the most popular choice for beginners because it acts as a glue, sealer, and finish all in one product. Apply it in thin coats and allow each layer to dry before adding the next.
How do I stop wrinkles when doing decoupage?
Avoid overloading with adhesive and smooth your paper from the centre outward immediately after placement. Working in small sections keeps the medium from skinning before the paper is fully smoothed.
How long does decoupage take to fully cure?
Decoupage is dry to the touch within one to two hours, but full curing takes 24 to 72 hours depending on humidity and how thickly the coats were applied. Avoid moisture and direct sun during this period.
Can I decoupage with napkin paper without it tearing?
Yes. Separate the napkin and use only the top printed ply, which is thinner and far easier to smooth. Using the iron-on method with parchment paper also helps eliminate wrinkles on delicate napkin designs.
How many coats of sealer does decoupage need?
Three to four thin sealing coats are standard for a durable finish. Sand lightly between coats with 400-grit sandpaper for the smoothest result.