
Step by step craft resource creation: a practical guide
TL;DR:
- Creating craft resources involves careful planning, prototyping, and testing to produce clear, usable instructions for crafters. Using appropriate physical or digital tools, defining project objectives, and gathering feedback ensure quality and user satisfaction. Structured development fosters creativity and builds trust, leading to successful craft projects and resources.
Step by step craft resource creation is the practice of designing and assembling craft projects and printables through a clear, sequential process that ensures quality and usability. Whether you are building a physical card making kit or a downloadable paper pattern, the method is the same: plan first, prototype second, and refine until the instructions stand on their own. Craftsuprint exists precisely to support this kind of structured making, offering a marketplace of ready-to-print resources, tutorials, and craft supplies that crafters can use as both inspiration and raw material. This guide covers every stage of the process, from choosing your tools to troubleshooting common mistakes, so you can produce resources that other crafters will genuinely want to use.
What tools and materials do you need for step by step craft resource creation?
The right tools determine whether your craft resource project succeeds or stalls. Physical projects require cutting mats, bone folders, precision scissors, adhesives, and material-specific tools such as leather needles or crochet hooks. Digital printable projects require design software, a reliable printer, and an understanding of file formats such as PDF and PNG. Sourcing both categories before you start saves time and prevents mid-project interruptions.
Physical tools and supplies
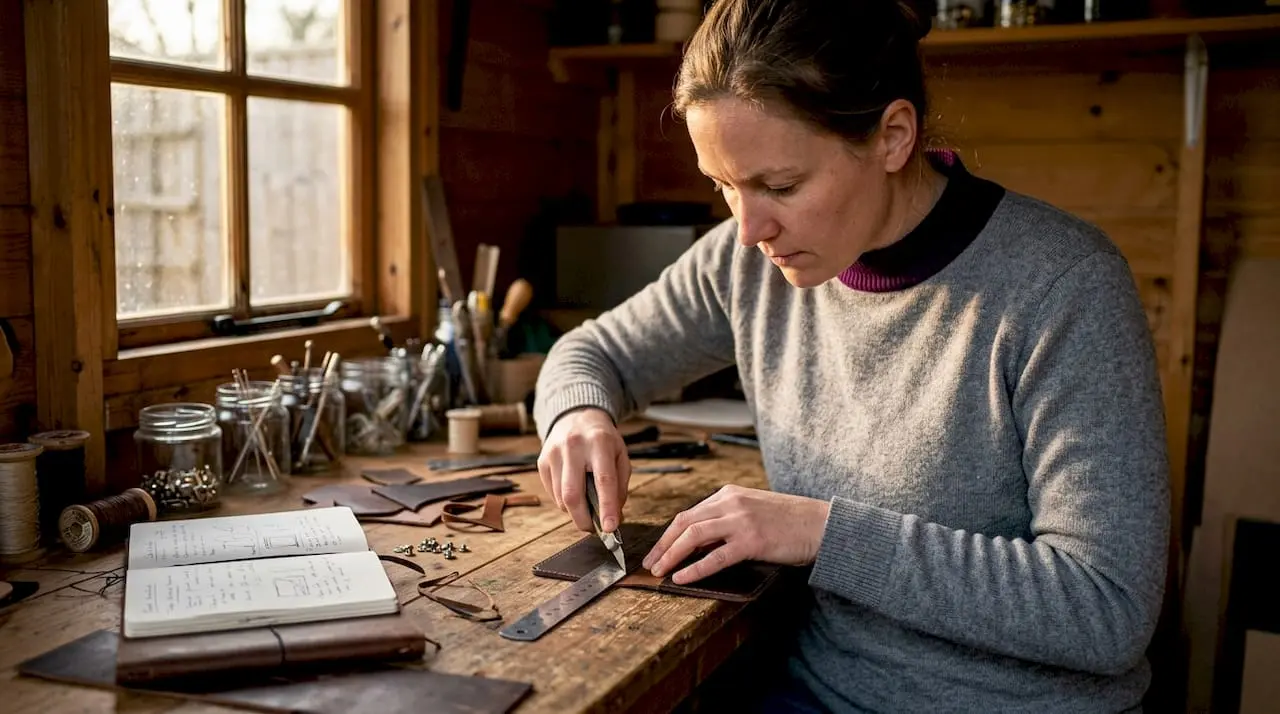
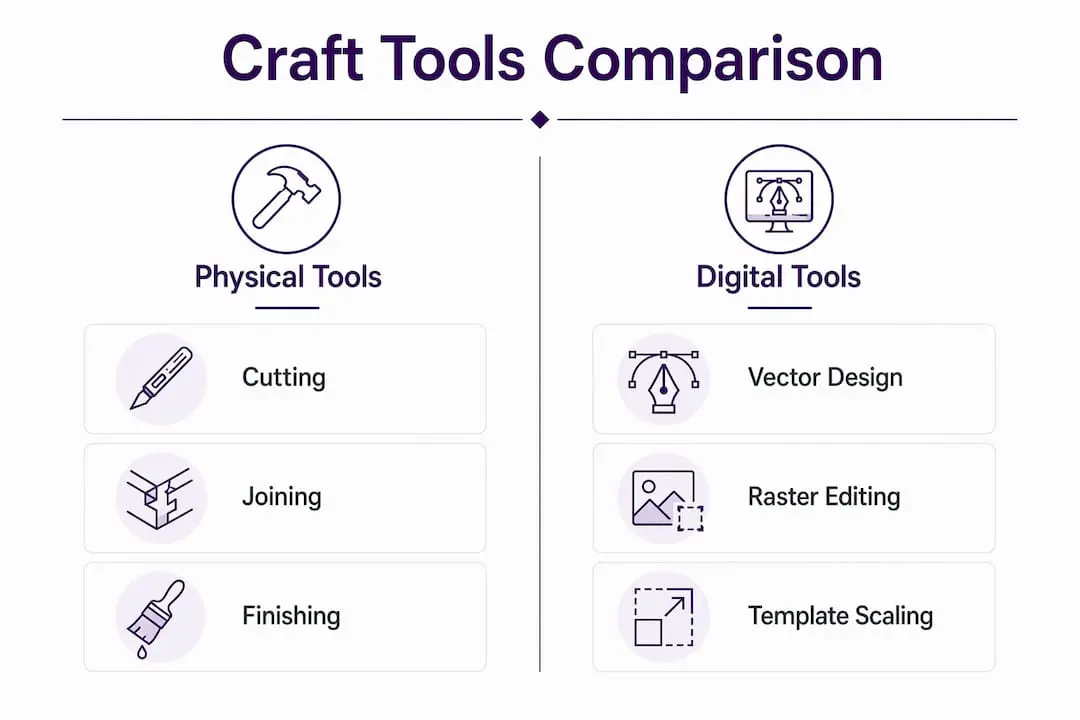
A well-stocked craft workspace covers three categories: cutting, joining, and finishing. Cutting tools include craft knives, rotary cutters, and metal rulers. Joining tools cover adhesives, waxed thread, and needles. Finishing tools include bone folders, embossing styluses, and sandpaper for leather or wood projects. For a practical overview of what to stock at each skill level, the craft supplies checklist on Craftsuprint is a reliable starting point.
Material costs vary significantly by project type. A standard leather bifold wallet requires roughly 0.6 square feet of leather and 4–5 feet of waxed thread, with material costs between £35 and £55 for a first project. That cost drops sharply once you have offcuts and spare thread from earlier work. Simpler projects cost far less: a ribbon rose needs just 25 pieces of satin ribbon at 7 cm each, making it one of the most accessible beginner craft projects available.
Digital tools for printable resources
Printable craft resources require a different toolkit. Vector design programs allow you to create clean, scalable templates that print accurately at any size. Raster editors handle photo-based elements and decorative textures. Export your finished files as PDF for print-ready distribution, and PNG for digital use with transparent backgrounds. Craftsuprint’s printable paper craft guide explains file preparation in practical terms for crafters who are new to digital design.
Pro Tip: Buy materials in small quantities for your first prototype. Only scale your order once you have confirmed the material works for your specific project.
| Tool category | Physical projects | Digital projects |
|---|---|---|
| Cutting | Craft knife, rotary cutter, cutting mat | N/A |
| Joining | Waxed thread, adhesive, bone folder | N/A |
| Design | Ruler, pencil, template card | Vector or raster design software |
| Output | Finished physical item | PDF or PNG file |
| Quality check | Swatch, test assembly | Print test on plain paper |
How do you plan and design your craft resource?
Planning is the stage most crafters skip, and it is the reason most craft resources fail to land with their audience. Before you cut a single piece of card or open your design software, you need one clear objective: who is this resource for, and what will they make with it? A resource aimed at a complete beginner needs far more detail in its instructions than one aimed at an experienced card maker. Defining this upfront shapes every decision that follows.
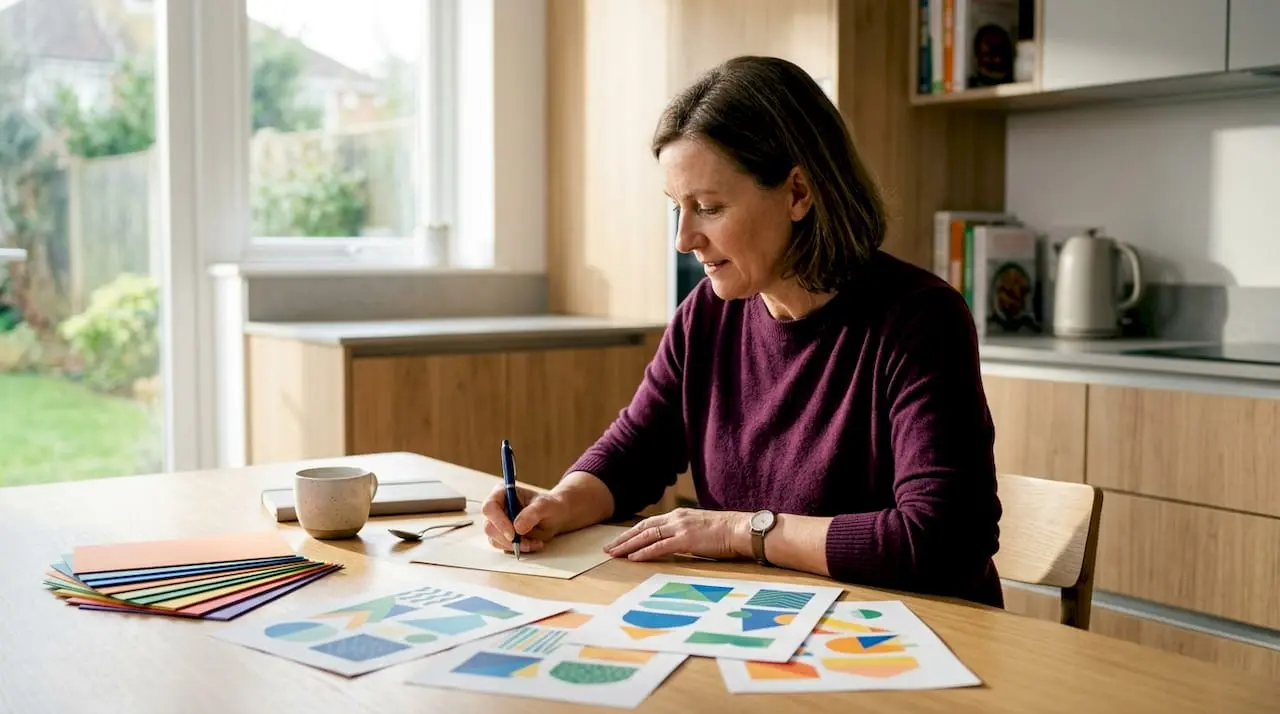
Start by writing a simple brief. List the finished item, the skill level required, the materials needed, and the approximate time to complete. This brief becomes your checklist throughout the project. Prototyping craft kits by building the finished product yourself and recording detailed notes is the most reliable way to produce accurate instructions and a correct materials list. Skipping this step leads to instructions that miss steps the creator found obvious but a beginner would not.
The minimum useful version
The minimum useful version is the simplest form of your resource that still delivers a satisfying result. Most creators fail by building an entire product before testing whether the concept works. A single-page printable template tested with three crafters tells you more than a full kit that has never been used by anyone else. Build the smallest version first, gather feedback, and then expand.
Pro Tip: Send your minimum useful version to two or three crafters at your target skill level before finalising anything. Their confusion points become your instruction improvements.
Design checklist before you begin production:
- Confirm the finished item and its dimensions
- List every material with quantity and specification
- Write a rough sequence of steps from start to finish
- Identify any steps that require specialist tools or skills
- Note where photographs or diagrams will be needed
- Set a realistic time estimate for completion at your target skill level
Step by step execution: how do you craft and finalise your instructions?
Execution is where planning becomes a physical or digital reality. The goal at this stage is not just to make the item. The goal is to make it while recording every action clearly enough that a stranger could follow your notes without asking a single question. This discipline separates a personal craft project from a publishable craft resource.
Clear, well-structured instructions with visuals reduce user frustration and improve satisfaction in craft tutorials. A photograph taken at each major step costs very little time but adds enormous clarity. Write each instruction as a single action: “Score along the fold line with a bone folder.” Not: “You will want to make sure the fold is crisp by using something like a bone folder or similar tool.” Brevity and precision are the same thing here.
Numbered steps for consistent results
- Gather and prepare all materials before starting. Lay them out in the order they will be used.
- Measure and mark all pieces before cutting. Double-check dimensions against your brief.
- Cut all pieces in a single session to maintain consistency across the batch.
- Assemble a dry run without adhesive to confirm fit and sequence.
- Apply adhesive or joining method and assemble in the confirmed sequence.
- Allow drying or setting time as specified by the material manufacturer.
- Apply any finishing treatments: sanding, embossing, or decorative elements.
- Photograph the finished item from multiple angles for your instruction guide.
- Write up the final instructions using your prototype notes as the source.
- Print a test copy of any digital resource and complete the project using only the printed instructions.
Time estimates matter because they set expectations. Beginners typically take 4–6 hours for complex projects such as a leather bifold wallet, while experienced crafters complete the same project in 2–3 hours. A simple ribbon rose takes roughly 45–60 minutes for a beginner. Publishing these estimates in your resource prevents frustration and builds trust with your audience.
| Project type | Beginner time | Experienced time |
|---|---|---|
| Ribbon rose | 45–60 minutes | 20–30 minutes |
| Paper card kit | 1–2 hours | 30–45 minutes |
| Leather bifold wallet | 4–6 hours | 2–3 hours |
| Crochet pillow cover | 6–10 hours | 3–5 hours |
What are the most common mistakes in craft resource creation?
The most common mistake in craft resource creation is writing instructions for yourself rather than for your audience. Creators know the project intimately. They skip steps that feel obvious. They use shorthand that only makes sense with prior knowledge. The result is a resource that works for the creator and confuses everyone else.
Gauge swatches of 10 cm x 10 cm are critical for fibre-based projects. Skipping this step means the finished item may come out the wrong size, which is one of the leading causes of dissatisfaction in crochet and knitting resources. For functional items such as bags or pouches, using a smaller hook size produces tighter fabric and better durability. These are the kinds of technique-specific details that separate a good resource from a great one.
Pro Tip: Version your resources. Label your files with v1, v2, and so on. When you update instructions after feedback, you can track exactly what changed and why.
Do’s and don’ts for craft resource creators:
- Do test your instructions with someone at your target skill level before publishing
- Do include a materials list with exact quantities and specifications
- Do photograph each major step during your prototype build
- Do state time estimates clearly and honestly
- Don’t assume any step is too obvious to include
- Don’t use brand-specific material names without offering a generic alternative
- Don’t publish a resource before completing a full test run using only the written instructions
- Don’t ignore feedback from test users, even when it feels uncomfortable
Material mismatches are another frequent problem. Choosing a paper weight that is too light for a 3D card structure, or a thread that is too thin for a functional bag, produces a finished item that disappoints. Craft design experts stress the importance of durability-focused adjustments such as choosing tighter stitches or stronger materials for functional items. Build this thinking into your planning stage rather than discovering it during execution.
Key takeaways
Structured craft resource creation, combining clear planning, prototype testing, and honest time estimates, produces resources that crafters trust and return to.
| Point | Details |
|---|---|
| Plan before you make | Write a brief with materials, skill level, and time estimates before starting any project. |
| Prototype and take notes | Build the finished item yourself and record every step to produce accurate instructions. |
| Start with the minimum version | Test the simplest form of your resource with real crafters before expanding or scaling. |
| Validate with test users | Send instructions to crafters at your target skill level and revise based on their feedback. |
| Include time estimates | Publish realistic time ranges to set expectations and build audience trust. |
Why structure makes you a better creative, not a lesser one
There is a persistent myth in craft communities that structure kills creativity. I have found the opposite to be true. The more clearly I define the parameters of a project before I start, the more freely I can make decisions within those parameters. Knowing exactly what materials I have, what the finished item must do, and who will use it frees me from second-guessing every choice mid-project.
Prototyping changed how I approach every resource I create. The first time I built a project specifically to write instructions rather than to make the item, I caught six steps I had never consciously registered doing. Those six steps were the difference between a resource that worked and one that would have frustrated every beginner who tried it. The prototype phase is not a delay. It is the work.
Consistent publishing matters too. Regular, sustained releases build audience trust and search visibility far more effectively than occasional large uploads. This applies whether you are sharing free DIY craft tutorials on a blog or selling printable kits through a marketplace like Craftsuprint. The crafters who build loyal followings are not the ones with the most elaborate projects. They are the ones who show up reliably with resources that work as described.
Balancing creativity with structure is a skill that develops over time. Start with the checklist. Follow the numbered steps. Gather the feedback. Then, once the structure is solid, let the creative decisions fill the space it creates.
— Rob
Craftsuprint: your starting point for craft supplies and downloads
Craftsuprint brings together thousands of downloadable craft resources, printable project kits, and craft supplies in one place, making it straightforward to find what you need for your next project.

Whether you are looking for paper crafting materials to build your first printable kit or craft tools to complete a physical project, Craftsuprint’s marketplace covers every stage of the making process. New members can also claim a free members gift to get started with a selection of ready-to-use craft downloads. Browse the full range of craft supplies on Craftsuprint and find the materials that match your next project.
FAQ
What is step by step craft resource creation?
Step by step craft resource creation is the process of designing, prototyping, and documenting a craft project so that another person can follow it reliably. It covers both physical projects and digital printables.
How long does it take to create a craft resource from scratch?
Time varies by complexity. A simple ribbon rose resource takes under an hour to prototype, while a leather wallet kit can take 4–6 hours for a beginner to build and document accurately.
Do I need design software to create printable craft resources?
Vector or raster design software is the standard for printable resources, as it allows you to produce clean, scalable templates that export accurately as PDF or PNG files.
Why should I test my instructions before publishing?
Testing with real crafters at your target skill level reveals gaps and ambiguities that the creator cannot see. Clear instructions with visuals reduce user frustration and improve satisfaction significantly.
What is the minimum useful version of a craft resource?
The minimum useful version is the simplest form of your resource that still delivers a complete, satisfying result. Building and testing this version before expanding prevents wasted effort and ensures the core concept works.