
Create stunning cards: step-by-step card making guide
Starting your first handmade card can feel surprisingly daunting. You stare at a blank piece of card, a pile of pretty paper, and suddenly every creative idea vanishes. That paralysis is more common than you think, and it has nothing to do with talent. What most beginners lack is simply a clear, structured process. This guide walks you through everything from gathering your tools to adding the final flourish, using printable templates and straightforward techniques that remove the guesswork entirely. Whether you are making a birthday card, a thank-you note, or a seasonal greeting, the steps ahead will give you the confidence to create something genuinely beautiful.
Table of Contents
- Gathering your card making essentials
- Planning your card: template selection and layout
- Step by step: assembling your card
- Troubleshooting, finishing touches and presentation
- What most card making guides miss: confidence comes from action
- Discover more card making inspiration and resources
- Frequently asked questions
Key Takeaways
| Point | Details |
|---|---|
| Use templates for structure | Templates and sketches remove guesswork and boost confidence in your card design. |
| Layer and repeat colours | Repeating colours and thoughtful layering create visually appealing handmade cards. |
| Keep focal points simple | Allow main elements to shine by using simple backgrounds and minimal embellishments. |
| Mistakes can be creative | Imperfections often add personality and charm to your unique handcrafted cards. |
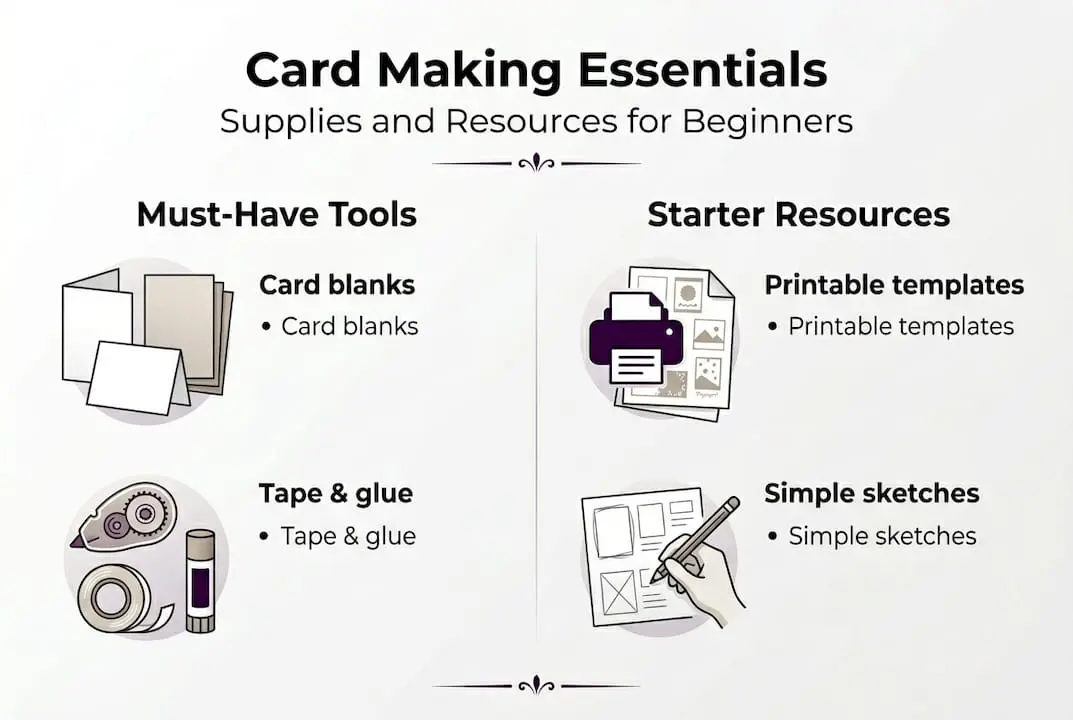
Gathering your card making essentials
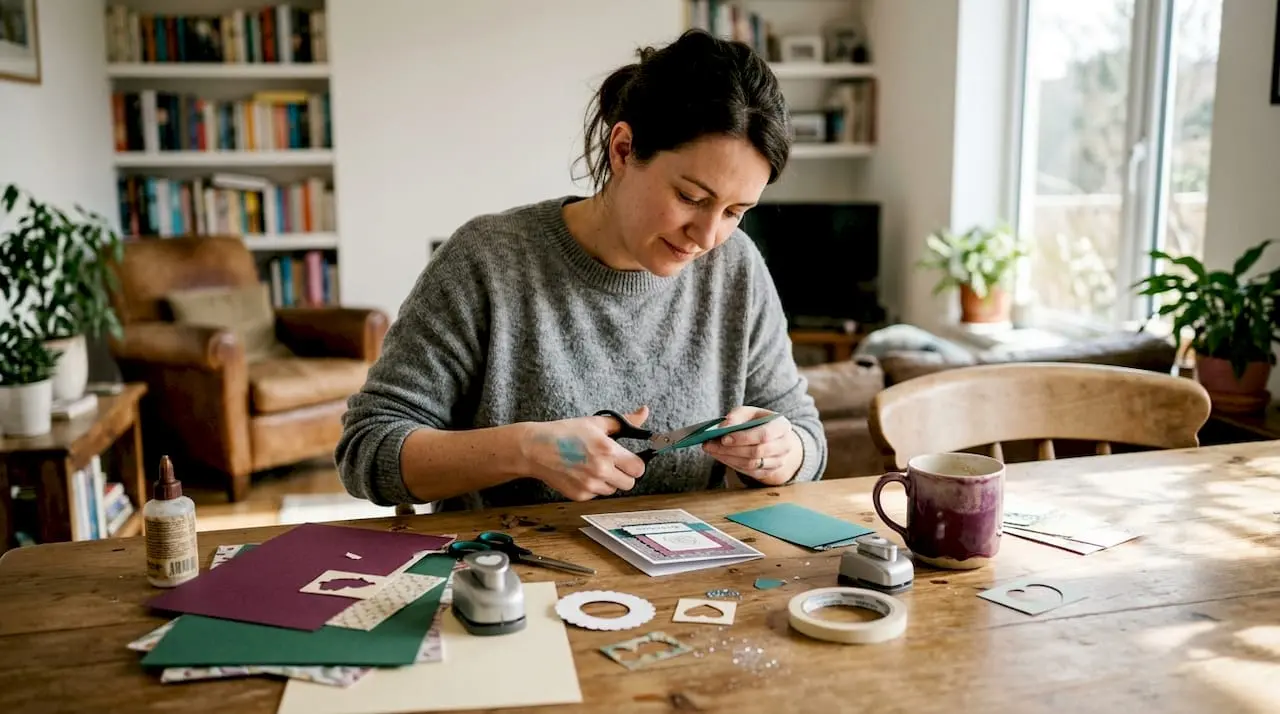
To begin the process smoothly, it is key to have all materials at the ready. Reaching for scissors mid-project only to discover you cannot find them is the quickest way to lose momentum. Laying everything out before you start makes the whole experience calmer and far more enjoyable.
Here are the must-have materials for any card making project:
- Base card blanks in A6 or A5 size (white or ivory work best for beginners)
- Adhesives: double-sided tape, tacky PVA glue, and a glue stick for different paper weights
- Scissors with a sharp, clean blade and a craft knife with a cutting mat for precision
- Printable templates downloaded and printed on quality inkjet paper or cardstock
- A ruler and a bone folder for crisp, professional folds
- Ink pads and stamps if you enjoy adding hand-stamped details
Once you have the essentials covered, you can explore optional add-ons that take cards to the next level. Embellishments such as rhinestones, brads, and ribbon add texture. Die-cut shapes created with a craft die machine layer beautifully. Foam pads, which are small self-adhesive squares, lift an element off the card surface to create a three-dimensional effect that looks far more impressive than the effort involved.
Printable resources are a game-changer for beginners. Rather than drawing layouts from scratch, card making supplies and downloadable templates provide a ready-made structure you simply print, cut, and arrange. As card templates simplify design by providing structure for layers and adapting to any occasion, they genuinely speed up the creative process without sacrificing originality.
Pro Tip: Download two or three different templates before you begin and print them on plain paper first. This lets you test layouts and proportions without wasting good cardstock.
| Tool | Essential | Optional |
|---|---|---|
| Card blanks | Yes | |
| Double-sided tape | Yes | |
| Scissors | Yes | |
| Printable templates | Yes | |
| Bone folder | Yes | |
| Foam pads | Yes | |
| Die-cutting machine | Yes | |
| Rhinestones and gems | Yes | |
| Ribbon and twine | Yes |
Planning your card: template selection and layout
With your materials in place, the next step is to plan your card’s look and feel. Jumping straight into cutting without a plan is where many crafters go wrong. A little thought at this stage saves a lot of frustration later.
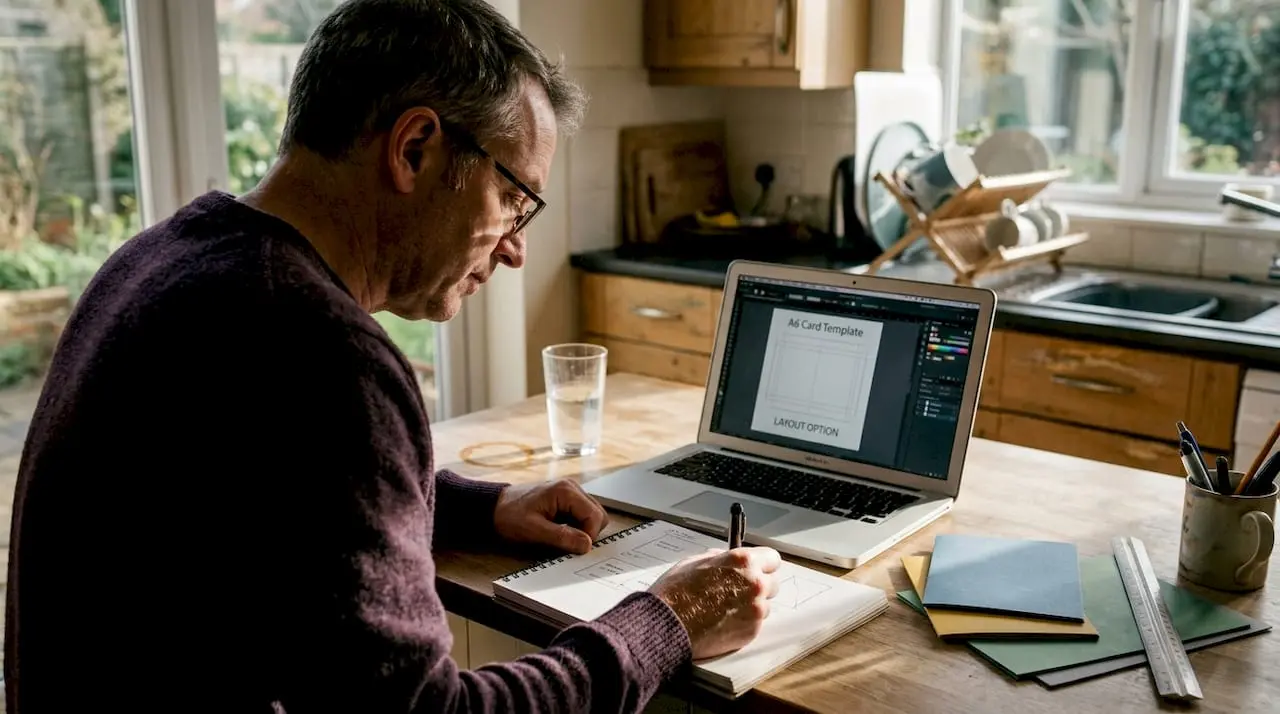
Card sketches and templates are essentially blueprints. They show you exactly where each layer sits, where the focal element goes, and how much white space to leave. Card sketches and templates remove the intimidating blank-canvas problem entirely, giving your creative energy somewhere useful to go.
When adapting a template to a specific occasion, consider the tone. A birthday card for a child calls for bright colours and playful shapes. A sympathy card needs softer tones and restrained embellishment. A good template bends to fit these needs without requiring you to redesign from scratch.
What to consider when choosing a template:
- Occasion and recipient: match the theme and mood to the person receiving it
- Skill level: choose a template with fewer layers if you are a beginner
- Paper size: confirm the template fits your card blank before printing
- Colour palette: pick a template whose colour scheme matches your available materials
- Focal element: identify where the hero image or sentiment will sit before you commit
Layout basics are worth understanding too. The rule of thirds, borrowed from photography, suggests placing your main element slightly off-centre for a more dynamic, visually pleasing result. Repeating one or two colours across layers creates cohesion. As templates provide layering structure that is adaptable for any occasion, you can use colour repetition and the rule of thirds to make even simple designs look polished.
| Feature | Blank card | Printable template |
|---|---|---|
| Creative freedom | High | Moderate |
| Time to complete | Longer | Shorter |
| Skill level required | Intermediate+ | Beginner-friendly |
| Design structure | Self-created | Pre-provided |
| Cost | Lower materials | Minimal download cost |
Step by step: assembling your card
Planning done, it is time to follow the step-by-step process and bring your card to life.
- Cut your base layer. Score and fold your card blank with a bone folder for a crisp edge. If using a printable background, trim it precisely to fit the front panel.
- Layer your papers. Add a slightly smaller contrasting paper layer on top of the base. A 2mm border of a different colour creates definition and depth.
- Prepare your focal element. This is your hero image, stamped motif, or printed centrepiece. Cut it cleanly and, if the design benefits, mount it on foam pads for dimension.
- Adhere the focal element. Position it slightly off-centre following the rule of thirds. Press firmly and allow adhesive to set before adding anything on top.
- Add embellishments. Gems, ribbon bows, or die-cut shapes frame the focal element without competing with it. As letting focal elements shine over busy backgrounds instantly improves results, keep surrounding decoration restrained.
- Personalise your message. Write or stamp your sentiment inside or on a small tag adhered to the front. Handwriting, even imperfect handwriting, adds genuine warmth.
You can explore more ideas through project tutorials to see how experienced crafters handle each stage.
Important: Always match your adhesive to your material. Heavy embellishments need strong tacky glue or foam-mounted tape. Lightweight vellum or tissue paper needs minimal adhesive applied carefully to avoid bleed-through. Using the wrong glue is the single most common cause of cards falling apart before they reach the recipient.
Pro Tip: Build your card on a clean white surface so you can see any stray adhesive marks before they dry. A lint roller nearby is useful for removing paper fibres that cling to cardstock.
Troubleshooting, finishing touches and presentation
With your main assembly done, let’s polish and perfect the final result for gifting.
Even experienced crafters encounter the same recurring issues. Crooked layers are usually caused by rushing the measuring stage. The fix is simple: use a ruler and pencil to mark placement lightly before adhering anything permanently. Smudging happens when ink or markers are not fully dry before you handle the piece. Give stamped or printed elements a full two minutes before touching them. An unbalanced design, where one side feels heavier than the other, is solved by adding a small element such as a gem cluster or tiny tag to the lighter side.
Easy finishing touches that elevate any card:
- Ribbon or twine tied through a punched hole adds texture and colour
- A wax seal on the envelope flap creates a premium, luxurious feel
- Rhinestones or pearls placed at the corners of layers add subtle sparkle
- A hand-stamped or handwritten message on the inside back cover personalises it fully
- A small gift tag with the recipient’s name tied with twine adds a thoughtful touch
Presentation matters enormously. A handmade card that arrives crumpled or bent loses much of its impact. Place your finished card inside a clear cellophane sleeve before sliding it into an appropriately sized envelope. For posting, use a rigid cardboard-backed envelope to prevent bending in transit. As focal elements shine when backgrounds are kept simple and colours repeat across the design for cohesion, the same principle applies to presentation: keep it clean, keep it considered. Research consistently shows that handmade, custom finished cards are treasured and kept far longer than mass-produced shop-bought alternatives, making every extra minute spent on presentation genuinely worthwhile.
What most card making guides miss: confidence comes from action
Even with all the practical tips, it is important to reflect on the creative journey itself. Most card making guides focus entirely on technique, and that is useful, but they quietly reinforce the idea that the goal is a perfect card. It is not.
Many crafters hold back because they fear their work will not look professional enough. Here is the uncomfortable truth: nobody who receives a handmade card is marking it against a professional standard. They are holding something a real person made specifically for them. That matters far more than straight edges or flawless colouring. Imperfect cards made with genuine effort are the ones that end up kept in drawers for years.
The crafting community insights shared by seasoned makers consistently point to the same lesson: the crafters who improve fastest are the ones who make cards regularly, learn from the occasional wonky result, and enjoy the process rather than fearing the outcome. Start messy if you must. Just start.
Discover more card making inspiration and resources
Having finished your card, you might want to keep creating or try new designs. The creative instinct that made you pick up scissors and paper does not switch off after one project.
At Craftsuprint, you will find an extensive range of ready-to-use designs, printable kits, and step-by-step guides built specifically for hobby crafters. Whether you want a quick template for a last-minute birthday or an intricate seasonal kit to work through over a weekend, everything is available to download templates and supplies instantly. New designs are added regularly, and weekly freebies mean there is always something fresh to try. Explore the full collection, find your next favourite design, and keep the creative momentum going.
Frequently asked questions
What is the easiest type of handmade card to start with?
A simple layered card using a pre-made template and minimal embellishments is the easiest way to begin. Structured card templates remove the guesswork from layout and layer placement for first-timers.
How do I stop my cards from looking cluttered?
Let your main design element stand out and avoid busy backgrounds; repeat colours across layers for cohesive results. Following the advice to let focal elements shine is one of the quickest ways to improve the overall look.
Can I make professional-looking cards with just basic supplies?
Yes. Following step-by-step templates and applying simple design rules such as the rule of thirds produces polished results even with minimal tools. Templates simplify the process considerably for beginners working with basic supplies.
What glue is best for handmade cards?
A strong double-sided tape or tacky PVA glue is ideal for durability and neatness, ensuring layers stay flat and secure without visible residue.