
Silhouette print and cut: a beginner's complete guide
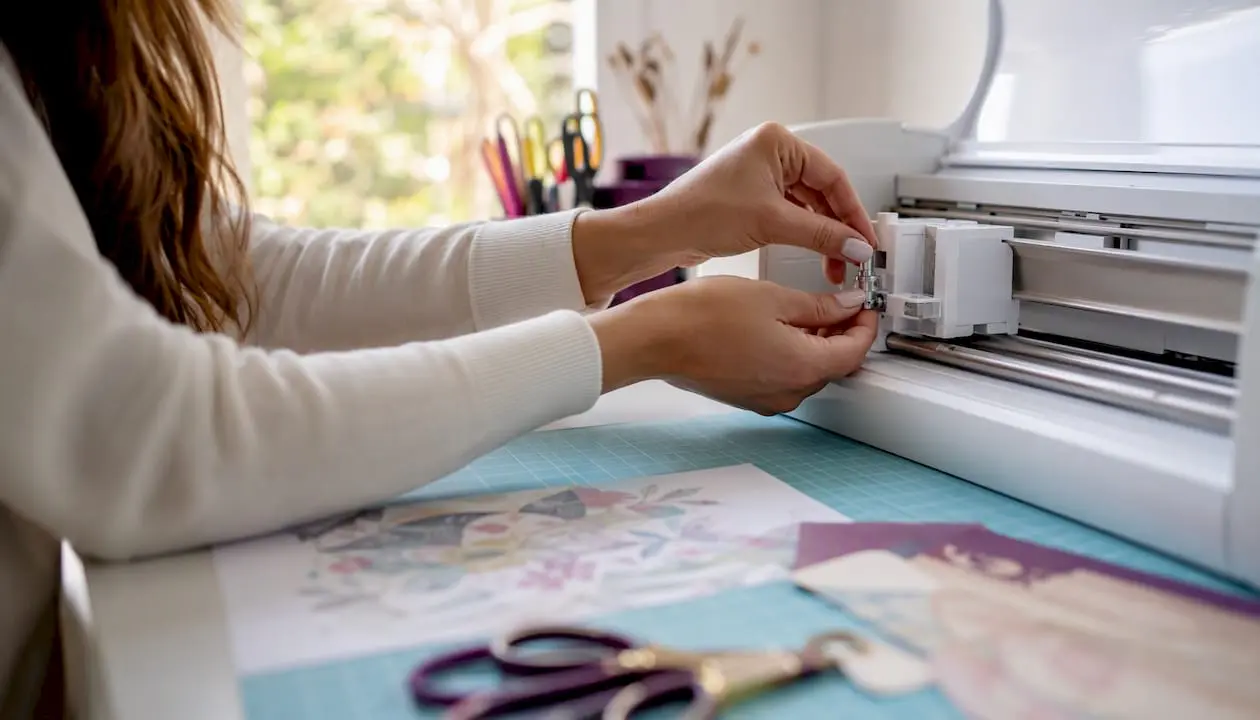
Silhouette print and cut works in three steps: prepare your file in Silhouette Studio with registration marks and assigned cut lines, print it on suitable media with your inkjet printer, then load the printed sheet and let the cutter locate the marks before cutting. Get those three things right and you will have clean, accurate results every time. Before you press print, run through this quick checklist:
- Page size in Studio matches your printer’s paper size (A4 for most UK setups)
- Registration marks are switched on in the Page Setup panel
- Cut lines are assigned via Trace or Cut Edge (not left at 0.0pt, which won’t print)
- Print Bleed or an offset is enabled to prevent white edges
- Artwork sits outside the crosshatch registration zones
Expect a standard margin of error of around 1/16 inch (?1.6 mm). If your cuts land within the typical margin of error, Print Bleed is all you need. However, if the misalignment is consistently larger, run the calibration check in Silhouette Studio before anything else.
Key takeaways
Silhouette print and cut requires four confirmed steps: registration marks on, cut lines assigned, test print completed, and a test cut run before the full job.
| Point | Details |
|---|---|
| Enable registration marks | Switch them on in the Page Setup panel and keep all artwork outside the crosshatch zones. |
| Assign cut lines correctly | Use Trace or Cut Edge; default 0.0pt lines do not print and won’t be recognised. |
| Test print before specialty media | Print on plain paper first to confirm mark clarity and colour before using sticker or vinyl sheets. |
| Use Print Bleed for small offsets | The standard margin of error is ?1.6 mm; Print Bleed handles this without recalibration. |
| Craftsuprint for ready-made files | The print-and-cut category offers Studio-ready files with cut lines assigned and commercial licences available. |
Table of Contents
- What is Silhouette print and cut, and what can you make?
- What supplies and materials do you need?
- How to set up your file in Silhouette Studio
- How to print your design correctly
- How to load and cut your printed sheet
- Troubleshooting registration marks and alignment
- Material compatibility and finishing techniques
- Where to find print-and-cut-ready designs
- A practical perspective on getting print and cut right
- Ready-to-print designs on Craftsuprint
- Sources
- FAQ
What is Silhouette print and cut, and what can you make?
Print and cut is a two-stage workflow: you design something in Silhouette Studio, print it on your home inkjet, then feed the printed sheet back into your Silhouette cutter. The machine reads small printed registration marks to locate the design precisely, then cuts around it. No scissors, no guesswork.
The range of projects is genuinely wide. Common ones include:
- Stickers and sticker sheets (the most popular starting point)
- Gift tags and labels with custom shapes
- Printable vinyl decals for mugs, bottles and windows
- Heat-transfer motifs for T-shirts and tote bags
- Fridge magnets on printable magnet paper
- Temporary tattoos on specialist tattoo paper
- Shrink plastic charms printed before shrinking
- Adhesive kraft labels for packaging and small-business branding
All current Silhouette machines support print and cut: the CAMEO range, the Portrait, and the Curio. Maximum printable area varies by machine. The CAMEO handles up to 12×12 inches; the Portrait is typically limited to letter or A4 size. Keep that in mind when planning larger sticker sheets.
What supplies and materials do you need?
Hardware
You need three things: a Silhouette cutter (CAMEO, Portrait, or Curio), a cutting mat appropriate for your media thickness, and a home inkjet printer. The blade matters too. Most print-and-cut jobs use the standard blade or AutoBlade; for thicker media like magnet paper, increase blade depth accordingly.
For printers, Epson inkjet models are widely recommended in the UK for their colour accuracy and compatibility with printable vinyl and heat-transfer sheets. Check that your ink is dye-based rather than pigment-based when working with printable vinyl, as pigment inks can sit on the surface rather than bonding, which affects durability.
Printable media
Commonly used printable materials include:
- Printable sticker paper (matte or gloss)
- Printable vinyl (adhesive, for decals)
- Printable heat-transfer material (for fabric projects)
- Printable foil sheets
- Printable magnet paper
- Printable tattoo paper
- Printable adhesive kraft paper
In the UK, Avery is a reliable brand for printable sticker paper and labels, stocked at Ryman, Staples, and most large supermarkets. Specialist printable vinyl and HTV sheets are available from online craft suppliers and on Craftsuprint’s craft supplies section.
Surface finish matters. Matte media is almost always easier for the machine’s optical sensor to read than gloss. Heavily glossy surfaces reflect light back at the sensor and cause registration mark failures. If you must use gloss, place a small strip of low-tack masking tape over the registration marks before loading, or switch to a matte-finish sheet for your test run.
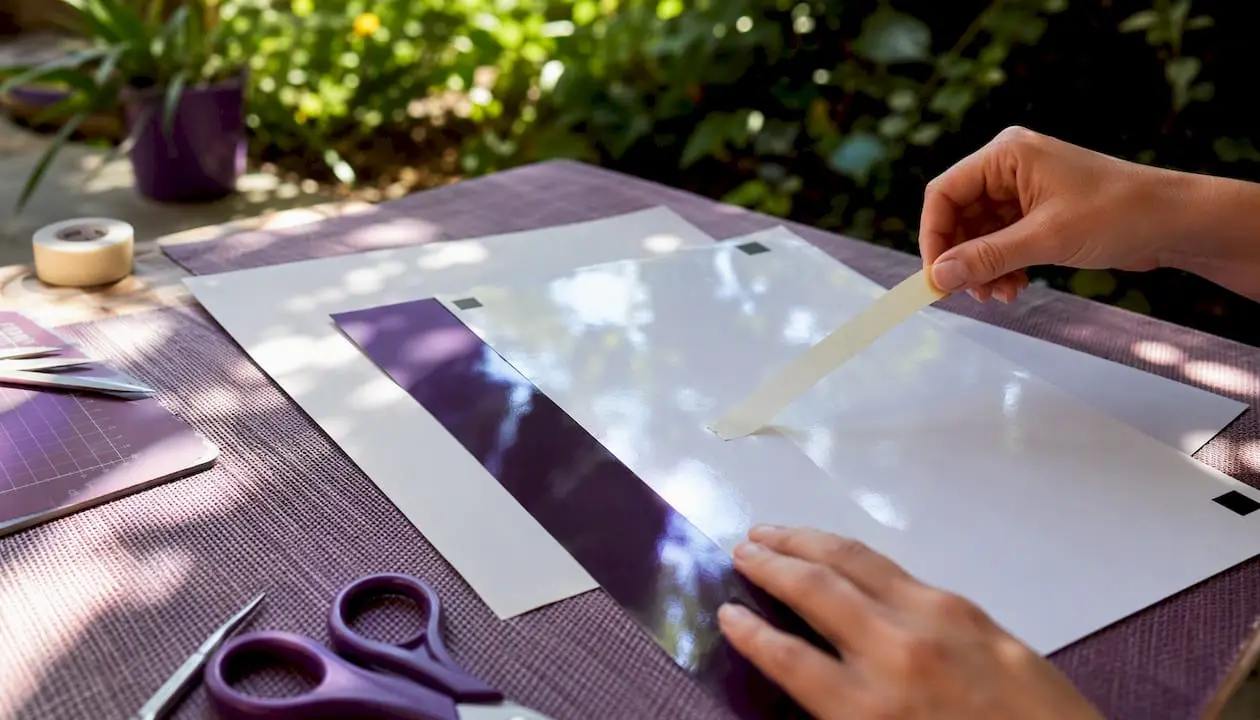
Pro Tip: Keep a few sheets of plain A4 to hand for test prints. Running your first print on plain paper costs nothing and confirms mark clarity and colour before you touch your specialty media.
How to set up your file in Silhouette Studio
The single most important action in Silhouette Studio is enabling registration marks and keeping all artwork outside the crosshatch corner zones. Without clear registration marks, the cutter’s optical scanner cannot locate your design on the printed sheet.
Follow these steps in order:
- Set your page size. Open the Page Setup panel and match the page size to your printer’s paper (A4 for most UK printers). Mismatched sizes are one of the most common causes of registration mark failure.
- Enable registration marks. In the Page Setup panel, toggle registration marks on. Studio v4 and v5 use slightly different mark styles; v5 marks are generally more reliable with newer CAMEO firmware. Choose the version that matches your Studio build.
- Check the cut border. Enable the cut border display so you can see exactly where the cutter will operate. Keep all artwork inside the cut border and well clear of the crosshatch zones in the corners.
- Assign cut lines. Use Trace or Trace Outer Edge to generate a cut path around your artwork, then set it to Cut (not No Cut). Default cut lines at 0.0pt thickness do not print and will not be recognised in the Print & Cut workflow. Confirm the line style is set to Cut Edge.
- Enable Print Bleed or set an offset. Print Bleed, introduced in Silhouette Studio v4.2, extends the printed colour slightly beyond the cut line so that tiny misalignments don’t leave a white border. It applies to the whole document. If you want a deliberate white border, use an offset of 0.5–1 mm instead.
- Save your Studio file. Save the native .studio3 file for future edits. For sharing or archiving, export a PDF or high-resolution PNG. The exported file will include registration marks if you print directly from it.
Pro Tip: Group your cut lines with their corresponding artwork layer, then lock the group. This prevents the cut path from drifting out of alignment if you reposition artwork later.
For importing artwork, SVG files retain vector cut paths and are the cleanest option. PNG and JPG files work well for the printed image but require you to trace a cut line manually in Studio. Saving reusable project templates is worth the effort for small businesses; the role of templates in small craft businesses is covered in more detail on the Craftsuprint blog.
How to print your design correctly
Always do a test print on plain paper first. Check that registration marks are sharp and dark, that no artwork bleeds into the crosshatch zones, and that colours are not too pale. Only then load your specialty media.
Key printer settings to confirm:
- Quality mode: set to High Quality or Photo for the sharpest registration marks
- Paper type: match the setting to your media (plain paper for test prints, photo paper or specialty for final runs)
- Colour management: let either Studio or the printer manage colour, but not both. Conflicting colour management can shift hues and reduce mark contrast
- Orientation: portrait for A4 sheets in most cases; confirm it matches your Studio page orientation
- Scaling: always print at 100%. Any scaling will shift the registration marks relative to the cut lines
For UK users, Epson inkjet printers with genuine Epson inks tend to produce consistent mark density across a range of printable media. Third-party inks occasionally print lighter marks, which can cause scanner failures.
Quick pre-load checklist before feeding the printed sheet into your Silhouette:
- Registration marks are clearly visible at all four corners
- No artwork overlaps the crosshatch areas
- Colours are saturated, not washed out
- No smudging or ink bleed on the marks
- Sheet is fully dry (allow at least two minutes for inkjet ink to set on specialty media)
How to load and cut your printed sheet
Load the printed sheet onto your cutting mat, aligning the top-left corner of the sheet to the mat’s registration corner. The printed side faces up. Feed the mat into the machine using the load button.
Follow these steps for a clean cut:
- Open the Send panel in Silhouette Studio. Do not press Send yet.
- Select your material preset. Choose the preset that matches your media (e.g. Printable Sticker Paper, Printable Vinyl). Check blade depth, force, and speed against the preset values.
- Run a test cut. Before the full job, cut a small test shape (a 1 cm square or a simple star) in a corner of the sheet that won’t affect your designs. Perform the tear test: lift the shape and check it cuts cleanly through the media without tearing the backing.
- Adjust if needed. If the blade doesn’t cut through, increase blade depth or force by one increment and test again. If it cuts through the backing, reduce depth.
- Press Send for the full job. The machine will scan the registration marks first. Watch the first few seconds: if the scanner passes over the marks without stopping, pause the job and check mark clarity and mat orientation.
- Unload and weed. Once cutting is complete, unload the mat, peel the sheet carefully, and weed away the excess material.
Pro Tip: If the machine fails to find registration marks on the first pass, try manually repositioning the mat slightly and pressing retry. A second attempt often succeeds when the first scan catches a shadow or a slight feed angle.
Troubleshooting registration marks and alignment
The standard margin of error for print and cut alignment is 1/16 inch (?1.6 mm). If your cuts land within that, the fix is Print Bleed, not calibration. Reserve calibration for consistent, uniform misalignment that exceeds that threshold across every design on the sheet.
Registration mark failures: check in this order
- Software version: confirm Silhouette Studio is up to date; older versions have known mark-reading bugs
- Mat and sheet orientation: the printed sheet must sit squarely on the mat with no curl or lift at the edges
- Print contrast: pale or smudged marks fail the scanner. Reprint if marks look grey rather than black
- Media surface: reflective or glossy surfaces interfere with the optical sensor. Place a strip of matte tape over the marks or switch to a matte sheet
- Lighting: bright overhead lighting or direct sunlight hitting the machine can wash out the sensor reading. Work in consistent, moderate indoor light
- Registration mark type: try switching between v4 and v5 mark styles in Page Setup if one consistently fails
Calibration: when it actually helps
Calibration is most useful when misalignment is uniform: the cut is off by the same distance in the same direction around the entire design. That pattern points to a systematic offset between the printer and the cutter. Non-uniform drift, where the cut wanders differently on different parts of the design, almost always points to a sensor obstruction, a warped mat, or inconsistent paper feeding rather than a calibration problem.
To calibrate, go to Edit > Preferences > Calibration in Silhouette Studio and follow the on-screen steps. The process prints a calibration sheet and asks you to measure the offset, which Studio then applies as a correction.
Pro Tip: Before calibrating, run a Print Bleed test on a plain-paper print. If the slight offset becomes invisible with Print Bleed active, skip calibration entirely. Calibration is a last resort, not a first response.
Material compatibility and finishing techniques
Most printable media cuts reliably on a Silhouette, but a few surfaces cause consistent problems. Very glossy coated papers, heavily textured card, and any media thicker than the blade’s maximum depth will either fail the scanner or produce ragged cuts.
Media that works well
- Printable matte sticker paper (the most forgiving for beginners)
- Printable vinyl (adhesive and non-adhesive)
- Printable heat-transfer material (check ink compatibility with your printer)
- Printable foil sheets (use a light touch on force settings)
- Printable magnet paper (increase blade depth; use a firmer mat)
- Printable tattoo paper (handle gently post-cut; the surface scratches easily)
- Printable adhesive kraft paper (great for packaging labels)
Finishing steps
- Laminate stickers with a cold-press laminate sheet for durability. Apply before cutting if your Silhouette blade can handle the combined thickness; apply after cutting for thinner media.
- Heat-press HTV motifs following the material manufacturer’s temperature and time specifications. High-level guidance: most printable HTV requires 150–165°C for 10–15 seconds with firm pressure, but always defer to the sheet’s own instructions.
- Weed carefully. Use a weeding tool or fine-tipped craft hook to remove excess material from intricate cuts. For small-business sticker sellers, a light box underneath the sheet makes weeding faster.
- Set your offset for thicker media. For magnet paper or laminated sticker sheets, increase the cut offset to 0.5–1 mm to account for the blade’s kerf and the extra material thickness.
For a deliberate white border, set a 0.5 mm offset outward from the artwork rather than using Print Bleed. For borderless cuts, Print Bleed is the cleaner solution.
Where to find print-and-cut-ready designs
The fastest way to start a print-and-cut project is to download a file that already has cut lines assigned and registration marks set up. When evaluating any design listing, check for:
- A ‘Print & Cut’ tag or label in the product description
- Included cut lines (not just a flat PNG with no vector path)
- Layer grouping that keeps artwork and cut paths together
- A licence that covers commercial use if you plan to sell finished pieces
- Preview images showing the design with registration marks or cut-line overlays
Craftsuprint’s print-and-cut cutting files category is the primary recommended starting point. Files there are Studio-ready, with cut lines already assigned, and many include both hobby and commercial-use licence options. For small businesses selling stickers or gift tags, confirming the commercial licence before purchasing saves complications later.
For printable media in the UK, Avery sticker paper is available at Ryman, Staples, and most large supermarkets. Specialist printable vinyl and foil sheets are stocked by online craft retailers. For project ideas beyond stickers, the Craftsuprint blog covers 12 creative ways to use printables that translate directly into print-and-cut projects.
A practical perspective on getting print and cut right
The single habit that saves the most time is running a test print and a single test cut before committing to a full sheet. Every time, without exception.
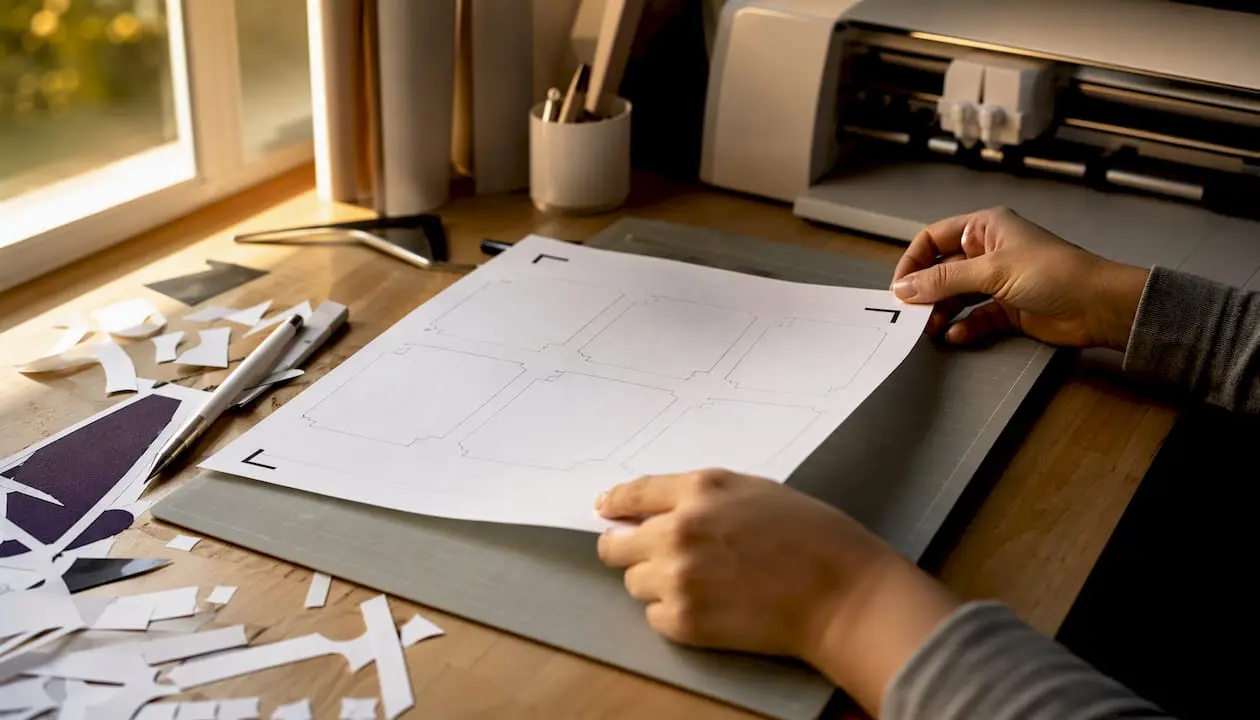
Three things I always check before a print-and-cut run:
Lighting first. The optical sensor is more sensitive to ambient light than most beginners expect. If a job fails and nothing obvious is wrong, moving the machine away from a window or switching off a bright overhead lamp often fixes it immediately.
Mat alignment second. A sheet that sits even slightly skewed on the mat will produce cuts that drift progressively across the design. Press the sheet flat, align the corner precisely, and run your hand across it to check for bubbles or lift before loading.
Keep a settings notebook. For each media type you use regularly, note the blade depth, force, speed, and any offset that produced a clean cut. Recreating those settings from memory wastes time and media. A small notebook or a notes app entry per material takes thirty seconds and pays back every subsequent run.
On calibration: most beginners reach for it too quickly. If your misalignment is inconsistent, or if it only appears on certain parts of the sheet, calibration won’t help. Fix the environment first. Calibration is genuinely useful only when the offset is uniform and reproducible across multiple prints and multiple sessions.
Ready-to-print designs on Craftsuprint
Craftsuprint’s print-and-cut category holds a curated library of Studio-ready files covering stickers, gift tags, labels, and seasonal designs. Each file comes with cut lines already assigned, so you skip the tracing step entirely and go straight to printing.

For members, the Create & Craft free gift page includes downloadable projects you can use as a first print-and-cut practice run without spending anything. Once you’re comfortable with the workflow, the full catalogue offers hobby and commercial licences, so small-business crafters can sell finished pieces without worrying about rights. Browse the print-and-cut category, download a file, and run your first test print today.
Sources
The following resources cover calibration steps, Print Bleed explanations, and visual tutorials in more depth:
- Print and Cut Troubleshooting : Silhouette America Support
- Print & Cut Perfection | Silhouette 101 (ebook)
- How to Print & Cut |
- How to Print and Cut with Silhouette: Print & Cut 101 - Persia Lou
FAQ
Can a Silhouette machine do print and cut?
Yes. All current Silhouette machines, including the CAMEO, Portrait, and Curio, support print and cut using the registration mark system built into Silhouette Studio.
How do you set up print and cut in Silhouette Studio?
Enable registration marks in the Page Setup panel, match your page size to your printer’s paper, assign cut lines via Trace or Cut Edge, and turn on Print Bleed to prevent white edges. Keep all artwork outside the crosshatch corner zones.
How do I fix registration marks not being found?
Check in this order: update Silhouette Studio, confirm mat and sheet orientation, reprint if marks are pale or smudged, and reduce ambient light or reflective surfaces near the machine. Switching between v4 and v5 registration mark styles in Page Setup also resolves some scanner failures.
When should I calibrate my Silhouette for print and cut?
Calibrate only when misalignment is uniform across the entire design and consistently exceeds the standard 1/16 inch (?1.6 mm) margin of error across multiple print sessions. Inconsistent or drifting misalignment points to environmental or media-handling issues, not calibration.
Where can I find ready-made print-and-cut files in the UK?
Craftsuprint’s print-and-cut cutting files category offers Studio-ready files with cut lines already assigned, covering hobby and commercial-use licences for UK crafters.