
Printable templates: a crafter's guide to creative success
Printable templates have a reputation problem. Many crafters assume they are a shortcut for people who cannot create their own designs, or that using one means your work is somehow less original. Neither is true. A printable template is a precision tool, much like a ruler or a craft knife, and the results you achieve with it depend entirely on what you choose to do next. This guide walks through what printable templates really are, which materials and tools give you the best results, how to assemble them with confidence, and how to use them as a genuine creative springboard rather than a creative ceiling.
Table of Contents
- What are printable templates?
- Essential materials and tools for using templates
- Key techniques: printing, scoring, and assembling
- Template types and creative applications
- Why printable templates are a springboard for creativity, not constraints
- Find your next creative template
- Frequently asked questions
Key Takeaways
| Point | Details |
|---|---|
| Templates simplify crafting | Printable templates make complex projects achievable for all skill levels. |
| Correct tools matter | Using the right cardstock, scoring, and cutting tools ensures results you’ll be proud of. |
| Technique brings creativity | Mastering printing, scoring, and assembling unlocks new possibilities with every template. |
| Many styles to explore | Explore pop-ups, sliders, and layered layouts for endless creative inspiration. |
What are printable templates?
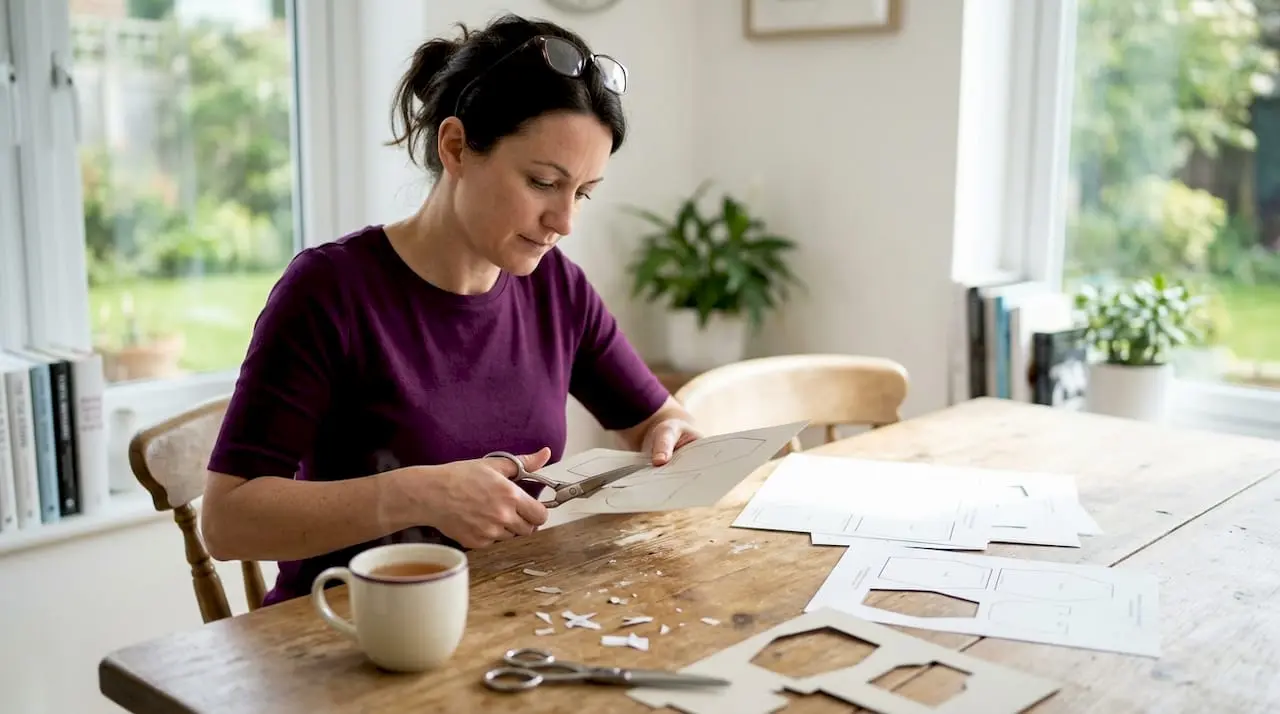
A printable template is a ready-to-print digital file containing the exact outlines, fold lines, and cut lines needed to construct a paper or card project. You download the file, print it onto your chosen paper, and then cut, score, and fold along the marked lines to build a finished piece. The result might be a folded birthday card, a shaped gift box, an envelope, a 3D table centrepiece, or even a decorative flower. The point is that the structural work has already been done for you, leaving you free to concentrate on colour choices, embellishments, and personal touches.
The key benefit here is accuracy. When you draw your own template freehand, small measurement errors compound as you fold and assemble. A well-designed printable template eliminates that problem entirely. Every tab lines up with every slot, every score line sits in exactly the right place, and you spend far less time unpicking glued mistakes.
Printable templates also make repetition easy. If you need twelve matching favour boxes for a wedding, you simply print the template twelve times. If you want a set of handmade Christmas cards for sixty people, a single card template transforms the task from daunting to manageable. This repeatability is one of the most undervalued advantages for hobby crafters working on larger projects.
As one crafting resource puts it, printable templates offer a structure you can embellish and personalise for a wide range of paper crafts. That distinction matters. The template handles the geometry; you handle the artistry. Think of it less like colouring within someone else’s lines and more like building on a solid foundation that you can then decorate however you choose.
Common types of printable templates include:
- Flat fold cards: Single-fold or gate-fold designs, the most beginner-friendly category
- Envelope templates: Sized to fit specific cards, with pre-marked fold and glue tabs
- Box and pillow box templates: Ideal for gift packaging, party favours, and small presents
- 3D decorations: Table centrepieces, hanging ornaments, and paper flowers
- Pop-up card bases: Structural interiors that create movement when the card opens
For hobby crafters looking to build a library of versatile designs, exploring card making downloads is a practical place to start, since a well-chosen collection covers multiple occasions and styles from a single source.
Personalisation is where templates truly shine. You can print onto patterned cardstock, add rubber-stamped images over the finished structure, layer die-cut shapes on top, or write personal messages in calligraphy across the panels. The template is not the final product; it is the architecture on which your finished project is built.
Essential materials and tools for using templates
Getting good results from printable templates is largely a materials question. Choose the wrong paper weight or the wrong cutting tool, and even a beautifully designed template becomes frustrating to assemble. Choose the right ones, and the whole process feels satisfying from the first print.
Paper and cardstock
Paper weight is measured in pounds (lb) in the United States and grams per square metre (gsm) in the United Kingdom. Standard printer paper sits around 80 gsm (approximately 20 lb), which is far too flimsy for most card and box projects. It creases unpredictably, tears at fold lines, and does not hold its shape. 80-110 lb cardstock is consistently recommended for durability, with a heavy-weight printer setting advised to ensure ink coverage is even and rich.
For most flat fold cards and envelopes, 200-250 gsm cardstock gives you a professional feel without straining your home printer. For 3D structures and pop-up mechanisms, slightly lighter card at 160-200 gsm is easier to fold cleanly while still holding its shape once assembled.
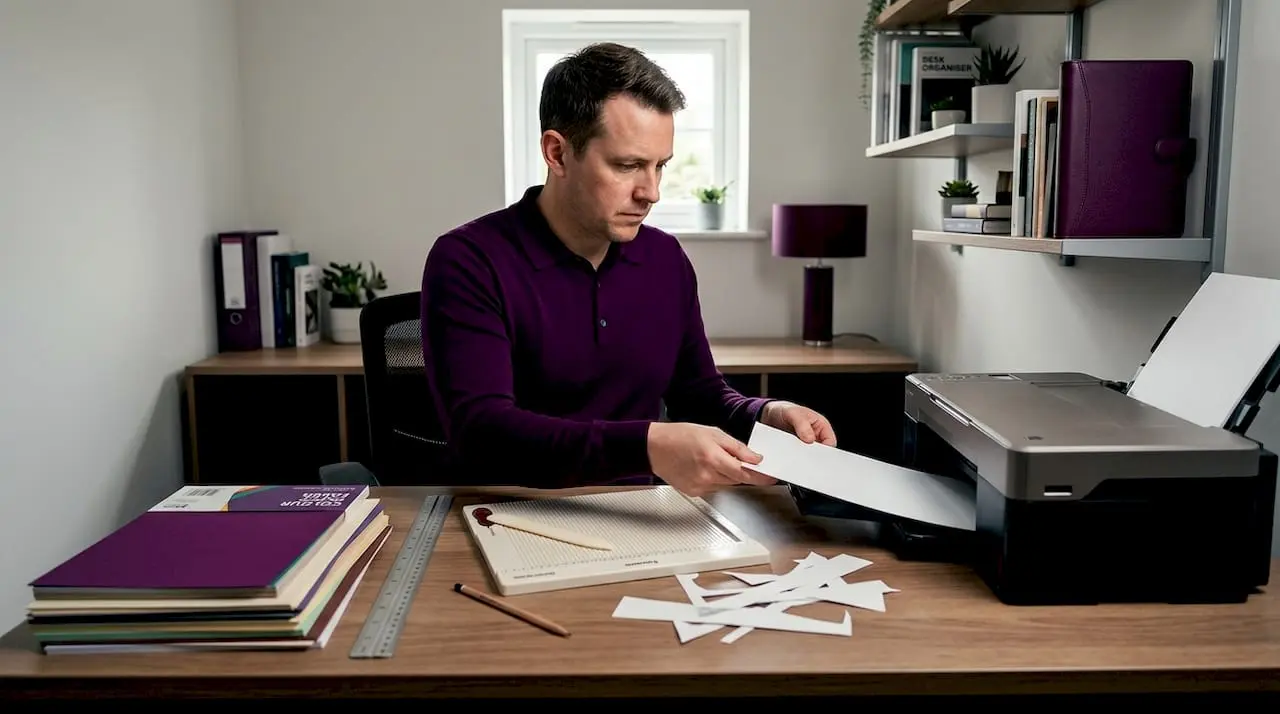
Printer settings
Always print at 100% scale on 80-110 lb cardstock, and use a bone folder or scoring board for crisp folds. Scaling a template up or down, even by a few percent, changes the dimensions of every tab and slot, meaning nothing will fit together correctly. Set your printer to “actual size” or “100%,” not “fit to page.” Select the heaviest paper setting available in your printer’s preferences to prevent paper jams and ensure the ink dries evenly.
Pro Tip: Print a test copy on standard copy paper first. This costs almost nothing, lets you check the scale is correct, and gives you a dry run for the cutting and folding process before you commit your good cardstock.
Cutting tools and accessories
| Tool | Best use | Skill level needed |
|---|---|---|
| Craft knife and self-healing mat | Intricate cuts, straight lines | Intermediate |
| Scissors | Curved edges, general trimming | Beginner |
| Bone folder | Scoring fold lines | All levels |
| Scoring board with grid | Repeated, uniform folds | All levels |
| Ruler (metal) | Guiding straight cuts | Beginner |
| Tweezers | Positioning small embellishments | All levels |
Essential tools for a solid starting kit:
- A self-healing cutting mat to protect your work surface and extend blade life
- A metal ruler rather than a plastic one, since craft knife blades catch on plastic edges
- A bone folder for scoring, which creates a controlled break in the card fibres before folding
- A good-quality all-purpose paper adhesive or double-sided tape for clean joins
Key techniques: printing, scoring, and assembling
Knowing which tools to buy is only useful once you also know how to use them in sequence. The process of turning a flat printed sheet into a three-dimensional finished project follows a consistent order, and skipping steps or reversing them is the most common reason beginner projects fall apart.
Step-by-step assembly process
-
Print at correct scale. Open your template file and confirm the print settings before sending it to the printer. Select “actual size” or “100%” every single time. Load your cardstock carefully to avoid jams, feeding one sheet at a time if your printer struggles with heavier stock.
-
Score before you cut. This is the single most important technique to master. Scoring means running a bone folder or scoring tool along the fold lines with gentle pressure before cutting any piece free from the sheet. It is far easier to score accurately while the sheet is intact and flat.
-
Cut along solid lines. Score along dashed lines using a bone folder or scoring board, then cut precisely along solid lines with a craft knife or scissors on a self-healing mat. For curves, scissors generally give a smoother result. For dead-straight cuts, a craft knife and metal ruler are cleaner.
-
Pre-fold all scored lines. Once the pieces are cut, fold every scored line in the correct direction before applying any adhesive. This relaxes the fibres and makes the final assembly much neater. Mountain folds go away from you; valley folds come toward you.
-
Dry-assemble before gluing. Put the whole project together without adhesive first. Check that all tabs slot into the correct positions and that the structure looks right. This dry run catches any mistakes while they are still fixable.
-
Apply adhesive and assemble methodically. Work from the inside outward, gluing the pieces that form the core structure first. Use double-sided tape for clean, instant bonds, or a thin layer of PVA (polyvinyl acetate) glue where you need a little extra working time to adjust the position.
-
Add embellishments after assembly. Once the structure is solid and fully dry, add your decorative layers: stickers, ribbon, stamped images, or hand-lettered text.
Pro Tip: Use a bone folder to press firmly along every glued seam immediately after joining. The added pressure creates a tighter bond and eliminates air bubbles that weaken the join over time.
Template types and creative applications
Once you feel confident with the basic printing and assembly process, it is worth exploring the range of template mechanisms available, since each one opens up a different category of creative project.
Common methodologies include V-fold pop-ups, box pop-ups, mechanical sliders, and layered layouts. Each has its own structural logic, and knowing which to reach for makes project planning much faster.

| Template type | Difficulty | Best project use |
|---|---|---|
| V-fold pop-up | Beginner to intermediate | Birthday cards, congratulations cards |
| Box pop-up | Intermediate | Scene cards, novelty gift cards |
| Mechanical slider | Intermediate | Pull-to-reveal messages, advent calendars |
| Layered flat | Beginner | Anniversary cards, gift tags, invitations |
| Shaped box | Beginner to intermediate | Favour boxes, gift packaging, party décor |
V-fold pop-ups are the most accessible starting point. When the card opens, a central panel rises at 90 degrees, creating a simple three-dimensional focal point. They work beautifully for birthday cakes, flowers, and architectural shapes. The fold angle is forgiving, and the mechanism is robust enough to survive the postal service.
Box pop-ups are more elaborate. They create fully three-dimensional forms that collapse flat when the card closes. These take more patience to score and assemble, but the results genuinely impress recipients. A gift box pop-up inside a handmade card feels extraordinary.
Mechanical sliders add movement rather than depth. Pulling a tab causes an image or message to slide across the card face. They are ideal for interactive cards designed for children or for reveal moments, such as a pregnancy announcement or a surprise party invitation.
Layered flat templates are the workhorses of the card-making world. Multiple pre-cut layers of coloured card stack on top of each other to create depth and shadow without any folding mechanism. They are quick to assemble and very effective for large-run projects.
Creative project ideas by template type:
- V-fold pop-up with pressed flower imagery for a Mother’s Day card
- Shaped gift box printed on kraft cardstock with a stamped pattern for rustic wedding favours
- Layered flat template as a base for a handmade Christmas advent calendar
- Mechanical slider card with a “pull to reveal” message for a birthday surprise
- Box pop-up with a paper sculpture garden scene for a thank-you card
Why printable templates are a springboard for creativity, not constraints
Here is the honest truth that the crafting world does not say loudly enough: the blank page is not where creativity lives. It is where many crafters freeze. Templates remove that paralysis entirely. When the structure is already resolved, your mind is free to focus on what actually makes each piece distinctive: the colour palette, the texture, the sentiment, the small handmade details that a recipient will remember long after the envelope is recycled.
We have seen this repeatedly in our own community. A crafter picks up a simple V-fold card template intending to make one birthday card. Then they swap the suggested cardstock for a hand-stamped piece. They add a ribbon pull. They layer a die-cut silhouette over the pop-up panel. The finished piece shares almost nothing with the original template apart from its geometry, and that geometry was never the creative part anyway.
Templates also encourage you to push against their boundaries. When you understand how a box pop-up is constructed, you start to see how you could alter the proportions, double the mechanism, or combine it with a slider. The project tutorials that walk you through a standard design often spark the most inventive variations, precisely because they give you enough structural understanding to start experimenting confidently. Treating a template as the end point is the only way it limits you. Treat it as the starting point, and it is one of the most liberating tools in your creative kit.
Find your next creative template
If this guide has sparked an idea or two, the next step is finding templates that suit your style and skill level. At Craftsuprint, we offer an extensive range of printable card templates covering every occasion, season, and technique, from simple flat-fold designs for absolute beginners to intricate pop-up mechanisms for crafters ready for a new challenge.
Our marketplace also features tutorials from independent designers who share their own tips and adaptations, so you are never just getting a file. You are gaining access to a community of people who love this craft as much as you do. Whether you are making one special card or fifty matching favour boxes, you will find the resources, the inspiration, and the quality you need to make something genuinely impressive. Browse the full collection and find your next project today.
Frequently asked questions
What printer settings should I use for printable templates?
Set your printer to 100% scale and select a heavy-weight paper setting to ensure accurate sizing and crisp, even results. For best results, print at 100% scale and use heavy-weight settings every time, without exception.
What type of paper is best for printable card templates?
Eighty to one hundred ten pound (80-110 lb) cardstock, or roughly 200-280 gsm, is the ideal weight for most card and box projects. 80-110 lb cardstock is recommended for durability, giving your finished piece a solid, professional feel.
How do I ensure crisp folds on my projects?
Always score fold lines before cutting the pieces apart, using a bone folder or scoring board rather than pressing with a fingernail. Score with a bone folder or scoring board before folding to achieve sharp, clean creases every time.
Can beginners easily use printable templates?
Yes, many templates are specifically designed with beginners in mind and include clearly marked score lines, cut lines, and step-by-step instructions. Stencils and heavyweight cardstock help beginners get started with confidence, and skills naturally develop with each project you complete.