
Printable kit assembly guide: build it right first time
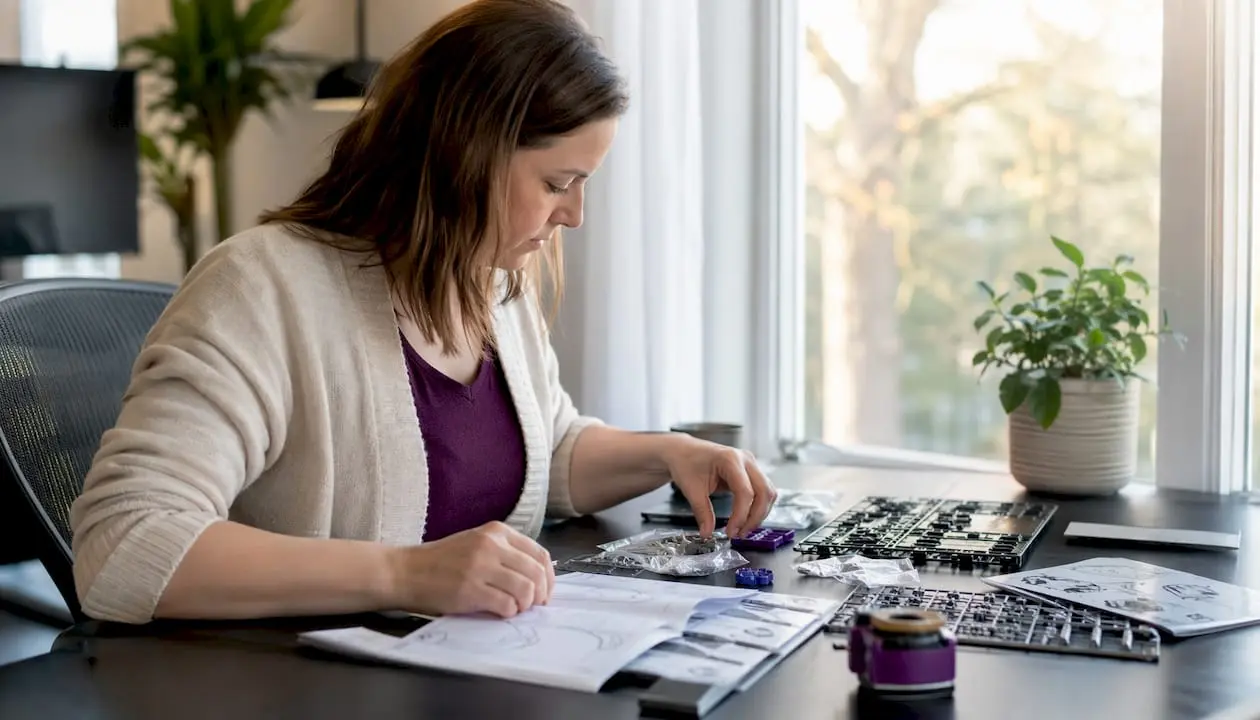
A printable kit assembly guide is a downloadable, step-by-step document that tells you exactly what to build, in what order, with what parts. Get it right and your finished model or craft project looks the way it should. Get it wrong and you are unpicking glued joints or hunting for a screw you fitted three stages too early.
What is a printable kit assembly guide and why does it matter?
At its core, a printable kit assembly guide combines two things: a bill of materials (BOM) listing every component, and a numbered sequence of instructions that walks you through the build from start to finish. The BOM is not decoration. Manufacturers include explicit warnings that parts can be damaged if assembled in the wrong order, and some of those errors are unrecoverable.
For hobbyists and model crafters, a good assembly guide does the following:
- Lists every part by name, number, and quantity so nothing gets missed
- Specifies the tools required before you open a single bag
- Provides diagrams or printable assembly diagrams that show orientation and fit
- Numbers each step so you always know where you are in the build
- Flags safety precautions and points where you must pause before continuing
- Gives estimated time per stage so you pace the work correctly
The guide is also your quality-control document. If a step feels wrong, the instructions tell you whether to stop or carry on.
How to read your BOM and source the parts you need
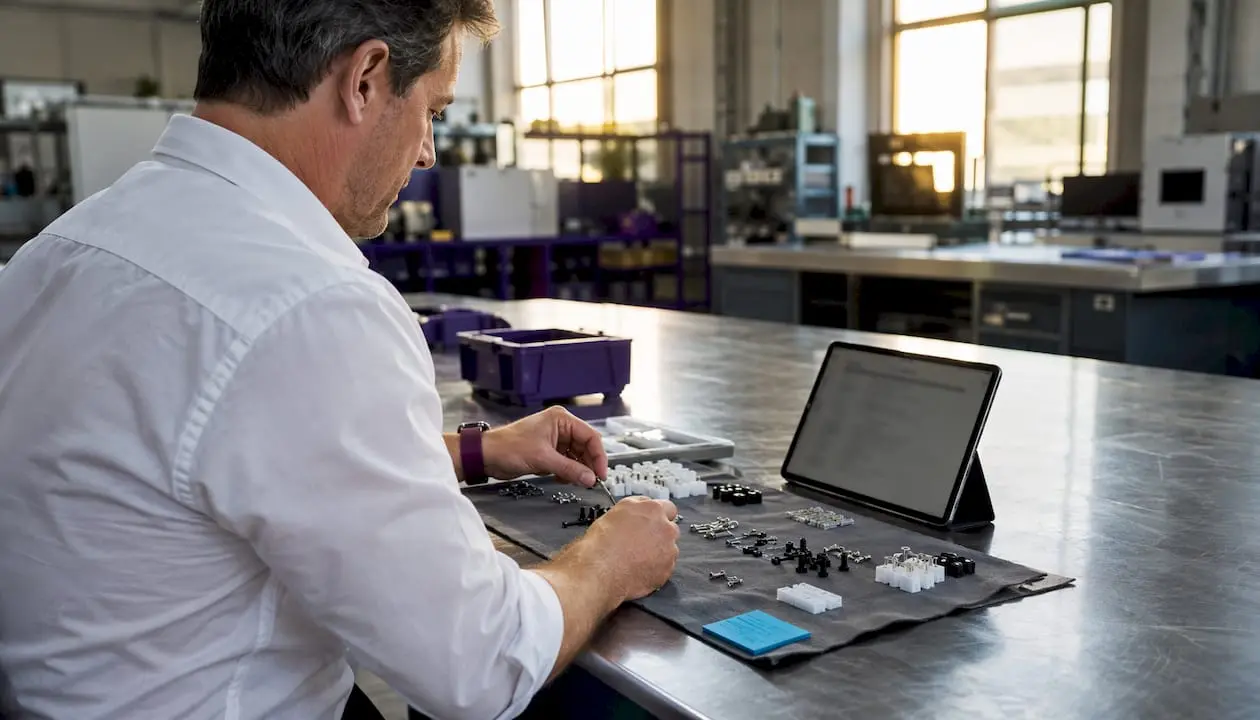
The bill of materials is the foundation of any kit assembly manual. Before you touch a single component, open every box, lay the parts out on a clean surface, and cross-check each one against the BOM. Verifying all components before you begin is standard practice precisely because a missing part discovered mid-build costs far more time than a five-minute check at the start.
A well-prepared BOM check covers:
- Part name and reference number, matched to the guide’s diagram labels
- Quantity: count every fastener, not just the large pieces
- Condition: look for warped card, bent metal, or torn fabric before assembly begins
- Consumables: adhesives, sealants, and lubricants that may not be included in the kit
- Additional items required: tools, cutting mats, rulers, and clamps the guide lists separately
When a part is missing or damaged, contact the supplier before starting. Most UK craft kit retailers and scale model distributors will send replacements quickly, but only if you ask before the build is under way.
Pro Tip: Photograph your laid-out parts against the BOM before you begin. If a small piece goes missing mid-build, the photo tells you exactly what you are looking for.
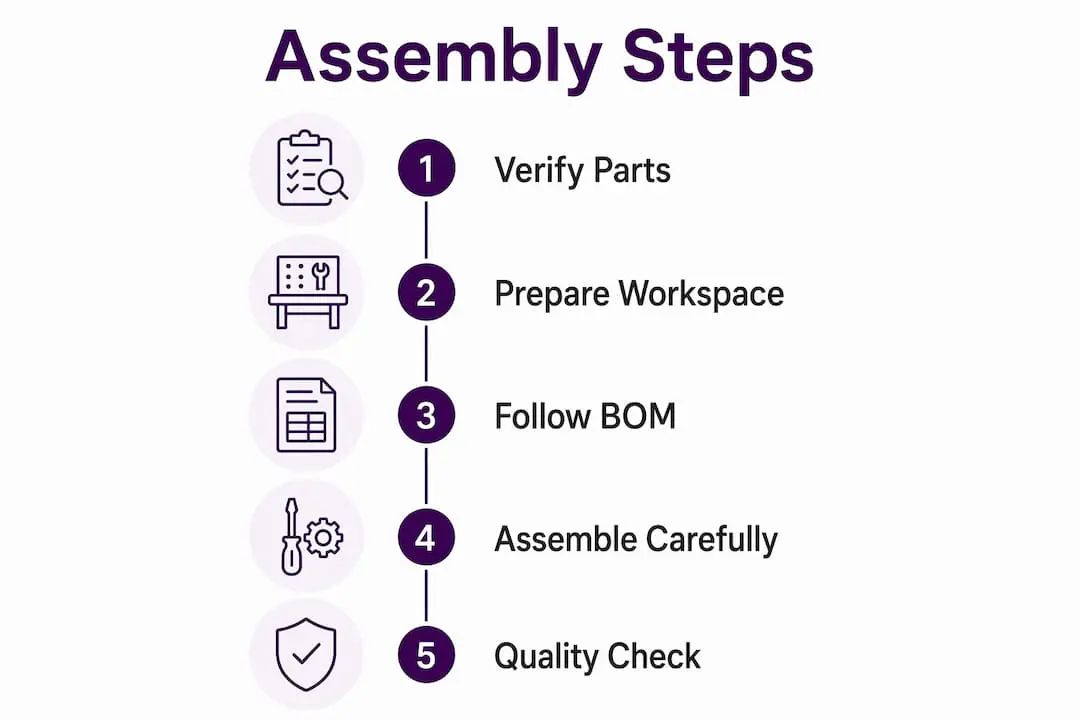
How to follow step-by-step assembly instructions without making costly mistakes
The single most common error in kit assembly is skipping ahead. Assembly manuals are designed around one action per step, with consistent terminology and illustrations, precisely because the sequence matters as much as the individual actions. A step that looks optional rarely is.
- Read the full guide once before picking up any tools
- Never reorder steps, even when a later step looks simpler to do first
- Use only the tools specified; over-tightening fasteners or substituting the wrong driver can crack plastic parts or strip threads
- Work in a clean, well-lit space with all parts organised so small connectors do not get lost
- Wear light work gloves when handling sheet metal or resin components with sharp edges
- If an adhesive or weld is involved, respect the time estimate for that step. Working faster than the guide recommends risks weak bonds that fail later
Pro Tip: When a step involves a technique you have not tried before, pause and watch a video walkthrough before applying any adhesive. Hybrid guides that pair printed instructions with video demonstrations exist precisely for this reason, and the video will show you the hand position and pressure that a diagram cannot.
Manufacturers often include a “Read This First” page for good reason. Those notes cover the steps most likely to go wrong and the points of no return where a mistake becomes permanent.

How to download, print, and use assembly guides effectively
Most printable assembly guides are distributed as PDF format files, which preserves the layout, diagrams, and part-reference numbers exactly as the designer intended. Printing on plain A4 paper works for most card and paper craft kits. For scale models with fine detail diagrams, 120gsm paper gives sharper lines and survives handling better than standard 80gsm copy paper.
Practical tips for getting the most from a printed guide:
- Print at 100% scale, never “fit to page,” or dimensions on diagrams will be wrong
- Keep the printed guide in a plastic sleeve or clipboard so it stays clean during the build
- Tick off each completed step with a pencil so you always know your place
- Print a second copy of any page containing a complex diagram so you can annotate one and keep the other clean
- Download the assembly guide PDF to your phone or tablet as a backup, and use it to access any linked video tutorials
For larger or more complex kits, combining printed part lists with video tutorials is the most effective approach. The printed guide gives you the dimensions and sequence; the video shows you the technique.
How Craftsuprint supports UK hobbyists with printable craft kit resources
Craftsuprint is a UK-based platform built specifically for digital craft enthusiasts, and its library of printable craft kits covers everything from card-making mini kits to themed paper craft projects. Every kit comes as a ready-to-download file, so you can print your guide and templates at home and start building the same day.
What sets Craftsuprint apart for hobbyists:
- Kits include printable templates and assembly diagrams designed by independent craft specialists
- Beginner-friendly step-by-step tutorials accompany many kits, covering tools, sequence, and finishing techniques
- The blog covers mini kit assembly for crafters who are new to working with small-scale printable projects
- Video support is referenced alongside written guides for complex techniques
- The community aspect, including weekly freebies and the Gold Star programme, means you can ask questions and share finished builds

Craftsuprint’s Create & Craft downloads hub gives you access to a wide range of printable craft projects and assembly guides in one place. If you are a Create & Craft member, there is also a free members gift waiting for you.
Key takeaways
A printable kit assembly guide works best when you verify every part against the BOM before starting, follow steps in strict sequence, and pair your printed guide with video support for complex techniques.
| Point | Details |
|---|---|
| Verify parts first | Cross-check every component against the BOM before touching any tools. |
| Sequence is non-negotiable | Skipping or reordering steps risks permanent damage to parts. |
| Print at 100% scale | Scaling down distorts diagrams and makes dimensions unreliable. |
| Pair print with video | Hybrid guides combining PDFs with video tutorials improve success on complex steps. |
| Use Craftsuprint for UK kits | Craftsuprint offers downloadable, designer-made kits with beginner tutorials and community support. |
FAQ
Where can I find printable kit assembly guides?
Craftsuprint offers a large library of downloadable craft kit guides and templates. Many kit manufacturers also provide assembly guide PDFs directly on their product pages.
Can I download assembly instructions as a PDF?
Yes. Most kit assembly manuals are distributed as PDF files, which preserve diagrams and part-reference numbers accurately across all devices and printers.
How do I assemble a 3D-printed or paper craft kit?
Read the full guide before starting, verify all parts against the BOM, then follow each numbered step in order. For tricky techniques, watch a video walkthrough before applying any adhesive or making an irreversible join.
How do I write my own assembly manual?
Focus on one action per step, use clear illustrations with consistent part labels, and include a complete parts list at the front. Keep terminology the same throughout so readers are never unsure which component a step refers to.