
Mini kit ideas: creative projects for crafters
TL;DR:
- Mini kit ideas are DIY crafting sets that combine specialized components, tools, and adhesives to produce satisfying miniature projects. Proper preparation, material selection, and deliberate design choices are essential for successful results. Rushing the setup phase leads to frustration and diminishes the craft’s calming benefits.
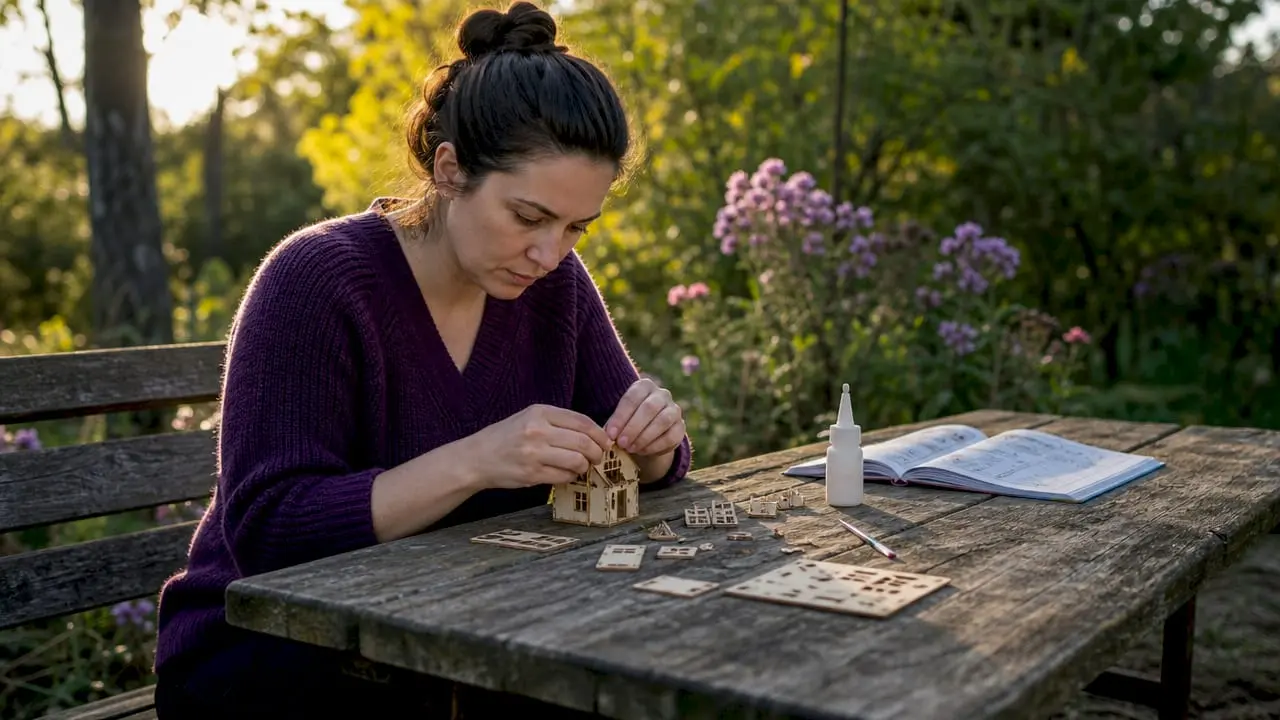
Mini kit ideas are DIY crafting sets built around miniature-scale projects that combine creativity, precision, and careful organisation. The best kits go beyond a simple box of parts. They bring together specialised components, appropriate adhesives, and the right tools to produce something genuinely satisfying. Whether you are drawn to laser-cut wooden houses, intricate diorama scenes, or portable pocket kits for crafting on the move, the principles of good design and assembly remain the same. Craftsuprint offers a wide range of printable mini kit resources to help crafters at every level get started with confidence.
1. Top mini kit ideas for every type of crafter
The strongest small kit inspiration comes from matching a theme to your skill level and available workspace. These ideas cover a broad range of styles, from architectural builds to portable creative sets.
Miniature house kits
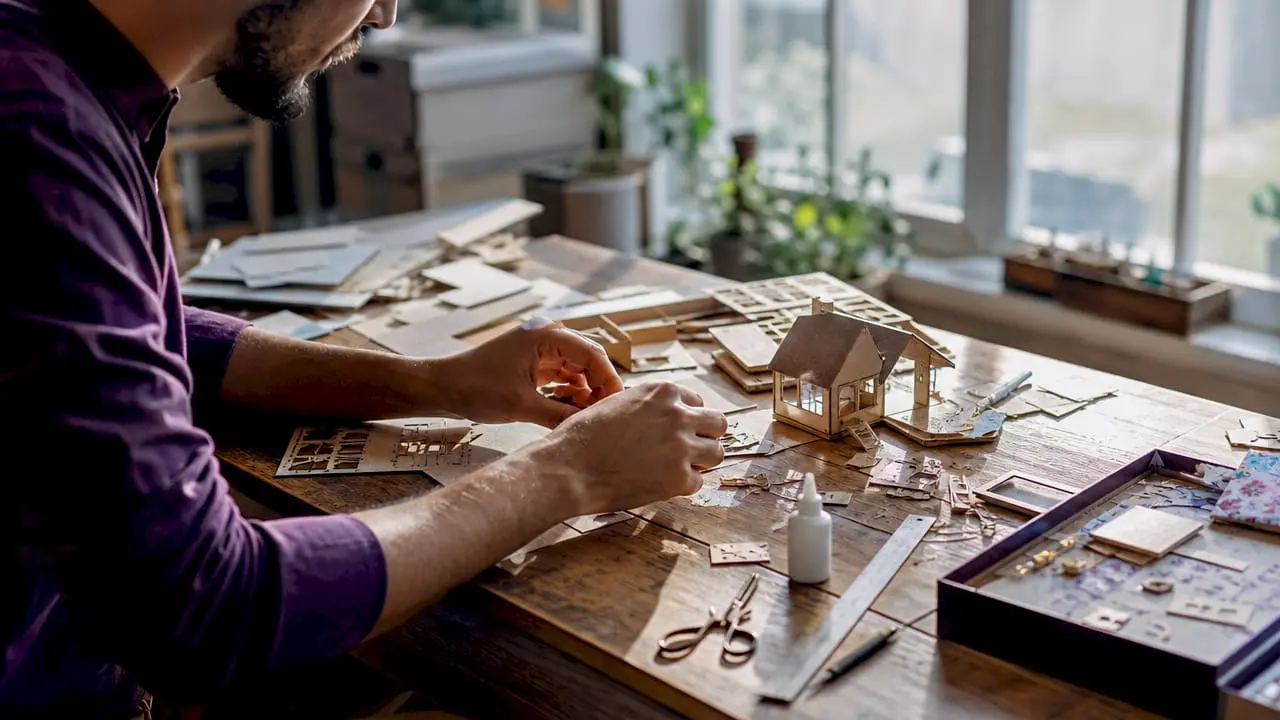
Miniature house kits are among the most popular DIY mini kit ideas available. They typically include laser-cut wooden panels, pre-printed wallpaper strips, miniature furniture, and LED lighting components. The build process teaches patience and precision in equal measure. A single-room starter kit is the best entry point for beginners, as it limits the number of components without sacrificing the satisfaction of a finished scene.
Pro Tip: Start with a single-room kit rather than a full multi-storey build. Completing one room successfully builds the confidence and technique needed for larger projects.
Diorama scene kits
Diorama kits recreate a slice of life at miniature scale, from woodland clearings to cosy library corners. They use terrain elements, architectural details, and decorative accessories to build a convincing scene. The key difference from a house kit is that dioramas prioritise visual storytelling over structural assembly. You are composing a picture in three dimensions rather than constructing a building.
Book nook kits
Book nook kits are designed to slot between books on a shelf, creating the illusion of a hidden world. They blend structural woodwork with decorative paper elements, painted backdrops, and often LED lighting. The format is compact, which makes them ideal compact kit suggestions for crafters with limited display space. Craftsuprint’s paper craft kits include printable elements that work beautifully as book nook backdrops and decorative inserts.
Pocket maker kits
A pocket maker kit is a portable tinkering set built for creativity on the go. Versatile components that encourage discovery rather than fixed outcomes are the defining feature of a good travel mini kit. This approach fosters long-term creative engagement and allows the kit to serve multiple purposes, from quick repairs to impromptu photo staging. A well-chosen pocket kit might include a small roll of washi tape, a few brass brads, a craft knife, and a handful of mixed embellishments.
Seasonal card-making mini kits
Card-making kits are a natural fit for crafters who want a quick, satisfying project. A seasonal kit built around Christmas, Easter, or birthdays typically includes pre-cut card blanks, printed toppers, co-ordinating papers, and adhesive foam pads. The components are chosen to work together, which removes the guesswork from colour matching and layout. Craftsuprint’s DIY card kit examples show how themed sets can produce professional-looking results with minimal experience.
Nature and botanical kits
Botanical mini kit projects use pressed flower techniques, layered paper leaves, and watercolour-style printed elements to recreate natural scenes. These kits suit crafters who prefer organic, textured aesthetics over geometric precision. The components are typically lighter and more forgiving than wooden structural kits, making them a good choice for younger crafters or those new to the hobby.
Emergency craft repair kits
An emergency craft repair kit is a compact kit suggestion that every serious crafter should keep to hand. It contains a small selection of adhesives, a spare craft knife blade, a few metres of ribbon, a needle and thread, and a handful of mixed fasteners. The goal is not a finished project but a safety net for when a larger build goes wrong mid-session. Keeping one in your craft bag saves time and frustration.
Pro Tip: Label each compartment of your emergency kit with the contents and the date you last restocked it. Running out of a critical adhesive mid-project is avoidable with a quick monthly check.
2. Mini kit design tips for better results
Good design is the difference between a miniature scene that looks convincing and one that looks cluttered. These mini kit design tips apply whether you are building from a commercial kit or designing your own from scratch.
Use the rule of thirds
Miniature diorama designers use the rule of thirds to position focal points rather than centring every element. Divide your scene into a three-by-three grid and place the main point of interest at one of the four intersections. This creates a more natural, pleasing composition than a symmetrical layout.
Limit your focal points
Limiting focal points to 3–5 items in a miniature scene prevents visual clutter and maintains balance. More than five competing elements pull the eye in too many directions and make the scene feel busy rather than rich. Choose your hero pieces first, then build supporting details around them.
Use angles to create depth
Placing furniture or props at slight angles, around 15 degrees, improves the three-dimensional quality of a miniature scene. Flat, parallel arrangements look staged. Angled pieces suggest natural use and give the scene a lived-in quality that draws the viewer in.
Layer from back to front
Build your scene in layers, starting with the background and working forward. This approach lets you place rear elements without disturbing foreground pieces. It also helps you judge proportions accurately at each stage before committing with adhesive.
Keep the workspace clear
A cluttered work surface leads to lost components and misplaced adhesive. Use a cutting mat as your primary work area and keep only the components for the current assembly stage within reach. Store everything else in a labelled tray until needed.
3. Organisation and preparation strategies for mini kits
Preparation is the step most crafters skip and the one that causes the most problems. A structured approach before you open a single packet of components saves significant time during the build.
-
Sort before you start. Experienced miniature crafters recommend spending 15–20 minutes organising all kit components by type or assembly stage before building. Grouping structural pieces separately from decorative ones means you always reach for the right part at the right moment.
-
Use compartment trays. Small compartment trays, pill organisers, or egg cartons work well for sorting tiny components. Each compartment holds one category of part, whether that is hinges, LED bulbs, or printed paper toppers.
-
Handle fragile pieces last. Pre-cut laminated decorative items like wallpaper strips and floor tiles must be handled last due to their fragility and adhesive sensitivity. Touching them too early risks fingerprints, creasing, or accidental adhesive contact.
-
Set up your lighting properly. Daylight bulbs or a daylight lamp make a significant difference when working at miniature scale. Shadows and poor colour rendering under standard household lighting cause misaligned cuts and colour-matching errors.
-
Test LED components early. Testing LED lighting and wiring in a partially assembled scene avoids wiring problems after the full build is complete. Test with room lights both on and off to judge shadow effects and brightness before the structure is sealed.
-
Read the full instructions first. Reading every step before touching a component reveals the assembly sequence and flags any stages that require drying time. Knowing that a glued joint needs 30 minutes to cure before the next step lets you plan your session rather than improvise it.
4. Choosing the right materials and tools for mini kit projects
The right tools and adhesives make the difference between a clean build and a frustrating one. Crafting mini kits at miniature scale demands more precision than standard craft projects, and the materials you choose reflect that.
Adhesives by material type
Professionals distinguish adhesives by material: fast-setting craft glue for wood joints, and glue sticks or PVA glue for paper and fabric. Liquid glue soaks into thin paper and causes bubbling and warping. Glue sticks allow a brief repositioning window, which is critical when aligning small printed panels. Using one adhesive for everything is the most common beginner mistake and the easiest to correct.
Holding wood structural joints for at least 30 seconds ensures a stable bond before moving to the next piece. Releasing too early causes joints to shift, which creates gaps that are difficult to correct once the structure is further along.
Cutting and trimming tools
Laser-cut wooden pieces require gentle removal from their sheets and careful sanding to achieve a neat fit. Forcing a piece out of its sheet risks snapping the wood along the grain. Use a craft knife to trim the connector tabs, then sand the edges lightly to remove char lines before assembly.
Fine-tipped tweezers are the single most useful tool for miniature work. They let you place components smaller than a thumbnail with accuracy that fingers cannot match. Invest in a pair with a pointed tip and a pair with a flat tip to cover different component shapes.
Lighting components
LED wiring should be installed and tested after the base structure is assembled but before mid-ground elements are added. This sequence allows you to route cables cleanly and troubleshoot any connection issues while the scene is still accessible. Once the mid-ground structures are in place, reaching the wiring becomes difficult.
| Tool or material | Best use | Budget option | Quality upgrade |
|---|---|---|---|
| Fast-setting craft glue | Wood structural joints | Standard superglue | Precision-tip craft glue |
| Glue stick or PVA | Paper and fabric panels | Standard glue stick | Acid-free PVA |
| Fine-tipped tweezers | Placing tiny components | Cosmetic tweezers | Stainless steel craft tweezers |
| Craft knife | Trimming tabs and cutting paper | Standard snap-off blade | Swann-Morton scalpel |
| Daylight lamp | Accurate colour and shadow work | Daylight bulb in desk lamp | Dedicated craft daylight lamp |
Key takeaways
The best mini kit projects succeed because of preparation, the right adhesives, and deliberate design choices made before a single component is glued in place.
| Point | Details |
|---|---|
| Match kit to skill level | Begin with single-room or card-making kits before attempting multi-room architectural builds. |
| Use tailored adhesives | Apply fast-setting glue to wood and glue sticks to paper; one adhesive for all materials causes damage. |
| Limit focal points | Keep 3–5 focal items per scene to maintain visual balance and avoid clutter. |
| Organise before building | Spend 15–20 minutes sorting components by type or stage before starting any assembly. |
| Test LED lighting early | Install and test wiring after base assembly but before mid-ground structures are added. |
Why I think most crafters rush the part that matters most
Most crafters I know, myself included at the start, treat preparation as optional. You open the kit, read the first two steps, and reach for the glue. Three hours later you are trying to fix a warped paper panel or a structural joint that shifted before it cured. The build is salvageable but the enjoyment is gone.
The therapeutic value of miniature crafting is real. There is genuine calm in working at a small scale, where the outside world shrinks away and the only thing that matters is whether a tiny bookshelf sits level. But that calm only arrives when the process is under control. Rushing the preparation stage trades short-term momentum for long-term frustration.
My honest advice is to start with a kit that feels slightly too simple. A single-room miniature or a seasonal card-making set from Craftsuprint’s craft ideas and tutorials section teaches you the fundamentals without the pressure of a complex build. Once you understand how adhesives behave at small scale and how to read a layered assembly sequence, the more ambitious projects become genuinely enjoyable rather than stressful.
The other thing I would say is that keeping components versatile is not a compromise. It is a design choice. The pocket kits I find most satisfying are the ones where I have swapped out a suggested element for something I found in my supplies box. That personalisation is where the craft becomes yours rather than a paint-by-numbers exercise.
— Rob
Craftsuprint’s resources for your next mini kit project
Craftsuprint brings together printable designs, craft downloads, and a community of independent designers who specialise in exactly this kind of work. Whether you are looking for a themed card-making set or decorative elements to finish a miniature scene, the range covers a wide variety of styles and skill levels.

The FREE Create and Craft Members Gift is a good starting point if you want to explore what is available before committing to a purchase. Craftsuprint also lists a broad selection of decoration materials and craft tools through its classifieds pages, where you can find both supplies and inspiration from other crafters. The craft projects and tutorials section is worth bookmarking for step-by-step guidance on new techniques.
FAQ
What are the best mini kit ideas for beginners?
Single-room miniature house kits and seasonal card-making sets are the best starting points. They limit component count while still delivering a satisfying finished result.
Which adhesive should I use for paper components in a mini kit?
Use a glue stick or PVA glue for paper and fabric. Liquid glues soak into thin paper and cause bubbling and warping, which is difficult to reverse once dry.
How do I avoid visual clutter in a miniature scene?
Limit your scene to 3–5 focal items and use the rule of thirds to position them. Asymmetrical arrangements with balanced visual weight create natural interest without overwhelming the eye.
When should I install LED lighting in a miniature kit?
Install and test LED wiring after the base structure is assembled but before mid-ground elements are added. This keeps the wiring accessible for troubleshooting and allows clean cable routing.
How long does it take to organise a mini kit before building?
Experienced miniature crafters recommend spending 15–20 minutes sorting components by type or assembly stage before starting. This preparation time reduces errors and speeds up the overall build.