
Making themed craft projects: your step-by-step guide
TL;DR:
- Creating a themed craft project involves unifying various handmade items through a shared concept or color palette. Consistent use of colors and templates enhances cohesion, saves time, and improves the overall appearance. Reusing core themes and materials helps achieve professional results efficiently across different occasions and audiences.
A themed craft project is a collection of handmade items unified by a single concept, colour palette, or occasion. The making themed craft projects guide approach transforms scattered craft ideas into cohesive, repeatable creative experiences. Whether you are crafting for a birthday party, a seasonal celebration, or a cosy night in, a clear theme gives every element purpose. Platforms like Craftsuprint offer printable templates, paper craft kits, and themed design downloads that make the process faster and more polished from the very first session.
How do you choose a theme for craft projects?
The secret to themed crafting is to begin with a feeling rather than a specific craft. Ask yourself what emotion or story you want the finished project to tell. A winter woodland theme, for example, evokes warmth and quiet. A seaside theme suggests freedom and brightness. Locking in that feeling first stops you from collecting mismatched supplies that pull the project in different directions.
Matching themes to occasion and audience
Theme selection depends on three factors: the occasion, the season, and the age group of the people making or receiving the crafts. Children aged three to six respond best to bold, simple themes such as jungle animals or rainbows. Older children and adults enjoy more layered concepts like vintage botanical or Scandinavian folk art. Effective reusable themes include Cosy Night In, Holiday Countdown, Self-Care, and Memory Night, each of which adapts easily across seasons and age groups.
Why reusable themes save time and money
Reusable themes are one of the most underused tools in a crafter’s kit. Rather than building a new project from scratch each time, you restyle the same theme with different colours or embellishments. A “botanical garden” theme works for a spring birthday in april, a summer garden party in july, and a pressed-flower Christmas card set in november. The core supply list stays the same. Only the accent colours and decorative details change.
- Choose a theme that works across at least two occasions before committing to it.
- Write down the three words that describe the feeling of your theme (e.g. “cosy, warm, rustic”).
- Collect reference images before buying any supplies.
- Decide on your colour palette before selecting any paper, paint, or embellishments.
Using colour to signal your theme
Colour repetition is the fastest way to signal a theme cohesively. A primary colour, a secondary colour, and a neutral work together to create visual unity across every element. For a Halloween theme, burnt orange, deep purple, and cream create instant recognition. For a coastal theme, navy, sandy beige, and white do the same job. Apply these three colours consistently across every item you make, from banners to gift tags.
Pro Tip: Photograph your colour palette swatches and keep the image open on your phone while shopping for supplies. This stops impulse purchases that break your theme.
What supplies and templates do you need for themed crafts?
The best supply lists for themed crafts are short. Overcomplicated supply lists deter crafting. Successful projects use a core set of versatile materials adapted through colour and embellishments. The table below shows the core categories and what each one covers.
| Supply category | Examples | Best for |
|---|---|---|
| Base materials | Paper plates, cardboard tubes, card stock | Structure and shape |
| Adhesives | PVA glue, double-sided tape, glue dots | Assembly and layering |
| Colouring tools | Acrylic paint, watercolour, felt-tip pens | Adding theme colours |
| Embellishments | Ribbon, buttons, dried flowers, glitter | Texture and detail |
| Printable templates | Banners, labels, toppers, tags | Cohesion and speed |
Why printable templates change the game
Printable templates are the fastest shortcut to professional-looking, cohesive DIY craft decorations. They standardise layout and ensure every element shares the same visual language. A banner printed from a template will match the gift tags, the cupcake toppers, and the place cards without any additional design work. Craftsuprint’s paper crafts collection includes hundreds of themed downloadable kits that cover occasions from Christmas and Easter to birthdays and weddings.
The key advantage of templates is consistency. When you cut and assemble a printed template, the proportions are already correct. You skip the measuring, the sketching, and the trial-and-error that eats into crafting time. For group sessions or craft nights, templates also mean every participant produces a result that looks intentional, regardless of their skill level.
- Download templates before your crafting session and print two copies: one to practise on, one to use.
- Store printed sheets in labelled plastic wallets to keep them flat and clean.
- Choose templates that share a designer or collection for guaranteed visual consistency.
Pro Tip: Craftsuprint’s printable templates guide explains how to select, scale, and layer templates for maximum impact. Read it before your first session.
How do you make themed craft projects step by step?
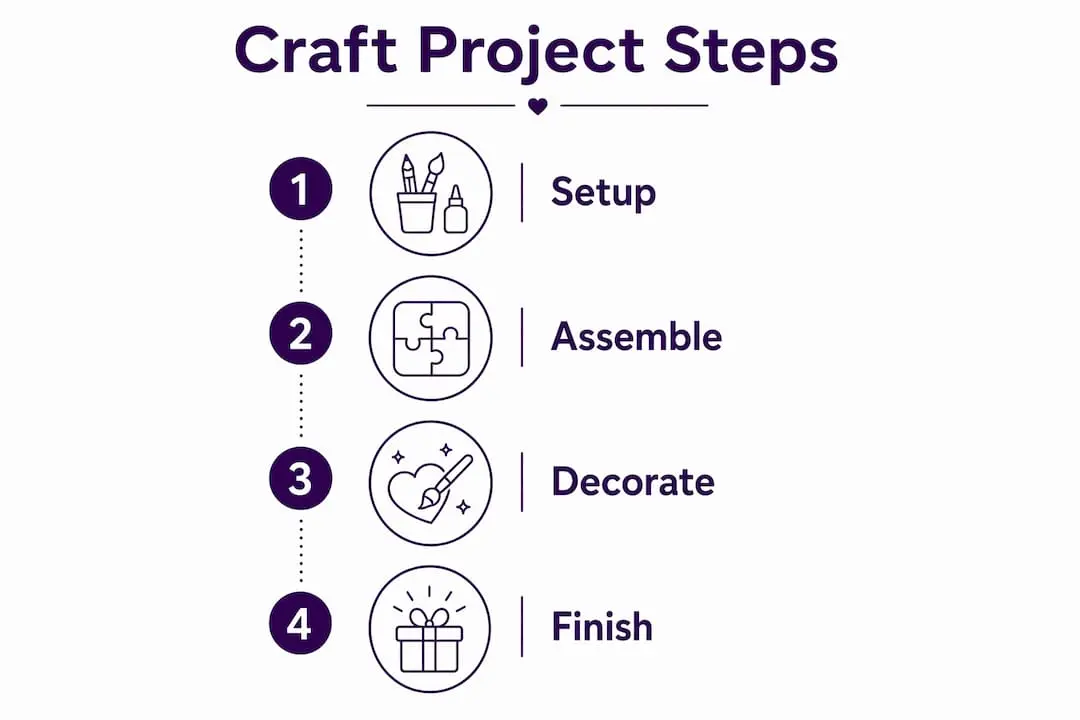
The practical crafting process follows four clear stages: setup, assembly, decoration, and finishing. Each stage has its own decisions, and skipping any one of them produces a result that looks rushed.
Stage 1: Set up your space
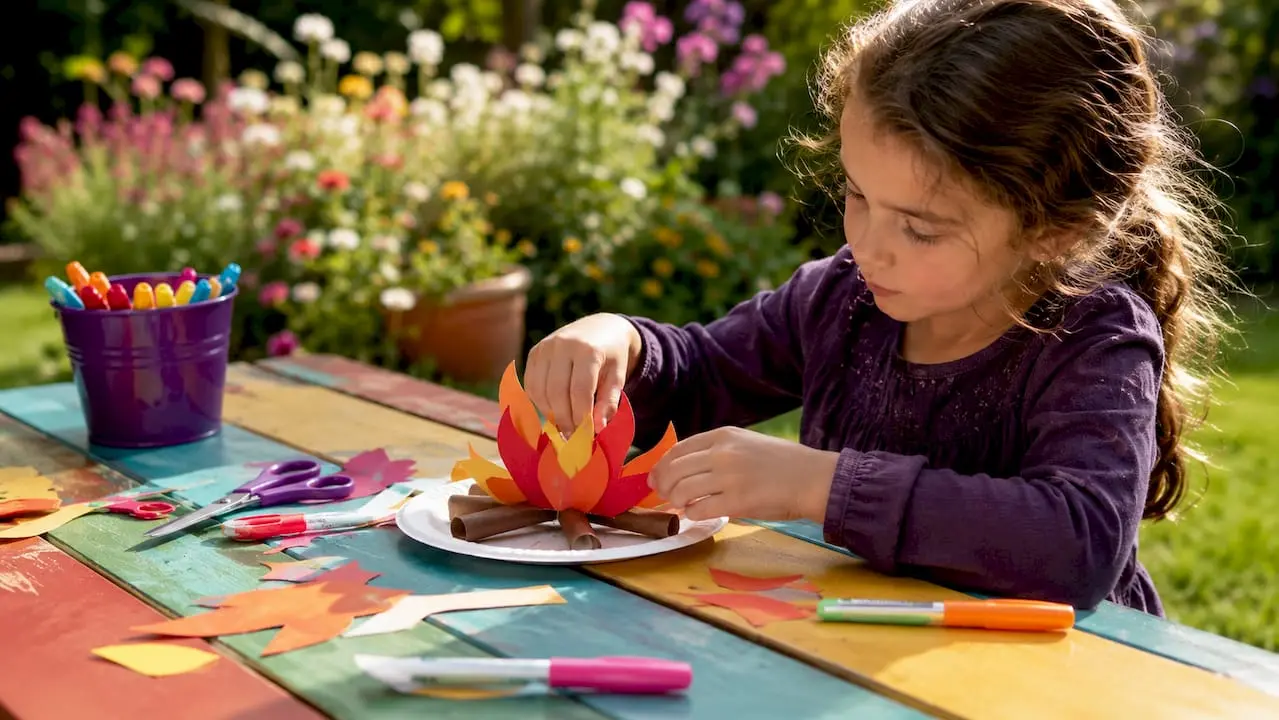
A well-organised workspace makes the difference between a productive session and a frustrating one. Clear a table, cover it with a wipeable cloth, and group your supplies by category. Good lighting matters more than most crafters realise. Natural light shows true colours. A daylight bulb works well when crafting in the evening. Practical lighting and atmosphere transform the thematic experience, particularly for group craft nights.
Stage 2: Assemble your base pieces
- Cut all base shapes before applying any adhesive or colour. This keeps your hands clean and your cuts accurate.
- Dry-fit all pieces together before gluing. Check that proportions work and that the theme reads clearly.
- Apply adhesive starting from the largest piece and working inward to smaller details.
- Allow each layer to dry fully before adding the next. Rushing this step causes warping and peeling.
- Attach any printed template elements last, so they sit on top of the painted or coloured base.
Simple themed crafts like paper plate campfires take around 20 minutes to complete. Toilet paper roll binoculars take roughly 15 minutes, and pine cone animals around 25 minutes. These timings show that a complete themed project is achievable in a single sitting, even with young children.
Stage 3: Decorate with colour and layering
Colour repetition is your most powerful decorating tool. Apply your primary colour first as the dominant tone, then add your secondary colour in smaller amounts. Use your neutral to separate the two and prevent visual clutter. Layering textures, such as placing a ribbon over a painted surface or a die-cut shape over a printed background, adds depth without adding complexity.
“Creating a rough sketch or storyboard before you begin facilitates consistency and keeps the emotional tone of your theme intact throughout the project.” — Themed Crafts: Unleash Your Creativity
Stage 4: Finishing touches and troubleshooting
Finishing touches include trimming any rough edges, adding a coat of PVA glue as a sealant, and attaching hanging loops or display stands. Common problems and their fixes:
- Glue showing through paper: use less adhesive and apply it closer to the edges only.
- Paint bleeding under a stencil: press the stencil firmly and use a dry brush technique.
- Template colours printing too dark: adjust your printer’s brightness setting before the final print.
- Pieces not lying flat: place finished items under a heavy book for 10 minutes while the glue sets.
How can you personalise and elevate themed craft projects?
Polished themed crafts share one quality: every element feels deliberate. A unified design palette with strict primary, secondary, and neutral colours is what separates amateur results from professional-looking ones. This consistency applies from the largest banner down to the smallest gift tag.
Adding sensory layers
Sensory layering adds immersive depth beyond visual elements. Pine scent works for a winter woodland theme. Citrus works for a seaside or summer theme. Texture contrasts, such as rough burlap against smooth velvet ribbon, create tactile interest that photographs well and feels satisfying to handle. These details cost very little but lift a project from ordinary to memorable.
Choosing embellishments that earn their place
Every embellishment must serve the theme. A dried orange slice on a winter wreath card earns its place. A generic gold star on the same card does not. Before adding any decorative element, ask whether it reinforces the three feeling words you chose at the start. If the answer is no, leave it out. Restraint is a design skill, and it is one that most crafters develop only after overloading a few projects.
- Limit yourself to three embellishment types per project: one natural, one printed, one textural.
- Use the same font across all printed elements to maintain visual consistency.
- Repeat at least one embellishment across every item in the set so the collection reads as unified.
- Photograph the finished set together before displaying or gifting to spot any elements that break the theme.
Pro Tip: Craftsuprint’s creative uses for printables shows how to layer digital downloads with physical embellishments for results that look far more complex than they are.
Key takeaways
Themed craft projects succeed when you commit to a feeling first, then build every supply, colour, and embellishment decision around that single idea.
| Point | Details |
|---|---|
| Start with a feeling | Choose the emotional tone of your theme before selecting any supplies or colours. |
| Use a three-colour palette | A primary, secondary, and neutral colour applied consistently creates visual unity across all elements. |
| Keep supply lists short | Reuse core materials like card stock and PVA glue across themes, changing only colours and embellishments. |
| Use printable templates | Templates standardise layout and ensure cohesion, saving time and reducing errors. |
| Add sensory detail | Scent and texture contrasts lift themed crafts beyond the visual and make them more memorable. |
Why thematic consistency is the craft skill nobody talks about
Most crafting advice focuses on technique: how to cut, fold, glue, or paint. The advice that actually changes results is about consistency. I have watched crafters with modest technical skills produce stunning themed sets, and I have watched skilled crafters produce muddled ones. The difference is almost always thematic discipline.
The crafters who get the best results treat their three feeling words like a filter. Every decision goes through that filter. A button that does not fit “cosy, warm, rustic” does not go on the project, no matter how pretty it is. That kind of restraint feels uncomfortable at first. It starts to feel like creative freedom once you see how clean the finished work looks.
Reusable themes are also undervalued. Crafters often feel pressure to create something entirely new for each occasion. The reality is that a theme you know well produces better results than a theme you are figuring out as you go. I return to three or four core themes throughout the year, restyling them with seasonal colours and different printable templates. The process gets faster each time, and the results get more polished. The goal is never perfection on the first attempt. The goal is to enjoy the process enough to do it again.
— Rob
Start your next themed project with Craftsuprint
Craftsuprint brings together everything you need to make your themed craft projects work from the first session.

The craft supplies collection covers decoration materials, adhesives, and embellishments sourced for hobby crafters. The paper crafts marketplace offers hundreds of themed downloadable kits, from seasonal card sets to party decoration bundles. If you are new to printable templates, the Create and Craft downloads section is the best place to start browsing themed designs by occasion. Craftsuprint also runs weekly freebies and a Gold Star programme that rewards regular crafters with discounts and exclusive content.
FAQ
What is a themed craft project?
A themed craft project is a set of handmade items unified by a single concept, colour palette, or occasion. Every element, from banners to gift tags, shares the same visual language to create a cohesive result.
How long does a themed craft project take to complete?
Completion time depends on complexity. Simple projects like paper plate campfires take around 20 minutes. More detailed sets with multiple printed and assembled elements typically take one to two hours across a single session.
Do I need printable templates for themed crafts?
Templates are not strictly required, but they are the fastest route to consistent, professional-looking results. Printable templates standardise layout and ensure every element shares the same proportions and visual style without additional design work.
How do I choose the right theme for my craft project?
Start with the feeling or story you want the project to convey, then match it to the occasion, season, and age group of your audience. Reusable themes like Cosy Night In or Holiday Countdown adapt well across multiple events with minimal changes.
What is the most common mistake in themed crafting?
Overcomplicating the supply list is the most common error. Successful themed projects use a small set of core materials adapted through colour and embellishments. Adding too many different materials breaks visual unity and increases preparation time without improving the result.