
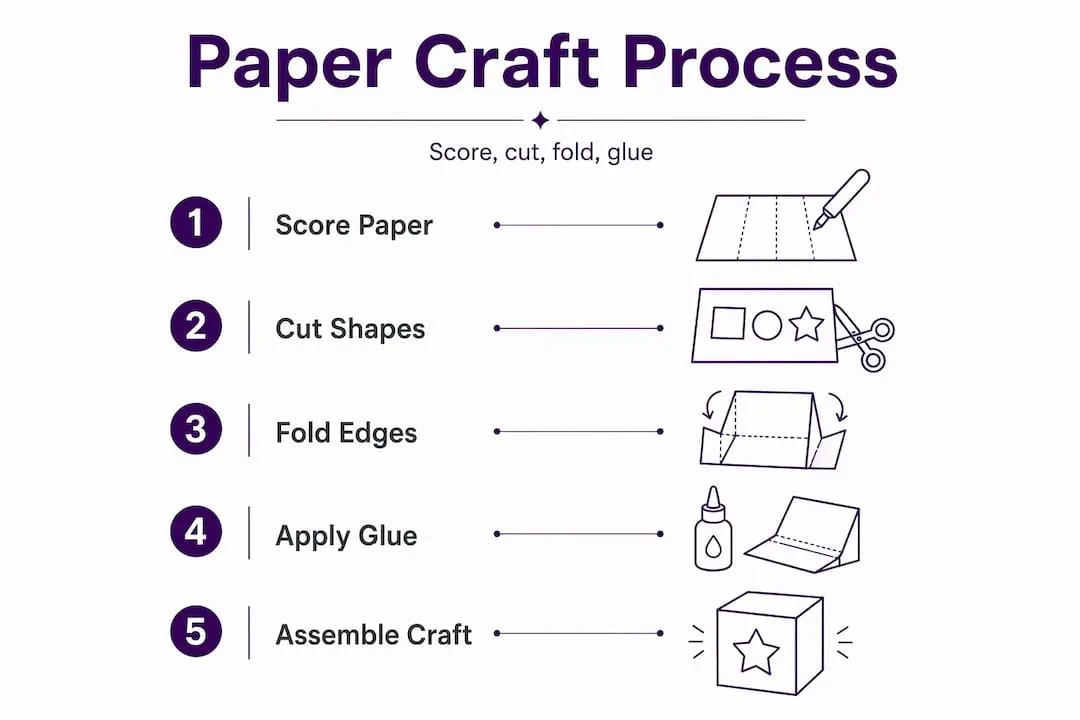
How to design paper crafts: a printable step-by-step guide

Paper crafts that buckle, pop-up cards that refuse to lie flat, and box templates that collapse the moment you let go — these are the frustrations that greet so many crafters who jump straight into a project without a solid plan. The good news is that digital printable templates have transformed how hobby crafters approach design, removing much of the guesswork that used to plague homemade projects. This guide walks you through every stage, from choosing the right paper and tools to scoring, cutting, assembling, and stabilising your creation so it looks genuinely professional every single time.
Table of Contents
- Gathering materials and understanding templates
- Preparing and scoring your paper for perfect folds
- Cutting and assembling: from flat template to 3D craft
- Stabilising structures and achieving pro-quality results
- What actually makes paper craft designs successful
- Find endless inspiration and templates for your next project
- Frequently asked questions
Key Takeaways
| Point | Details |
|---|---|
| Choose templates wisely | Properly labelled and layered printables make every stage of crafting smoother. |
| Score before you fold | Scoring paper, especially cardstock, prevents cracks and ensures crisp edges. |
| Follow the right order | Cut, score, pre-fold, then glue—this sequence guarantees clean, stable builds. |
| Test mechanisms early | Check that pop-ups or moving parts work before final assembly for best results. |
Gathering materials and understanding templates
With the benefits of printables in mind, it is essential to know what materials and templates set your project up for success. Skipping this stage is the single most common reason crafters end up with wonky results, no matter how talented they are.
Printable paper crafts designs are delivered with templates that you assemble by tracing or printing onto paper, then cutting, folding along marked fold lines, and gluing layers together. Understanding exactly what you are looking at before you print anything will save you time, paper, and frustration.
Reading your template correctly
Most downloadable templates arrive as PDF or layered files. The key is to look for layer labels before printing. Cut lines are usually shown as solid lines, fold lines appear as dashed or dot-dash lines, and glue zones are often shaded or marked with a “G” symbol. Some templates include separate files for different layers, particularly when a design has a decorative top layer and a structural base layer beneath it. Always read any included instruction sheet before picking up a single tool.
When using printable templates, sort your downloads by complexity. A simple flat card needs far less preparation than a three-dimensional pop-up box, so building your confidence on simpler projects first is genuinely worth it.
Choosing the right paper
Paper weight is measured in grams per square metre (gsm), and your choice matters enormously.
| Paper type | Weight range | Best use |
|---|---|---|
| Lightweight copy paper | 80–100gsm | Practice runs and flat designs |
| Craft paper / medium card | 120–160gsm | Detailed elements, smaller folds |
| Standard cardstock | 180–220gsm | Most greetings cards and boxes |
| Heavy cardstock | 250–300gsm | Structural forms, pop-up bases |
| Gloss or pearl finish | 200–250gsm | Decorative layers, premium finishes |
Selecting quality paper and craft tools appropriate to your project weight will make a visible difference to your final result. Avoid using ordinary printer paper for anything structural; it lacks the stiffness to hold a fold under tension.
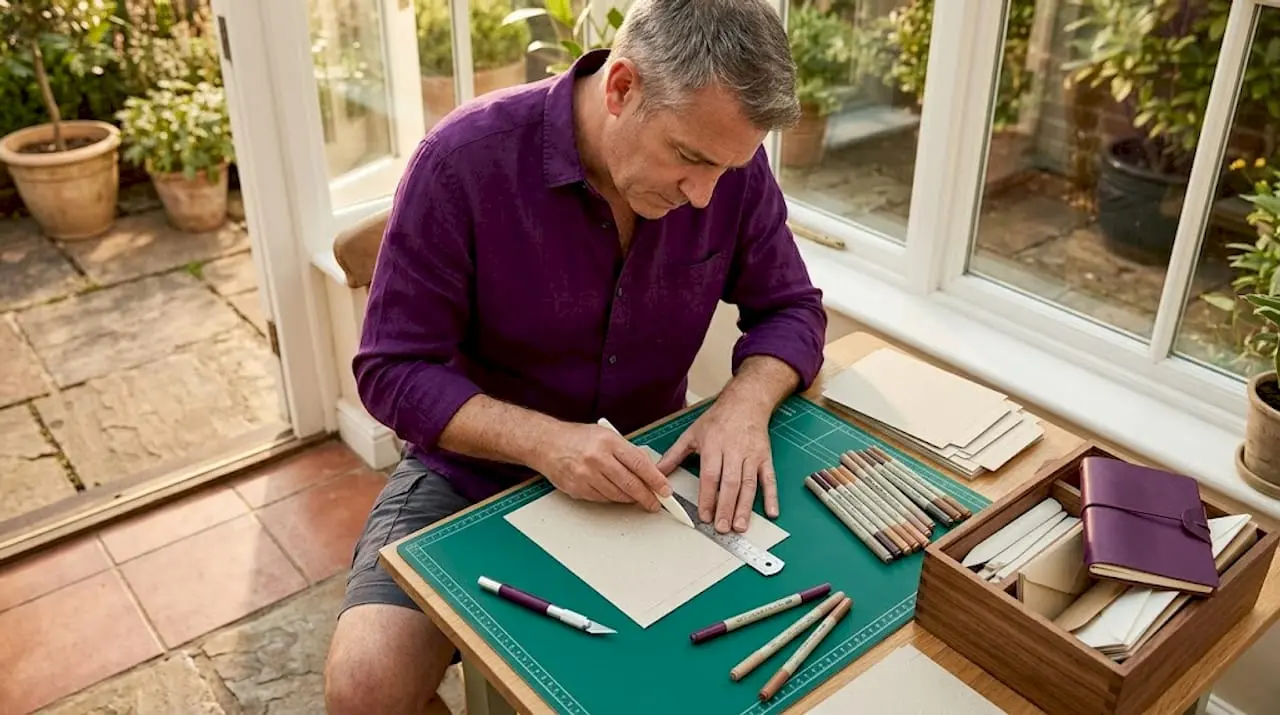
Essential tools to have ready
Before you even open your template file, gather everything you need:
- Craft knife and self-healing cutting mat: essential for straight, clean cuts along template lines
- Metal ruler: far safer and more accurate than a plastic ruler when cutting against a blade
- Scoring tool or embossing stylus: used to compress paper fibres along fold lines before folding
- Bone folder: smooths and firms creases after folding, giving a professional crisp edge
- PVA glue, foam pads, and tape runner: different adhesives suit different assembly stages
- Tweezers: invaluable for placing small decorative elements precisely
Pro Tip: Organise your templates into folders labelled by complexity, such as “beginner flat,” “intermediate box,” and “advanced pop-up.” Working through them in order means you naturally build the technique for each new challenge rather than being blindsided by it.
Preparing and scoring your paper for perfect folds
Once you have your materials ready, the next step is to prepare each piece to fold perfectly for a polished result. This is the stage most crafters rush, and it is exactly where quality is either made or lost.
Scoring creates a hinge line by breaking and compressing the paper fibres enough for a clean fold. Heavier cardstock needs deeper scoring pressure, while lighter paper needs a much gentler touch. Apply too much pressure on lightweight paper and you will cut through it entirely; too little on heavy card and the fold will crack along the outside surface.
Step-by-step scoring method
- Place your printed template on the cutting mat with the design face-up if you are scoring on the printed side, or face-down if you prefer to score from the reverse.
- Align your metal ruler exactly on the fold line. Even a millimetre of drift will cause the assembled piece to sit unevenly.
- Draw your scoring tool firmly along the ruler in one smooth motion. Do not go back and forth repeatedly as this weakens the paper unevenly.
- For heavy cardstock (200gsm and above), apply firm, consistent pressure and consider running the tool along the line twice.
- For lighter papers (80–160gsm), a single light pass is usually enough. Test on a scrap piece first.
- Fold towards the scored side. The scored groove should sit on the inside of the fold to create a neat, outward-facing crease.
- Run a bone folder firmly along the crease after folding to set it cleanly without any curling at the edges.
“A properly scored fold line does not just look better — it structurally changes how the paper behaves under tension, making the finished piece far more durable.”
Preventing cracks in your folds
Cracking along the outside of a fold is almost always a sign of two things: paper that is too heavy for the design, or insufficient scoring before folding. If you notice white stress lines appearing on the outside of a fold, score the line more deeply on your next attempt. For very heavy cardstock, try dampening the score line very slightly with a damp (not wet) cotton bud, then folding gently. This relaxes the fibres just enough to prevent cracking without warping the card.
Refer back to scoring tips and projects whenever you are tackling a new paper weight for the first time, as the technique genuinely varies.
Cutting and assembling: from flat template to 3D craft
Now that all pieces are scored and ready, it is time to bring your craft to life by cutting accurately and assembling in the correct order. Rushing this stage is where most structural failures happen.
Registration accuracy matters enormously when using die-cut printable designs. Print-ready dielines separate cut lines from fold lines, and keep die lines in a dedicated vector layer or file. When cutting by hand, the same principle applies: never confuse a fold line for a cut line, or your piece will be irreparably damaged.
Manual cutting vs die-cutting machines
| Method | Accuracy | Best for | Cost |
|---|---|---|---|
| Craft knife and ruler | High (with practice) | Small runs, unique designs | Low |
| Scissors | Moderate | Curves, organic shapes | Very low |
| Desktop die-cut machine | Very high | Repeat cuts, large batches | Medium-high |
| Professional die-cutting | Extremely high | Commercial or print-on-demand | High |
For most hobby crafters, a craft knife with a fresh blade and a good ruler will produce excellent results. Change your blade far more often than you think you need to; a dull blade drags and tears rather than cutting cleanly.
Assembly sequence
Getting the order right before applying any glue is the most underrated skill in paper crafting.
- Pre-fold every scored line on all pieces before touching the glue. This reveals any scoring errors while you can still correct them.
- Do a dry assembly run: fit all pieces together without adhesive, checking that edges align and the structure sits correctly.
- Check registration: hold layers up to a window or lightbox to verify that printed elements line up across layers.
- Start gluing from the base outward, securing the structural layer first, then adding decorative layers on top.
- Allow each glued joint to dry under a light weight (a book works perfectly) before attaching the next piece.
These step-by-step crafting tutorials reinforce why sequence matters. Gluing before pre-folding is the single most common beginner error, and it consistently produces misaligned, bubbled results that no amount of decoration can fix.
Stabilising structures and achieving pro-quality results
With the base craft assembled, ensuring that it functions and lasts is the final step towards a genuinely professional finish. A beautiful card that won’t stand up, or a gift box that collapses under the weight of its contents, simply isn’t fit for purpose.
Valid pop-up structures must both pop open and fold flat again, which depends on precise geometric constraints and stabilisation techniques. This is not just an aesthetic concern; it is a functional requirement built into the mathematics of how the paper moves.
Key stabilisation methods
- Support layers: glue a second layer of cardstock behind large flat panels to prevent warping over time, particularly in humid environments
- Corner patches: small squares of card glued inside box corners reinforce the stress points where structural failure most often occurs
- Geometric checks: before final glue, verify that all parallel folds are truly parallel using a ruler, not just by eye
- Internal reinforcement strips: thin strips of card glued along the inside spine of a card or book form dramatically improve longevity
- Foam pads: using foam adhesive pads between layers adds dimension and also acts as a cushion that absorbs the stress of opening and closing
Registration accuracy in die-cutting typically falls within 0.5 to 1.5mm for desktop machines, and up to 0.25mm for professional equipment. For handmade projects, aim to keep your alignment within 1mm for clean results.
Testing and troubleshooting
Before you consider any project finished, run through this checklist:
- Does the card or pop-up open and close smoothly without snagging or buckling?
- Do all flaps and tabs sit flush when closed?
- Does the structure stand unsupported if it is designed to do so?
- Are all glued edges fully bonded with no lifting corners?
If a pop-up element won’t lie flat, the most common cause is a fold running in the wrong direction. Check your template’s valley and mountain fold indicators (valley folds go inward, mountain folds go outward) and refold accordingly. Explore structural craft ideas for inspiration on how to handle complex builds.
What actually makes paper craft designs successful
Once you understand the core build methods, it is worth rethinking what “good design” really means in paper crafts. Most crafting guides focus on aesthetics: colour palettes, embellishments, decorative papers. And while those things matter, they are not actually what separates a truly professional result from an average one.
The difference between average and outstanding craft designs lies in assembly order and troubleshooting discipline, not in artistry. Academic research into origami and pop-up architecture treats paper craft as a geometry problem, one where the design either satisfies the folding constraints or it does not. There is no amount of decorative polish that rescues a structure built in the wrong sequence.
This is a genuinely uncomfortable truth for many crafters who invest heavily in beautiful papers and premium embellishments, only to find their final piece won’t close properly. The fix is almost never a better stamp or a prettier sheet of card. It is going back to a dry assembly run, checking fold directions, and understanding where the geometric logic broke down.
What we have found, working with thousands of crafters through craft method tutorials, is that beginners who document their mistakes improve far faster than those who simply retry the same project. Keep a simple notebook where you record which paper weight cracked, which template layer confused you, and what fold sequence worked. After just three or four projects, you will have a personal reference guide that is worth more than any generic tutorial.
Technique genuinely outweighs creativity at the beginner and intermediate level. Master the score-cut-fold-glue sequence before you worry about which embellishments to add. The creativity comes naturally once the mechanics are second nature.
Find endless inspiration and templates for your next project
Feeling ready to start your next design? Here’s where to find quality resources for every level.
Craftsuprint is home to thousands of ready-made printable craft templates designed specifically for hobby crafters like you, from simple greetings cards to elaborate pop-up designs and gift boxes.
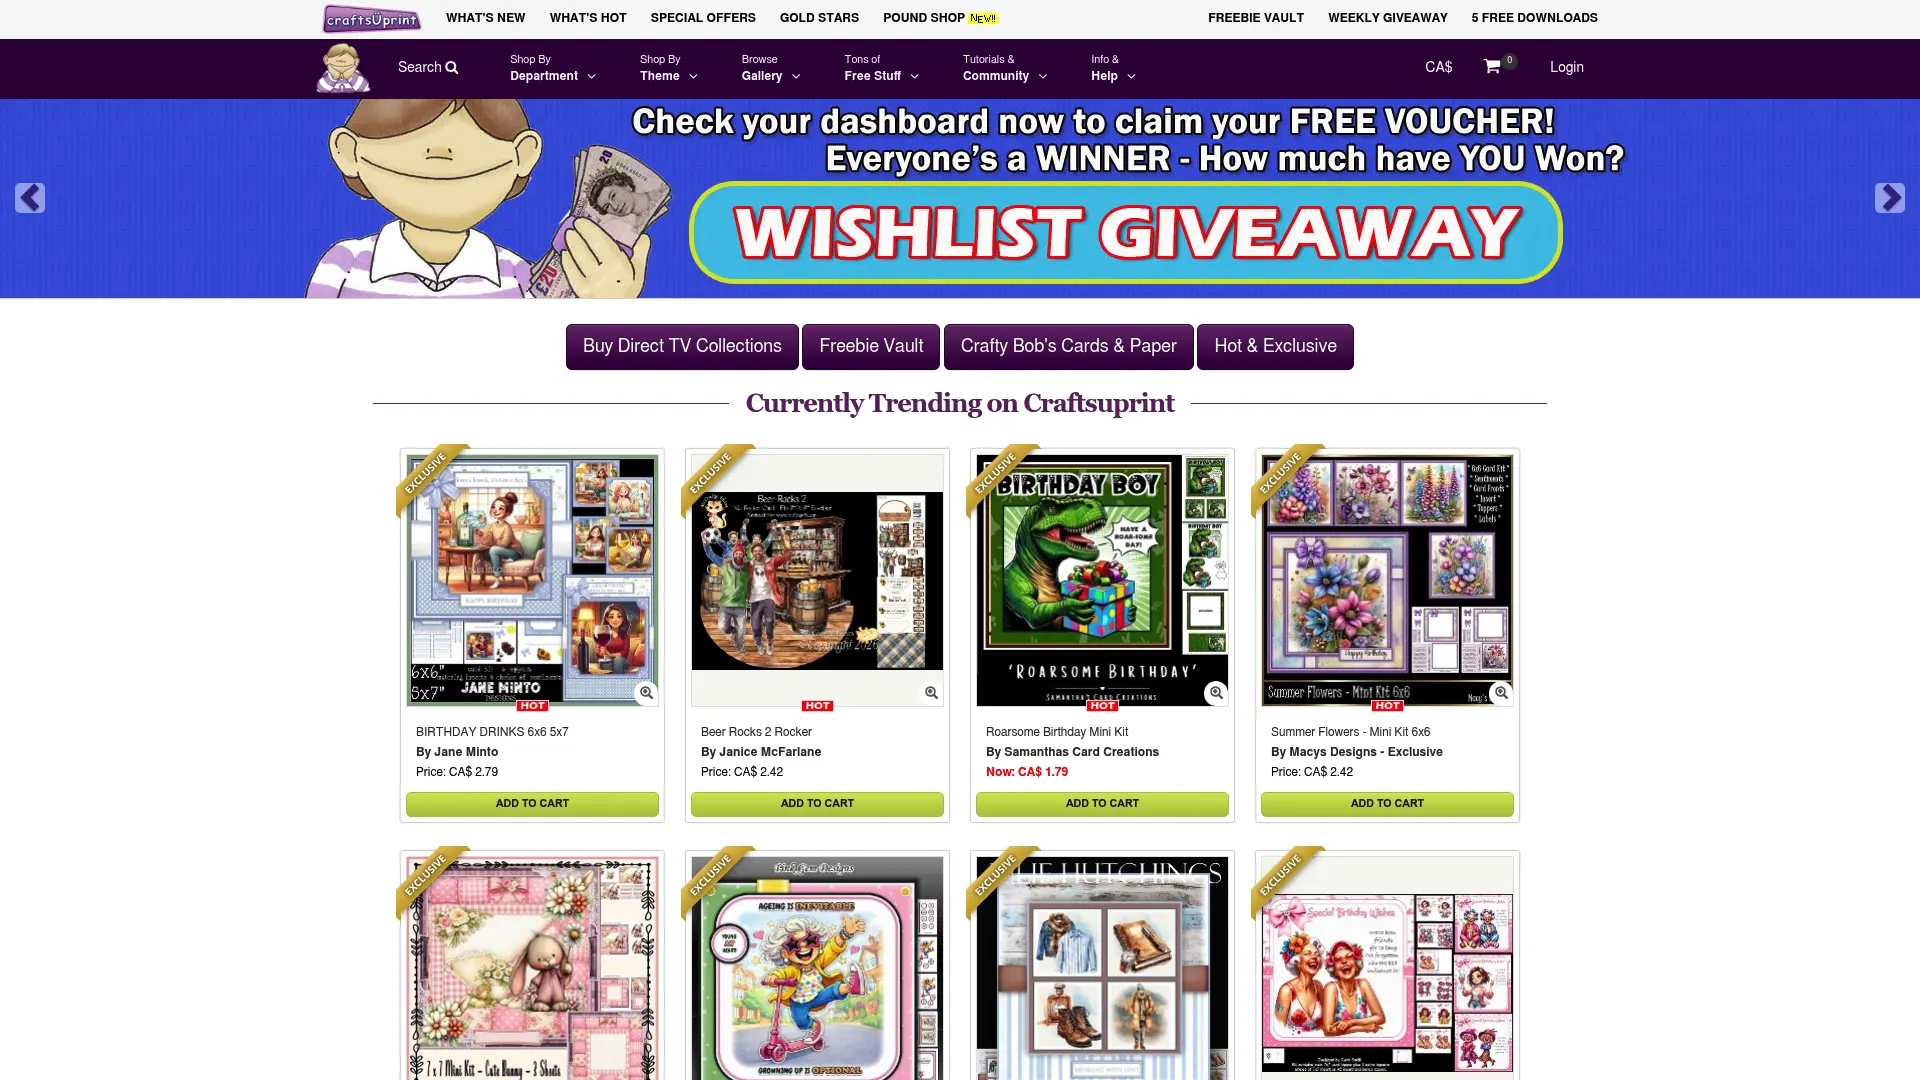
Whether you are just getting started or you are looking for your next creative challenge, you can download printable craft templates across a huge range of themes, styles, and skill levels. Every design comes ready to print and includes the template markings you have just learned to read, so your new skills go straight to work. Browse the marketplace, pick up a weekly freebie, and discover independent designers whose work spans everything from seasonal cards to intricate 3D structures.
Frequently asked questions
How do I choose the right paper weight for paper crafts?
For robust structural crafts, use heavier cardstock in the 220 to 300gsm range; for designs with fine detail and lots of small folds, lighter sheets between 120 and 160gsm are far easier to score and fold cleanly without cracking.
What is the most important step for a clean, professional paper craft?
Precise scoring and folding, completed before any glue is applied, is the single biggest quality driver; heavier cardstock needs deeper scoring while lighter paper requires a gentler touch to achieve a crisp, uncracked fold.
How do I tell cut lines and fold lines apart on a template?
Most templates use distinct line styles, with solid lines indicating cuts and dashed or dot-dash lines indicating folds; print-ready dielines often separate these onto different layers or files to make the distinction even clearer.
Why does my pop-up card not close flat or pop open neatly?
This almost always results from fold directions being reversed, an incorrect folding sequence, or missing stabilising patches; valid pop-up structures must satisfy specific geometric constraints for both opening and closing to work correctly.