
How to create card templates: a complete guide for crafters
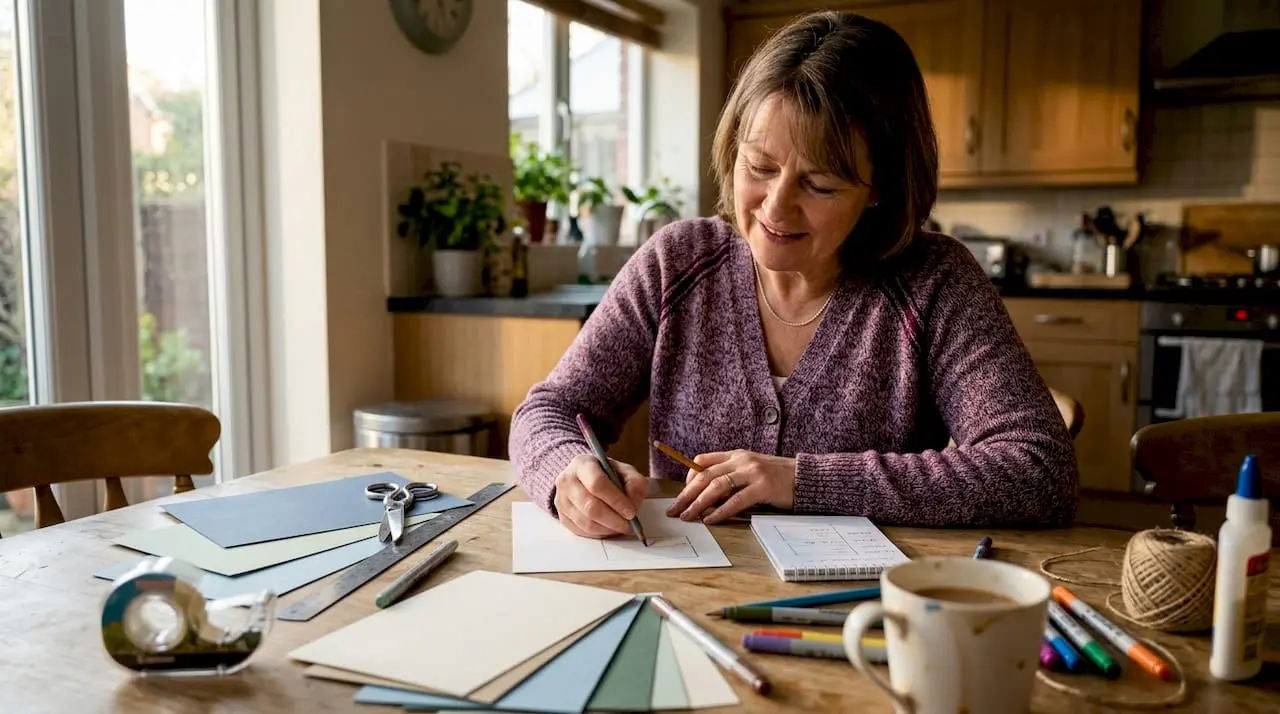
Finding a card template that truly matches your creative vision can feel like searching for a needle in a haystack. Most downloadable options are either too generic, too restrictive, or simply not quite right for the project you have in mind. The good news is that making your own card templates is far more achievable than most crafters realise, and the results are infinitely more satisfying. This guide walks you through everything you need, from choosing materials to troubleshooting your first attempt, so you can move from frustrated crafter to confident template maker.
Table of Contents
- Choosing your materials and tools
- Planning your card template design
- Creating and assembling the template
- Troubleshooting and perfecting your template
- Why handmade templates beat store-bought every time
- Level up your card crafting with expert templates
- Frequently asked questions
Key Takeaways
| Point | Details |
|---|---|
| Start with quality materials | The right paper and tools are essential for sturdy, professional templates. |
| Plan before you cut | Sketch your design and layout in advance to reduce errors and wasted materials. |
| Step-by-step assembly | Follow precise instructions and measure carefully for the best results. |
| Refine and adjust | Test, review, and edit your template to perfect your final card. |
| Store and reuse | Save your templates for future projects to expand your creative options. |
Choosing your materials and tools
With your materials ready, you will be far better placed to produce templates that look polished and last well. Using quality materials results in cards that are both beautiful and long-lasting, so it pays to be selective from the very start rather than grabbing whatever is nearest on the shelf.
The foundation of any good card template is the card stock itself. Weight matters enormously here. Card stock between 200gsm and 300gsm is ideal for most greeting card templates because it holds its shape when scored and folded without cracking. Lighter paper works for inserts, while heavier board suits box-style projects.
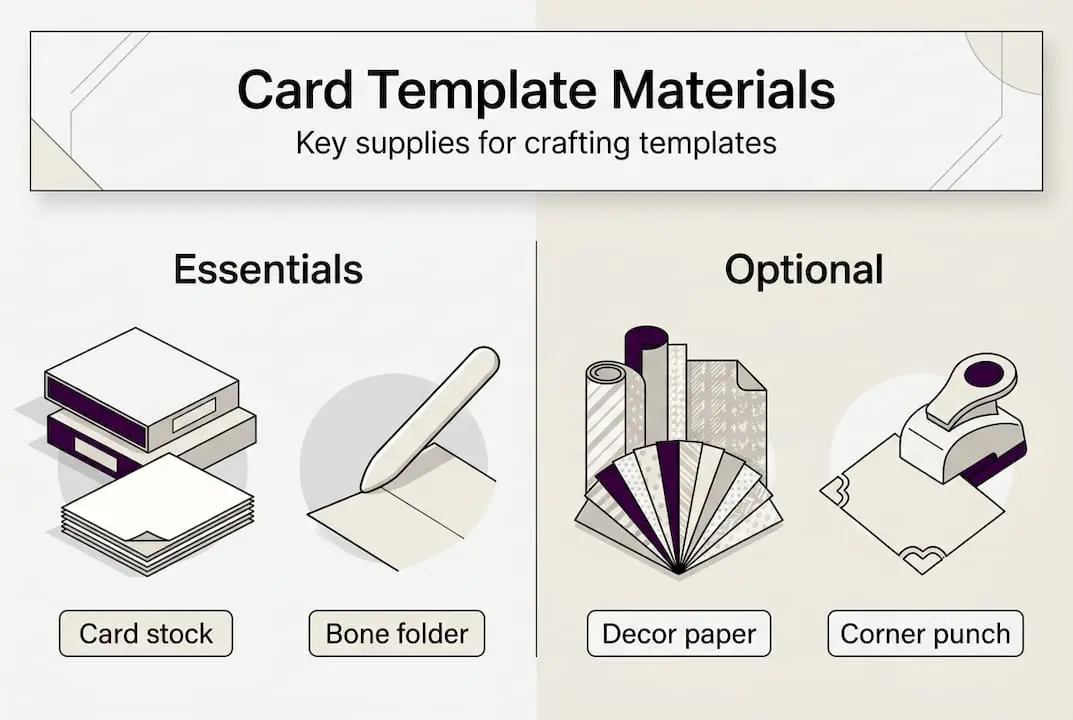
Here is a quick overview of the core materials you will want to gather:
- Card stock (200gsm to 300gsm): The base of your template and finished card
- Bone folder: Creates clean, crisp score lines without tearing fibres
- Metal ruler: Ensures straight cuts and acts as a cutting guide
- Craft knife or die-cutting machine: For precise, clean edges
- Self-healing cutting mat: Protects your work surface and prolongs blade life
- Adhesive (double-sided tape or PVA glue): Holds layers securely without warping
- Scoring board: Speeds up repeated folding on consistent measurements
| Material | Main function | Essential or optional |
|---|---|---|
| Card stock | Template base | Essential |
| Bone folder | Clean score lines | Essential |
| Metal ruler | Straight cutting guide | Essential |
| Craft knife | Precise cutting | Essential |
| Scoring board | Consistent fold marks | Optional but recommended |
| Die-cutting machine | Fast, repeatable shapes | Optional |
| Design software | Digital template creation | Optional |
For those who prefer a digital workflow, design programs such as Adobe Illustrator or Canva allow you to build templates on screen, then print onto card stock at home. This approach is brilliant if you want to reuse a design repeatedly without physical wear on your master template. You can explore a wide range of crafting supplies and tutorials to complement whichever method suits you best.
Pro Tip: Buy card stock in bulk packs rather than individual sheets. The cost per sheet drops significantly, and you will always have matching stock on hand for test cuts and final production alike.
Planning your card template design
With your materials ready, planning your card layout is the next essential step. Rushing straight into cutting without a clear plan is one of the most common reasons crafters waste both time and materials. Planning the design in advance helps avoid wasted materials and sets you up for a much smoother making process.
Start by deciding on three fundamental things: card size, shape, and folding style. The most popular sizes include A6 (105mm x 148mm), A5 folded to A6, and square formats at 150mm x 150mm. Each size suits different occasions and envelope styles, so think about presentation before you pick up a pencil.
Common card template types worth knowing:
- Standard single fold: The most versatile option, folds once along a central line
- Gatefold: Two panels open outward from the centre, brilliant for dramatic reveals
- Z-fold or concertina: Accordion-style folding for cards that tell a story across panels
- Pop-up: Internal mechanisms create three-dimensional elements when the card is opened
- Shaped or die-cut: Outer edges follow a specific silhouette such as a heart, flower, or object
- Aperture card: Features a window cut-out to showcase a decorative element behind it
Once you have chosen your format, follow these planning steps in order:
- Choose your finished card size and check it fits a standard envelope
- Select your folding style based on the occasion and number of panels needed
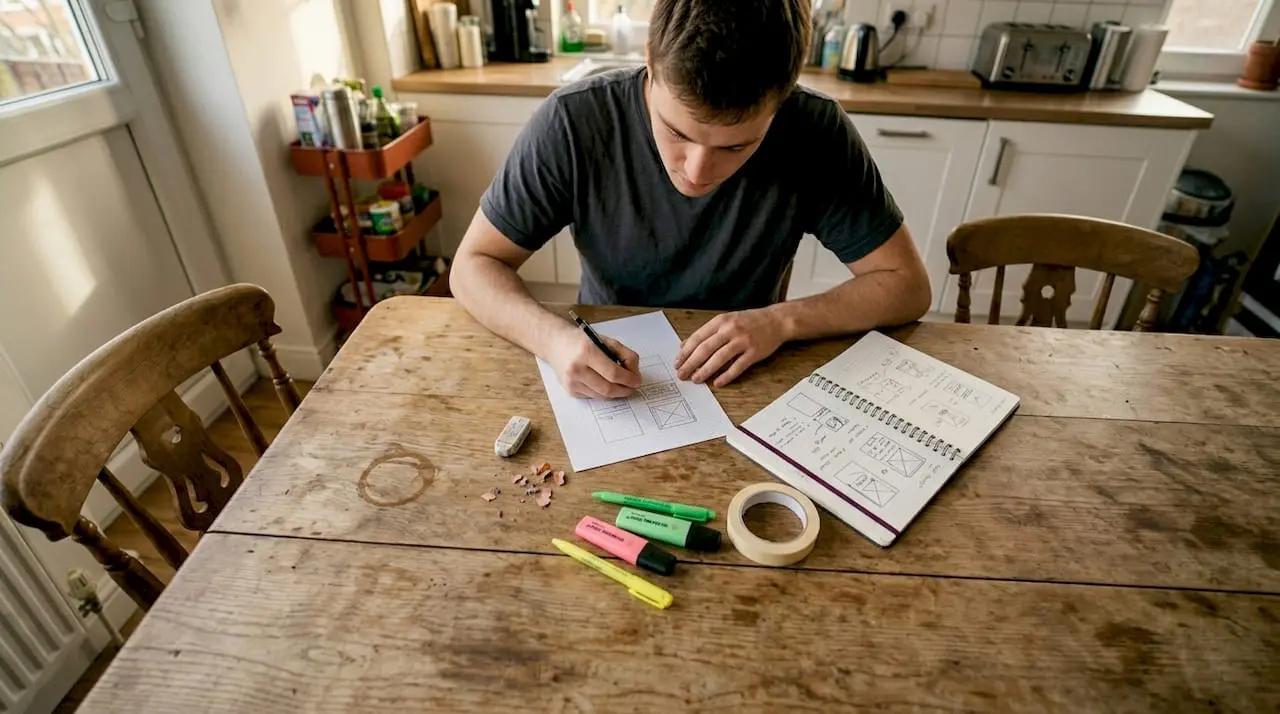
- Sketch a rough thumbnail layout on plain paper, marking fold lines in a different colour
- Mark positions for key design elements such as sentiment panels and image areas
- Note any embellishments such as layers, ribbon slots, or apertures
- Review the sketch against your available card stock dimensions to confirm there is no waste
Pro Tip: Browse project planning tutorials for fresh inspiration. Digital downloads from other craft projects can often be repurposed as layout references, saving you significant planning time.
Creating and assembling the template
Now that you have a plan, it is time to create your template. Here is how to do it precisely.
Whether you are working by hand or digitally, accuracy at this stage determines whether your template is a one-use experiment or a reliable tool you return to time and again. Precision in measuring and cutting is crucial to achieve repeatable results, so take your time on every measurement before committing a blade to card.
Follow these steps for a hand-cut template:
- Transfer your sketch measurements onto card stock using a sharp pencil and metal ruler
- Mark all fold lines lightly with a pencil before scoring
- Score along fold lines using a bone folder and ruler before cutting outer edges
- Cut the outer shape cleanly using a craft knife against your metal ruler
- Fold along scored lines and test the fit, checking that panels align properly
- Make any adjustments to measurements at this stage before treating the template as final
- Label the template with its dimensions and fold directions using a fine marker
Measure twice, cut once. This old principle is the single most time-saving habit any crafter can adopt. Every minute spent double-checking measurements saves five minutes of re-cutting.
For digital templates, build your design in your chosen program using precise artboard dimensions, then print onto plain paper first for a test fold before committing to card stock.
| Method | Speed | Editability | Texture and feel | Uniqueness |
|---|---|---|---|---|
| Handcrafted | Slower | Manual adjustments only | Authentic, tactile | Highly individual |
| Digital | Faster to reproduce | Easy to edit and reprint | Dependent on print quality | Easily duplicated |
Store finished templates flat inside a labelled folder or between sheets of baking parchment to prevent warping. Explore DIY card making methods for further ideas on organising and reusing your template collection effectively.
Troubleshooting and perfecting your template
The first version may not be perfect, and that is completely normal. Here is how to spot and fix common issues before they become habits.
Even experienced crafters often need to adjust templates after a test run for the best results, so treat your first attempt as useful data rather than a failure. Most crafters tweak their templates at least twice before settling on a final version, and that iterative process is genuinely where the learning happens.
The most frequent problems you are likely to encounter include:
- Misaligned folds: Usually caused by scoring slightly off the pencil line. Re-mark using a grid mat for greater accuracy.
- Uneven borders: Typically a measuring error. Use a quilting ruler with a grid printed on it for consistent margins.
- Panels that do not meet cleanly: Often a result of the card stock stretching slightly during scoring. Allow a fraction of a millimetre extra on thick stock.
- Tearing along score lines: The bone folder may be too sharp, or the card stock may be too light. Switch to heavier stock or use a blunter tool.
- Blurred or jagged cut edges: Replace your craft knife blade. A dull blade drags rather than slices cleanly.
When reviewing a test assembly, check these things in order: fold alignment, border consistency, panel sizing, and finally embellishment placement. Fix one variable at a time so you can isolate what caused each issue.
Pro Tip: Minor imperfections such as slightly uneven borders can actually become a design feature when you lean into the handmade aesthetic. A hand-inked border or a layer of patterned paper can disguise a small measurement error beautifully while adding visual interest.
Know when to repair and when to start fresh. If a single measurement is slightly off, adjust and recut. If multiple elements are misaligned throughout the template, it is almost always faster to rebuild from scratch using your corrected measurements rather than patching each problem individually. You can find further guidance on fixing crafting mistakes to help you decide the best course of action.
Why handmade templates beat store-bought every time
Store-bought templates are convenient, and there is no shame in using them when time is short. But convenience comes with a hidden cost: you are always working within someone else’s creative decisions. The size, fold style, and proportions were chosen by a designer who has never seen your project, your materials, or your style.
When you build your own templates, every dimension reflects your intention. A gatefold that is 5mm wider than standard might be exactly what a particular envelope or ribbon requires. That small tweak is invisible in a purchased download.
There is also the matter of skill. The troubleshooting and measuring process that can feel frustrating in the moment is actually teaching you to see card construction more clearly. After making three or four templates, you will start to anticipate problems before they occur. That knowledge cannot be downloaded.
Handmade templates also produce cards that cannot be replicated by mass-produced designs. The combination of your chosen stock, your fold style, and your embellishment placement creates something genuinely unique. That is worth far more than the time saved by grabbing a generic file.
Level up your card crafting with expert templates
Once you have learned the basics, there is a whole world of resources and creative support waiting to help you go further.
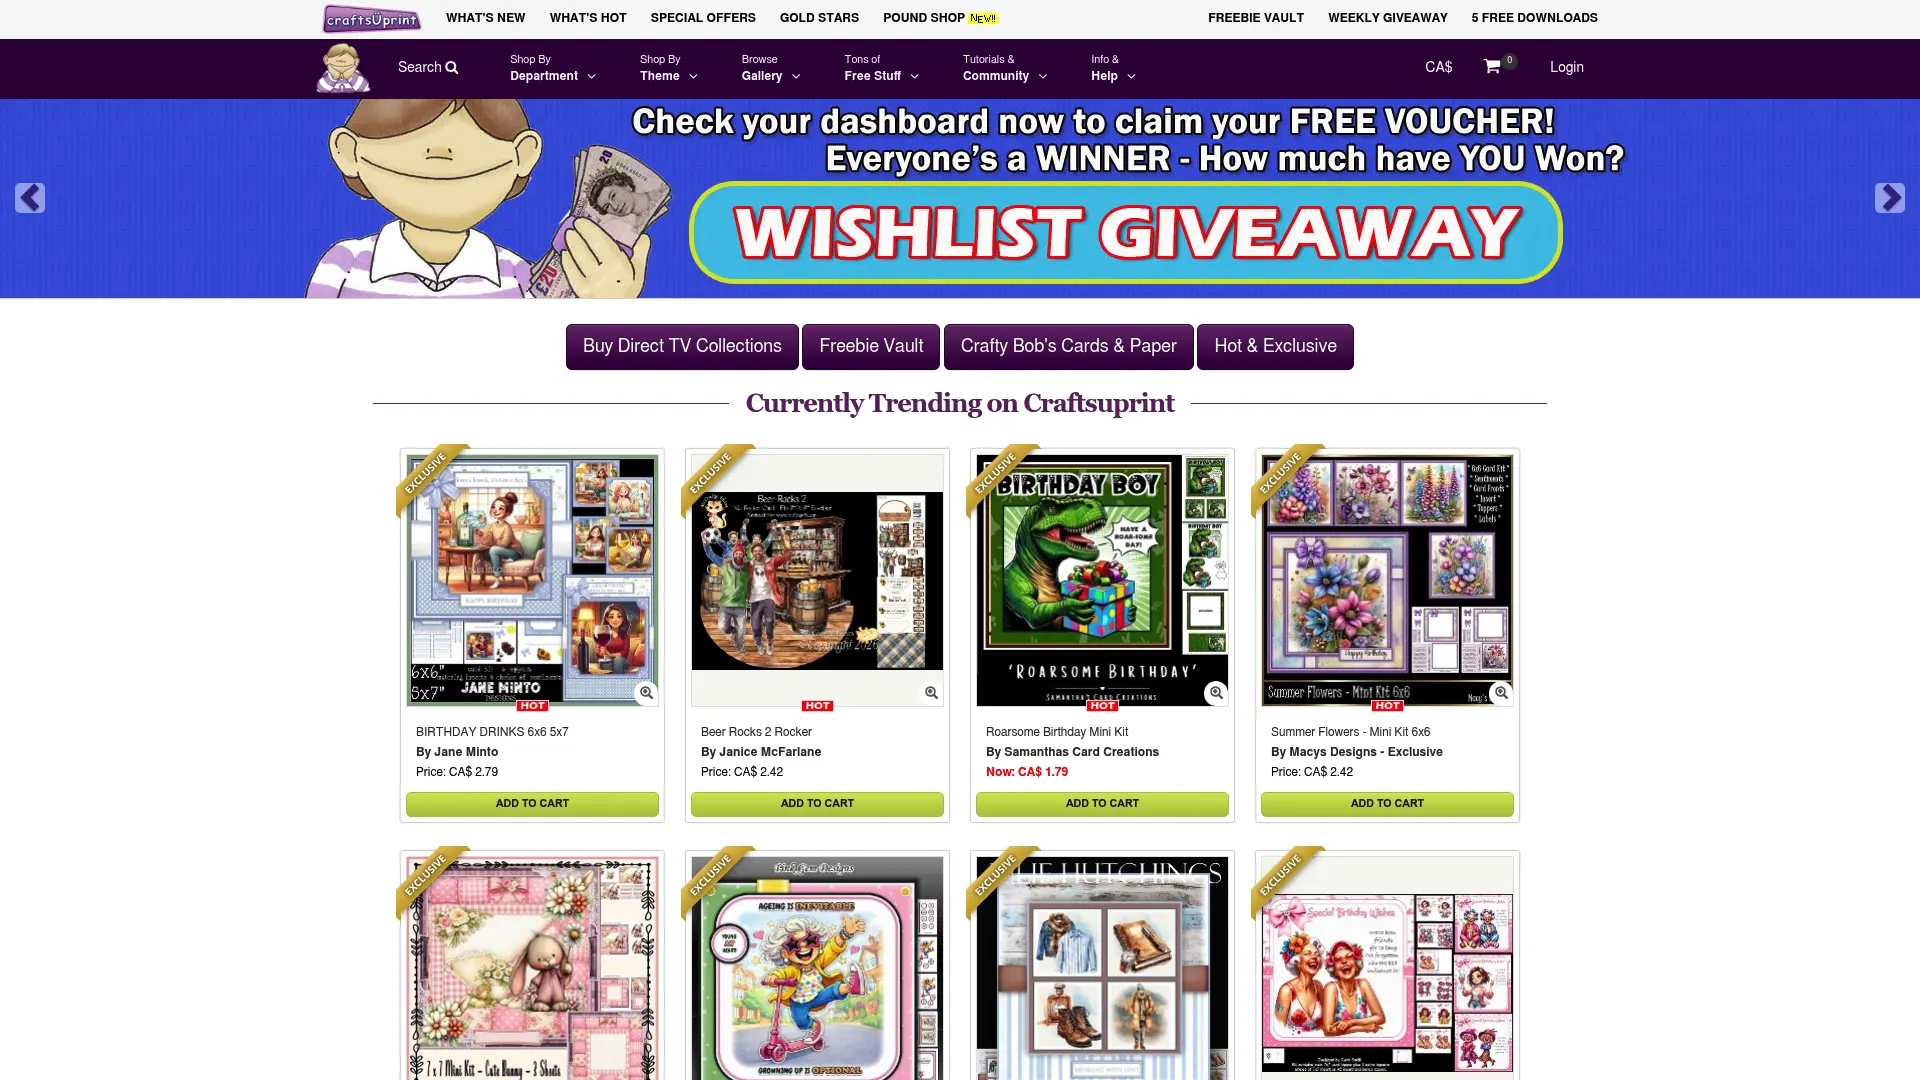
At Craftsuprint, you will find hundreds of beautifully designed free card making downloads, printable kits, and step-by-step video tutorials that complement everything you have learned here. Whether you want to adapt a ready-made design as a starting point or discover an entirely new technique, the platform offers the creative support and community inspiration to keep your card making growing. Join fellow crafters, share your makes, and find the designs that spark your next idea.
Frequently asked questions
What is the best software for creating digital card templates?
Popular choices include Adobe Illustrator, Canva, and free alternatives like Inkscape, each suitable for different styles and experience levels. Your choice will depend on your budget and how complex your designs are likely to be.
How do I print my handmade card template accurately?
Set your printer to the correct card size, choose high quality mode, and always print a test page on plain paper before final production. This prevents costly errors on expensive card stock.
What’s the advantage of making my own versus buying templates?
Creating your own offers full creative control, personalisation, and unique designs that reflect your individual style. No purchased template can be tailored to your specific materials and vision in the same way.
Do I need special tools to start making card templates?
Basic tools like a ruler, craft knife, quality card, and adhesive are enough to get started. Simple crafting tools are sufficient for beginners, and specialised scoring or cutting tools can be added as your confidence grows.