
Handmade card tutorial: Unique cards with printables
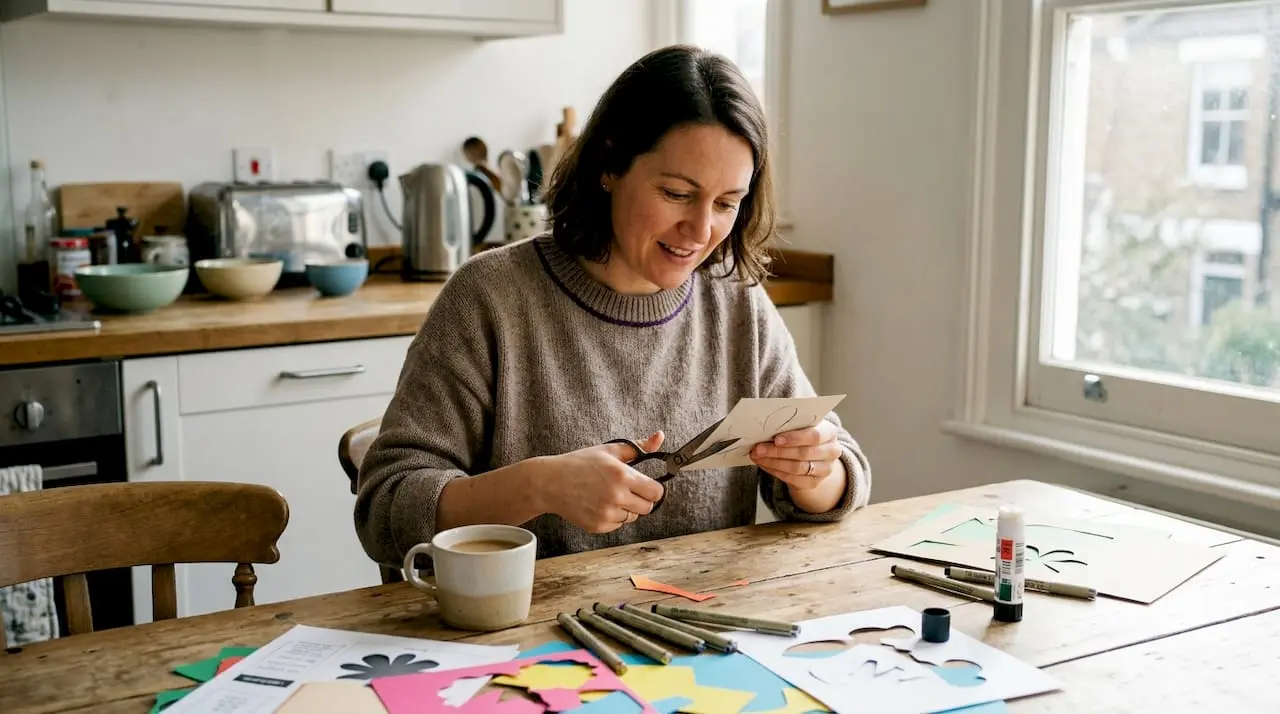
There is something quietly disappointing about handing someone a card you grabbed off a supermarket shelf. It does the job, but it says very little beyond the printed words inside. Handmade cards, on the other hand, carry weight. They show thought, time, and genuine care. The good news is that making your own does not require advanced artistic skills or a room full of expensive equipment. With the right printable craft resources, even a complete beginner can produce cards that look polished, personal, and truly one of a kind. This guide walks you through everything, from gathering your materials to adding those final flourishes.
Table of Contents
- What you need: Tools, materials, and printables
- Step-by-step guide: Creating your handmade card
- Expert finishing touches: Personalisation and professional results
- Troubleshooting: Common mistakes and special materials
- Why printable resources don’t limit creativity
- Start your own handmade card journey
- Frequently asked questions
Key Takeaways
| Point | Details |
|---|---|
| Printables make cards easy | Printable downloads provide a shortcut to custom shapes and sentiments for all skill levels. |
| Expert finishing is simple | Limiting colours and using foam tape are quick ways to add polish and depth. |
| Personal touches matter | Hand lettering and embracing small imperfections create cards with authentic charm. |
| Troubleshooting is part of crafting | Most errors—like card warping or mailing size—have easy fixes with the right methods. |
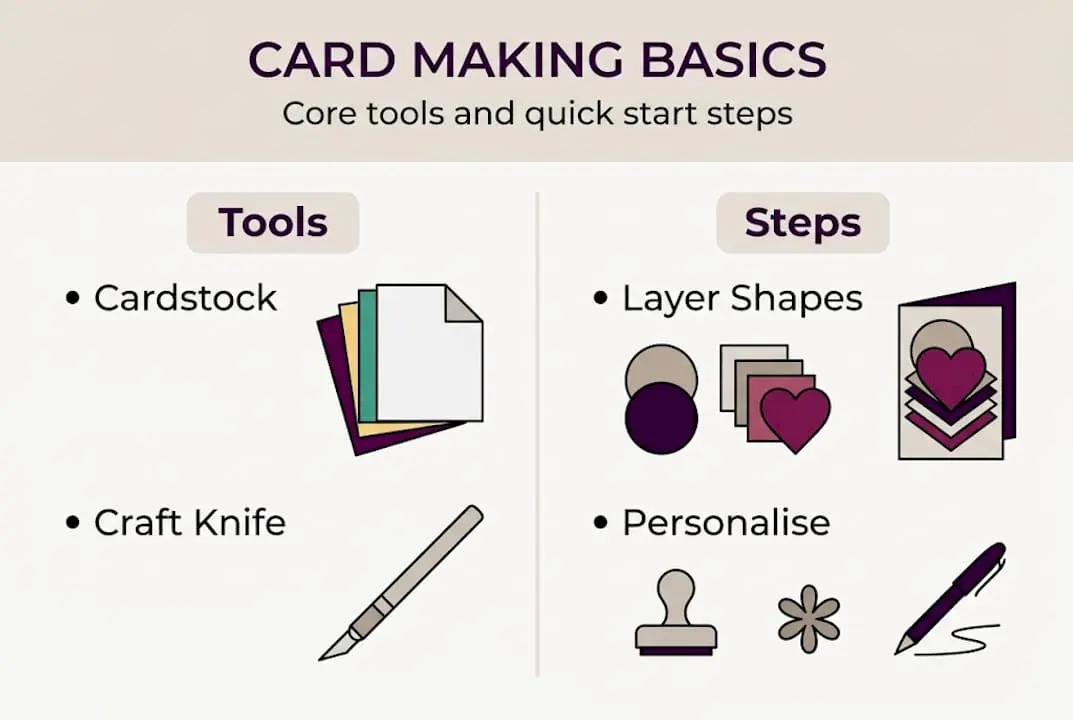
What you need: Tools, materials, and printables
Now that you know what makes handmade cards special, let’s detail exactly what you’ll need to get started. Having the right materials before you begin saves time and prevents the frustration of stopping mid-project to hunt for something basic.
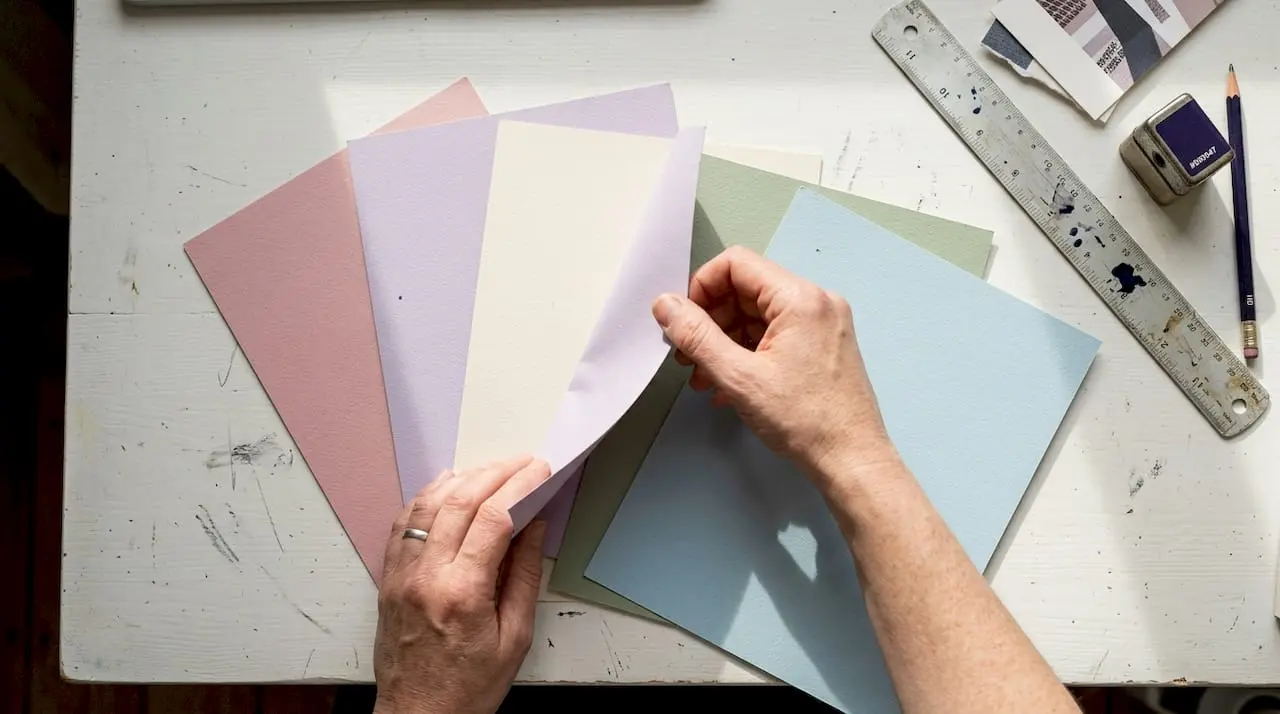
Paper and card essentials
The foundation of any good card is the paper you choose. Cardstock is your best friend here. Aim for 250gsm to 300gsm for the main card base, as anything lighter will feel flimsy once folded. For layered panels and decorative backgrounds, lighter papers in the 120gsm to 160gsm range work well and add visual interest without adding too much bulk.
Printable elements transform the process entirely. You can use
Core tools you’ll need
- Scissors and a craft knife for clean cuts and intricate shapes
- A metal ruler to guide straight cuts safely
- A bone folder for crisp, professional folds
- Double-sided tape or tape runner to bond layers without warping
- Cutting mat to protect your work surface
| Tool | Purpose | Essential? |
|---|---|---|
| Craft knife | Precision cutting | Yes |
| Bone folder | Crisp folds | Yes |
| Foam squares | 3D raised elements | Optional |
| Ribbon | Decorative bows | Optional |
| Glitter stickers | Quick embellishment | Optional |
Optional embellishments like ribbons, foam squares, washi tape, and stickers are worth collecting gradually. They add texture and dimension without requiring specialist skills.
Pro Tip: Limit your colour palette to two or three shades per card. A cohesive palette looks intentional and polished, whereas too many colours can make even a beautifully crafted card look cluttered.
Step-by-step guide: Creating your handmade card
With your tools ready, it is time to dive into the creative process itself. Follow this sequence to build your card from scratch, using printables to speed things up at every stage.
- Cut and fold your card base. Use your craft knife and ruler to cut cardstock to your chosen size (A5 folded to A6 is a popular choice). Score along the fold line with your bone folder before folding for a crisp, clean edge.
- Sketch your layout. Before sticking anything down, lay out your printable elements and embellishments to plan the composition. This prevents costly mistakes.
- Print and cut your printable elements. Download your chosen templates and print on appropriate paper. Cut carefully with scissors or a craft knife for intricate shapes.
- Layer papers and textures. Adhere your background panel first, then layer decorative papers on top using double-sided tape. Build depth gradually.
- Add embellishments. Ribbons, stickers, and die cuts add personality. Secure them firmly with tape or foam squares.
- Write your message inside. A handwritten note is the finishing touch that elevates every handmade card, as outlined in this step-by-step card making approach used by experienced crafters.
Beginner vs advanced approaches
| Approach | Techniques used | Time needed |
|---|---|---|
| Beginner | Pre-cut printables, simple layering | 20 to 30 minutes |
| Intermediate | Custom cutting, foam squares, stamping | 45 to 60 minutes |
| Advanced | Faux calligraphy, watercolour, intricate die cuts | 90 minutes or more |
Browsing card making tutorials can help you find the right level for your current skills and scale up as your confidence grows.
Pro Tip: Use foam squares beneath key focal elements to create a subtle 3D effect. It adds visual interest and makes your card look far more considered, with very little extra effort.
Expert finishing touches: Personalisation and professional results
With your card constructed, consider these advanced touches to make it truly memorable. The difference between a good card and a great one often lies in the small details.
Personalisation techniques
Printable sentiments give you a head start, but adding your own handwriting creates an irreplaceable personal connection. Faux calligraphy is a beginner-friendly technique: write in your normal handwriting, then thicken every downward stroke with a second pen pass. The result mimics the look of calligraphy without requiring any specialist tools or years of practice.
Layering is another technique worth mastering. Rather than placing elements flat on the base, stagger them at slight angles and build upwards using foam tape. This creates a natural focal point and draws the eye across the card in a satisfying way. Always follow the rule of thirds when placing your main image: off-centre positioning almost always looks more dynamic than dead-centre placement.
“Imperfections are not flaws in handmade work. They are the signature of a human hand, and that is precisely what makes handmade cards worth keeping.”
As noted by craft educators, personalisation over perfection is the guiding principle that separates memorable handmade cards from forgettable ones.
Common mistakes to avoid
- Over-embellishment: When in doubt, remove one element. Restraint reads as confidence.
- Colour clashes: Stick to your chosen two or three colour palette throughout.
- Liquid glue on lightweight paper: It causes warping and puckering. Use tape runners instead, which preserve crisp, flat layers.
- Skipping the score line: Unscored folds crack or bow, especially on heavier cardstock.
You can find quality card making supplies online, which makes stocking up on tape runners and foam squares straightforward.
Pro Tip: Always score your fold lines before folding, using a bone folder against a ruler. This one habit alone makes your cards look noticeably more professional.
Troubleshooting: Common mistakes and special materials
Even experienced crafters encounter problems. Here’s how to prevent or fix the most common ones before they derail your project.
Posting and thickness
If you plan to send your card by post, thickness matters. For mailing, keep cards under a quarter inch thick or account for extra postage, as overly thick envelopes may be returned or damaged in transit. Foam squares and layered elements add up quickly, so measure before sealing the envelope.
“Always check your postal guidelines before sending. A beautifully crafted card deserves to arrive safely.”
Special materials and effects
- Watercolour effects: Use at least 300gsm paper to prevent buckling when wet media is applied. Lighter cardstock will warp badly, even with a light wash.
- Copic markers: These alcohol-based markers require smooth, non-absorbent cardstock to prevent streaking. Standard printer paper is not suitable.
- Glitter and loose embellishments: Seal with a clear matte spray to prevent shedding inside the envelope.
Quick fixes for common problems
- Warping: Press the card flat under heavy books overnight. Switch to tape runners for future projects.
- Streaky ink: Allow layers to dry fully before adding the next. Rushing drying time is the main cause.
- Bulky envelope: Reassess your layering and swap thick foam squares for thinner adhesive foam tape.
- Wonky cuts: A fresh craft knife blade makes a remarkable difference. Replace blades regularly for the cleanest results.
For long-lasting results, always start with quality cardstock options suited to your chosen techniques.
Why printable resources don’t limit creativity
There is a persistent idea in some crafting circles that using printable resources is somehow cheating, that it diminishes the handmade quality of the finished piece. We’d respectfully disagree. Printables do not replace creativity. They redirect it.
When you are not spending an hour hand-drawing a fox template or ruling out a grid pattern, you have that time back to focus on what makes your card yours: the colour choices, the layering decisions, the handwritten note, the unexpected embellishment that makes the recipient smile. That is where creative expression actually lives.
We have seen crafters exploring printable options who combine digital downloads with hand-colouring, torn paper edges, and found objects like pressed flowers or washi tape offcuts. The results are completely original, and nobody would ever call them less handmade.
Mistakes belong in this process too. A slightly off-centre sentiment, an ink smudge turned into a background texture, a ribbon tied at an imperfect angle. These are not errors. They are proof that a real person made something with care. Embrace them.
Start your own handmade card journey
If you are inspired to get hands-on, here is where to take the next steps. Creating your first handmade card is genuinely one of the most satisfying craft projects you can attempt, and you do not need much to get going.
At Craftsuprint, you will find a wide range of handmade card downloads covering every theme, season, and occasion, from birthday and anniversary designs to festive kits and everyday sentiments. Each download is print-ready and designed with crafters in mind. If you want to build your skills alongside your supplies, explore our collection of more handmade card tutorials for ideas, inspiration, and guided projects. Your next favourite card is waiting to be made.
Frequently asked questions
What is the best paper weight for handmade cards?
Choose 250 to 300gsm cardstock for sturdy, quality cards. As noted by craft experts, 300gsm prevents buckling when watercolour or wet media is applied.
Can I print my own embellishments for cards?
Yes. Printable templates for shapes, sentiments, and patterned papers make decoration fast and fully customisable, even for beginners.
How can I prevent my handmade cards from warping?
Avoid liquid glue and opt for tape runners or foam tape instead. Experts recommend tape runners over liquid glue to keep layers flat and prevent warping on lightweight papers.
Are handmade cards difficult for beginners?
Not at all. With printable resources and guided steps, beginners can produce impressive results quickly. Printable craft resources bridge the gap between novice and experienced crafter, allowing you to scale up gradually at your own pace.