
Guide to decorative paper art: techniques and projects
TL;DR:
- Decorative paper art transforms paper into intricate designs used in artistic, personal, and home projects. Mastering fundamental techniques and selecting appropriate materials ensure successful creations and long-lasting displays.
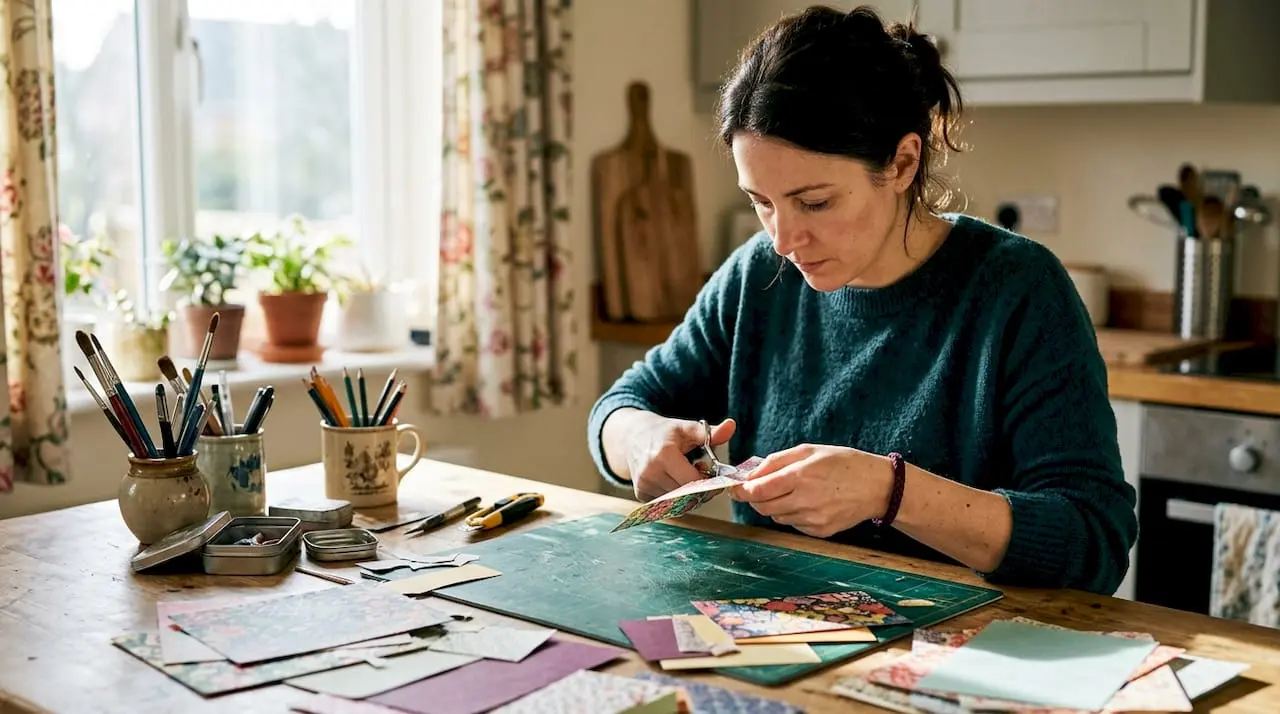
Decorative paper art is the craft of transforming paper into intricate, decorative forms for artistic expression, personal projects, and home décor. Known more formally as paper craft or paper art, it spans techniques from precise paper cutting and layered collage to paper pulp sculpture. Decorative paper’s popularity has surged throughout the 2020s, driven by the DIY craft movement and social media platforms showcasing personalised creative work. Bookbinders, artists, and hobby crafters all practise some form of it. Platforms like Craftsuprint have made quality templates, kits, and tutorials far more accessible, giving beginners a clear starting point without needing formal art training.
What materials and tools do you need for decorative paper art?
The right materials determine whether your project succeeds or frustrates you from the outset. Paper is the obvious starting point, but the type matters enormously. Handmade papers carry natural texture and irregular edges that add character to torn collage work. Commercially produced papers, including cardstock, vellum, tissue, and mulberry paper, offer consistency in weight and colour that suits cutting and layering projects.
Choosing the right paper
Paper weight is measured in grams per square metre (gsm). Lightweight papers at 60–90 gsm suit layering and collage. Medium-weight cardstock at 160–200 gsm is the standard for paper cutting and structured projects. Heavy papers above 250 gsm work well for paper pulp art and mounting bases. Multi-pack paper assortments typically contain 12 sheets and cost between £30 and £50, making them a cost-effective way to sample different textures before committing to a single type.
| Paper type | Texture | Weight (gsm) | Best use |
|---|---|---|---|
| Tissue paper | Soft, translucent | 17–30 | Layering, collage, decoupage |
| Mulberry paper | Fibrous, natural | 25–40 | Torn collage, mixed media |
| Cardstock | Smooth or linen | 160–200 | Paper cutting, cards, mounting |
| Vellum | Semi-transparent | 90–110 | Overlays, shadow effects |
| Watercolour paper | Textured | 200–300 | Paper pulp art, painted collage |
Essential tools for paper craft
Every paper crafter needs a small core toolkit before starting. The following items cover the majority of decorative paper techniques:
- A sharp craft knife or precision cutting blade (such as a scalpel-style blade) for clean cuts
- A self-healing cutting mat to protect your work surface and extend blade life
- A bone folder for crisp, clean folds without tearing
- Acid-free PVA glue or a glue stick for collage and layering work
- Tweezers for placing small, delicate cut pieces accurately
- A metal ruler for straight cuts and scored lines
- Foam spacers or mounting squares for creating depth in layered pieces
Pro Tip: Start with a basic starter kit from Craftsuprint’s craft supplies classifieds before buying individual tools. Kits bundle the essentials at a lower combined cost and often include a beginner project to practise on immediately.
How do you create decorative paper art using popular techniques?
Four techniques form the foundation of most decorative paper art: paper cutting, layered paper art, torn paper collage, and paper pulp art. Each produces a distinct visual result and requires a different skill set. Mastering one before moving to the next builds confidence and prevents wasted materials.
Paper cutting
Paper cutting is the art of removing sections of paper with a blade to create a design from what remains. The negative space, the parts you cut away, defines the image as much as the paper itself. Simple silhouette designs consistently receive more admiration than intricate patterns, and they are far less likely to tear during cutting.
Follow these steps for a basic leaf silhouette project:
- Print or trace a simple leaf outline onto the back of your cardstock.
- Secure the paper to your cutting mat with low-tack tape to prevent slipping.
- Start cutting from the centre of the design and work outward. This preserves structural integrity.
- Hold the blade at a consistent 90-degree angle to the paper surface for clean edges.
- Rotate the mat rather than the blade when navigating curves. This keeps your hand position stable.
- Remove the cut sections carefully using tweezers.
- Mount the finished piece on a contrasting background to make the silhouette read clearly.
A basic leaf silhouette takes approximately 30 minutes to complete. That makes it an ideal first project for building blade control without a large time commitment.
Pro Tip: Replace your blade after every two or three projects. A dull blade drags rather than cuts, causing tears in fine details and ragged edges on curves.

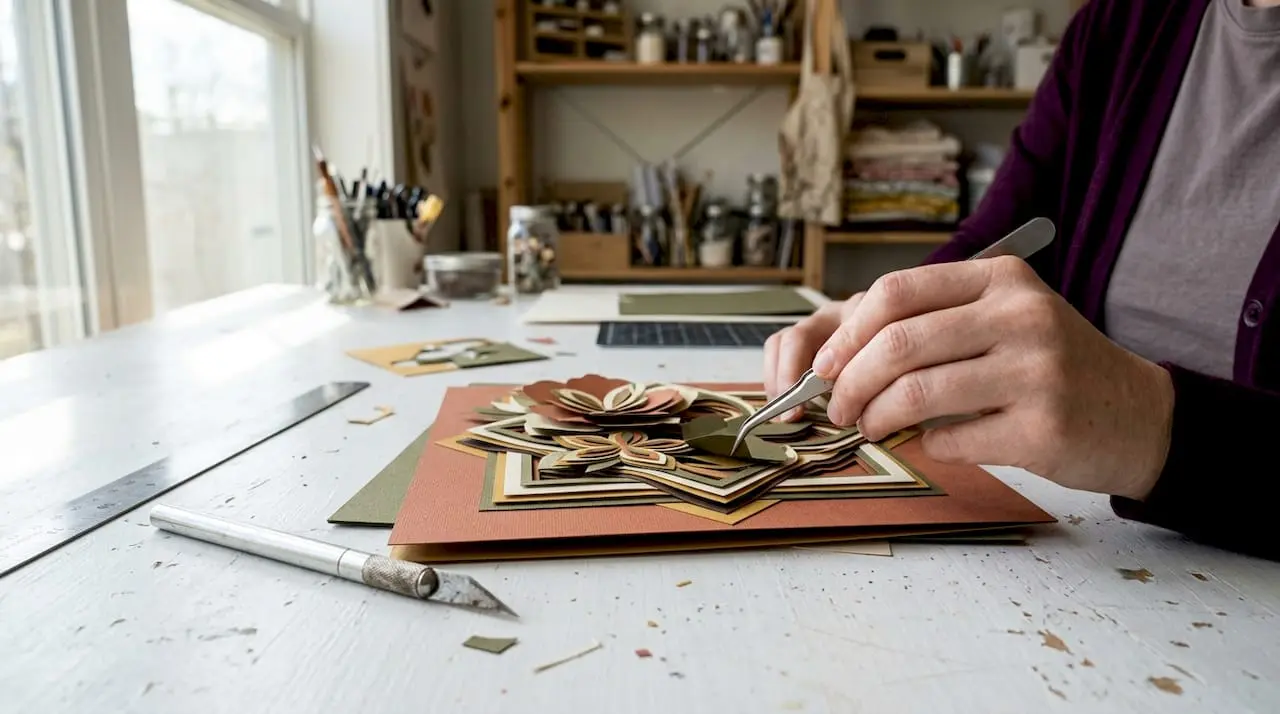
Layered paper art
Layered paper art builds depth by stacking multiple cut or shaped paper pieces at different heights above a background. The result is a three-dimensional piece that changes appearance as the light shifts across it. Shadow boxes are the standard framing choice because they provide the physical space the layers need.
Here is how to build a simple layered landscape:
- Design three to five layers representing foreground, midground, and background elements.
- Cut each layer from a different shade of the same colour for a tonal gradient effect.
- Score and fold small tabs at the base of each layer to act as feet for mounting.
- Attach foam spacers between each layer to create physical separation and shadow.
- Mount the background layer flat inside the shadow box frame.
- Work from back to front, attaching each successive layer with foam spacers.
- Close the frame and position it where shifting natural light can play across the surface.
Shadow box frames with a depth of 1–2 inches prevent the glass from pressing down on the layers and flattening the piece. That gap is what creates the dynamic shadow effect that makes layered paper art so visually striking.
Torn paper collage
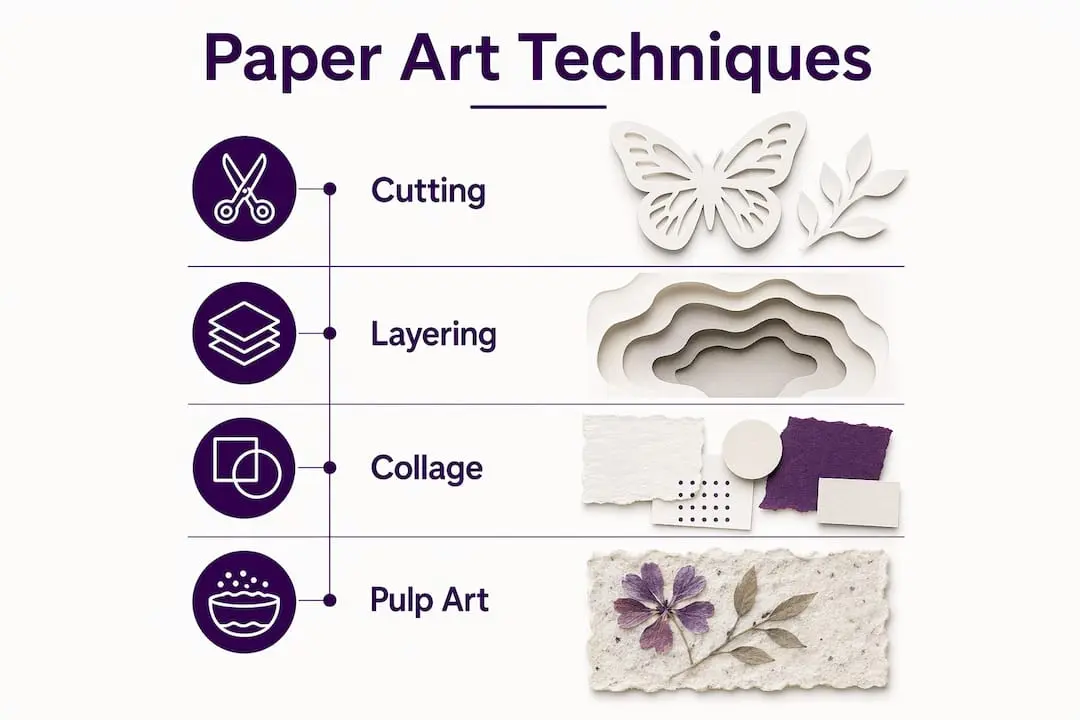
Torn paper collage replaces cutting with tearing, producing soft, organic edges that suit natural subjects like landscapes, botanicals, and abstract compositions. The technique is forgiving and meditative, making it popular with crafters who find precision cutting stressful.
Key steps for a torn paper collage:
- Gather papers in a range of colours, textures, and weights relevant to your composition.
- Tear shapes loosely by hand. Tearing toward you produces a white feathered edge; tearing away produces a cleaner edge.
- Tear more shapes than you think you need and arrange them dry on your backing board before gluing anything.
- Photograph the dry arrangement so you can reference it during the gluing stage.
- Apply PVA glue to the backing board in small sections and press each piece down firmly.
- Work from background to foreground, overlapping pieces to build depth.
- Seal the finished collage with a thin layer of diluted PVA to protect the surface.
Pro Tip: Underestimating how much paper you need is the most common beginner mistake in collage work. Tear at least twice as many shapes as you think the composition requires. You will use more than you expect once layering begins.
Paper pulp art
Paper pulp art, sometimes called paper casting or papier-mâché sculpture, transforms shredded paper fibres into a mouldable material that dries into a rigid, textured form. The finished pieces have a quality that changes with the light, giving them an almost living appearance.
Steps for a basic paper pulp panel:
- Tear newspaper or scrap paper into small pieces and soak in warm water for at least four hours.
- Blend the soaked paper with additional water until it forms a smooth pulp.
- Drain excess water through a fine mesh or cloth.
- Mix the pulp with PVA glue to improve adhesion and durability.
- Press the pulp into a mould or spread it onto a flat surface to the desired thickness.
- Shape the surface with your fingers or a palette knife while the pulp is still wet.
- Allow the piece to air dry at room temperature for several days to a full week, depending on thickness.
Rushing the drying stage is the most damaging mistake in paper pulp art. A piece that feels dry on the surface may still hold moisture internally, causing warping or cracking once framed.
What common mistakes should you avoid in decorative paper art?
Most errors in decorative paper art come from impatience, poor material choices, or skipping preparation steps. Knowing the pitfalls in advance saves both materials and frustration.
“The secret to successful paper cutting lies in valuing negative space and simple silhouettes over complex patterns. Intricate designs break more often and rarely look better than a well-executed simple piece.” — Paper cutting experts
The most common mistakes and how to correct them:
- Overly complex first designs. Beginners who attempt intricate lattice patterns before mastering basic cuts almost always experience breakage. Start with silhouettes requiring fewer than 20 individual cuts.
- Pressing glass directly onto layered art. Standard picture frames flatten the layers and destroy the shadow effect. Always use a shadow box frame with physical depth.
- Skipping the dry arrangement in collage. Gluing torn pieces directly without a dry run leads to compositions that feel unbalanced. Arrange first, photograph, then glue.
- Cutting on an inadequate surface. A soft or uneven surface causes the blade to drag and produces ragged edges. A self-healing cutting mat is non-negotiable.
- Ignoring lighting when displaying finished work. A piece hung on a brightly lit south-facing wall in direct sunlight will fade and lose contrast. North-facing walls with shifting natural light show layered paper art at its best.
- Rushing drying in pulp art. Applying heat to speed up drying causes uneven contraction and cracking. Room-temperature drying over several days is the only reliable method.
- Using the wrong adhesive. Standard white craft glue yellows over time and can warp lightweight papers. Acid-free PVA is the correct choice for any piece intended to last.
Correcting these mistakes early means your projects will look more polished and hold up far longer. Each one is easy to avoid once you know to look for it.
How can you display and care for your decorative paper art?
Displaying paper art correctly preserves both its appearance and its structure. Paper is sensitive to light, moisture, and physical pressure. The framing and hanging choices you make directly affect how long a piece lasts.
The key principles for display and care:
- Use UV-protective glass or acrylic. Standard glass transmits ultraviolet light, which fades coloured papers within months in a sunny room. UV-filtering glazing blocks the majority of damaging wavelengths.
- Mount on acid-free board. Acidic mounting materials transfer to the artwork over time, causing yellowing and brittleness. Acid-free foam board and mount card are widely available and inexpensive.
- Allow air circulation behind the frame. Fitting small rubber bumpers to the bottom corners of a frame creates a gap between the frame and the wall. This prevents moisture from building up behind the artwork.
- Avoid bathrooms and kitchens. Humidity causes paper to warp, buckle, and grow mould. Even a single damp episode can permanently damage a piece.
- Handle with clean, dry hands or cotton gloves. Skin oils transfer to paper and attract dust. Over time, fingerprints become permanent marks on uncoated surfaces.
- Store flat in acid-free sleeves. Pieces not currently on display should lie flat, not rolled, in acid-free plastic sleeves or between sheets of glassine paper.
Pro Tip: Layered paper art designed for seasonal display is easy to swap out if you build it in a shadow box with a removable back. Craftsuprint’s paper decorations and cards section includes seasonal templates that work perfectly for rotating displays throughout the year.
What creative project ideas can inspire your decorative paper art?
The best projects combine a technique you have already practised with a subject that genuinely interests you. That combination produces work that feels personal rather than generic.
Strong starting points for creative paper art projects:
- Nature-inspired silhouettes. Cut a series of botanical silhouettes in graduating sizes and mount them in a grid arrangement. Ferns, leaves, and seed heads all translate beautifully into simple cut forms.
- Floral quilling panels. Roll thin strips of paper into coils and arrange them into flower shapes. Quilling requires no cutting and produces richly textured results from minimal materials.
- Abstract torn collage landscapes. Use torn tissue and mulberry paper in earth tones to build layered horizon lines. The soft edges of torn paper suit abstract landscapes far better than cut edges.
- Personalised greeting cards. Combine a simple paper cut motif with a handwritten message on quality cardstock. A card made this way takes under an hour and carries far more meaning than a printed alternative. Craftsuprint’s DIY card kit examples offer ready-made starting points for card projects at every skill level.
- Mixed media shadow box pieces. Layer cut paper silhouettes over a torn paper collage background inside a shadow box. The combination of techniques produces a piece with both sharp graphic elements and soft organic texture.
- Paper pulp relief panels. Press paper pulp into shallow moulds to create textured tiles. Paint them once dry and arrange in a grid for a striking wall installation.
Experimenting with colour is as important as experimenting with technique. A monochromatic palette in a single colour family produces elegant, gallery-worthy results. A contrasting palette creates energy and visual impact. Neither is wrong. The choice depends entirely on where the piece will live and what feeling you want it to carry.
Social media platforms have made it easy to find inspiration and share your own work. Searching for paper art communities online reveals thousands of crafters sharing step-by-step paper art projects, material recommendations, and finished work. That visibility has made decorative paper art one of the most actively growing craft categories of the 2020s.
Key takeaways
Decorative paper art rewards crafters who master one technique at a time, choose materials deliberately, and display finished work with proper framing and UV protection.
| Point | Details |
|---|---|
| Start with simple designs | Silhouettes under 20 cuts build blade control and reduce breakage in early projects. |
| Match paper weight to technique | Use 160–200 gsm cardstock for cutting, lighter papers for collage, and heavy stock for pulp art. |
| Dry-arrange before gluing | Photographing your collage layout before applying adhesive prevents costly composition errors. |
| Use shadow box frames | Frames with 1–2 inches of depth prevent glass from flattening layered paper art. |
| Protect with UV glazing and acid-free materials | UV-filtering glass and acid-free mounting board significantly extend the life of finished pieces. |
Why I think most beginners overcomplicate decorative paper art
The single most common thing I see from crafters starting out is the impulse to attempt something ambitious before the basics are solid. Someone picks up a craft knife for the first time and immediately wants to cut a complex mandala with 200 individual pieces. The result is almost always torn paper, a bruised ego, and a decision to give up.
The truth is that the most admired paper art pieces are often the simplest. A single well-cut leaf silhouette on a contrasting background, mounted cleanly in a shadow box, will draw more genuine compliments than a technically ambitious piece that shows its struggle. Negative space is not empty space. It is the design. Learning to see it that way changes everything.
I also think crafters underestimate the emotional dimension of working with paper. There is something genuinely satisfying about the tactile process of tearing, cutting, and layering a physical material. Screens cannot replicate it. That physical engagement is part of why decorative paper art has grown so strongly in the 2020s. People are actively seeking making experiences that feel real and present.
My honest advice: give yourself permission to make imperfect work. The drying time feels long. The first cut will not be perfect. The collage will not look exactly like the reference image. None of that matters. What matters is that you finish the piece, learn from it, and start the next one with slightly more confidence than you had before.
— Rob
Craftsuprint’s paper art resources worth exploring
Craftsuprint brings together an extensive collection of paper craft supplies and downloadable templates that suit every technique covered in this guide. Whether you are sourcing cardstock for your first paper cutting project or looking for a seasonal layered art template to frame, the platform’s classifieds and craft supplies sections make it straightforward to find what you need.

Craftsuprint also hosts independent designers who create and sell original paper art kits, giving you access to fresh designs that go well beyond generic craft shop stock. The craft tools classifieds list cutting mats, precision blades, and adhesives from sellers who know the craft. If you are ready to move from reading about decorative paper art to actually making it, Craftsuprint is a practical first stop.
FAQ
What is decorative paper art?
Decorative paper art is the practice of transforming paper into artistic or decorative forms using techniques such as cutting, layering, tearing, and pulp moulding. It covers everything from simple greeting card embellishments to complex three-dimensional wall installations.
How do I start decorative paper art as a beginner?
Begin with a simple paper cutting project such as a leaf silhouette, which takes approximately 30 minutes and teaches foundational blade control. A sharp craft knife, a self-healing cutting mat, and 160–200 gsm cardstock are all you need to start.
What paper is best for decorative paper art?
The best paper depends on the technique. Cardstock at 160–200 gsm suits paper cutting and structured layering. Mulberry and tissue paper work well for torn collage. Watercolour paper or heavy stock above 200 gsm is the right choice for paper pulp art.
How long does paper pulp art take to dry?
Paper pulp art pieces should air dry at room temperature for several days to a full week, depending on the thickness of the piece. Applying heat to speed the process causes warping and cracking.
How do I stop layered paper art from going flat in a frame?
Use a shadow box frame with at least 1–2 inches of internal depth and place foam spacers between each paper layer. Standard picture frames press the glass directly onto the artwork, which collapses the layers and eliminates the shadow effect.