
Enhance handmade cards with themed designs: creative guide
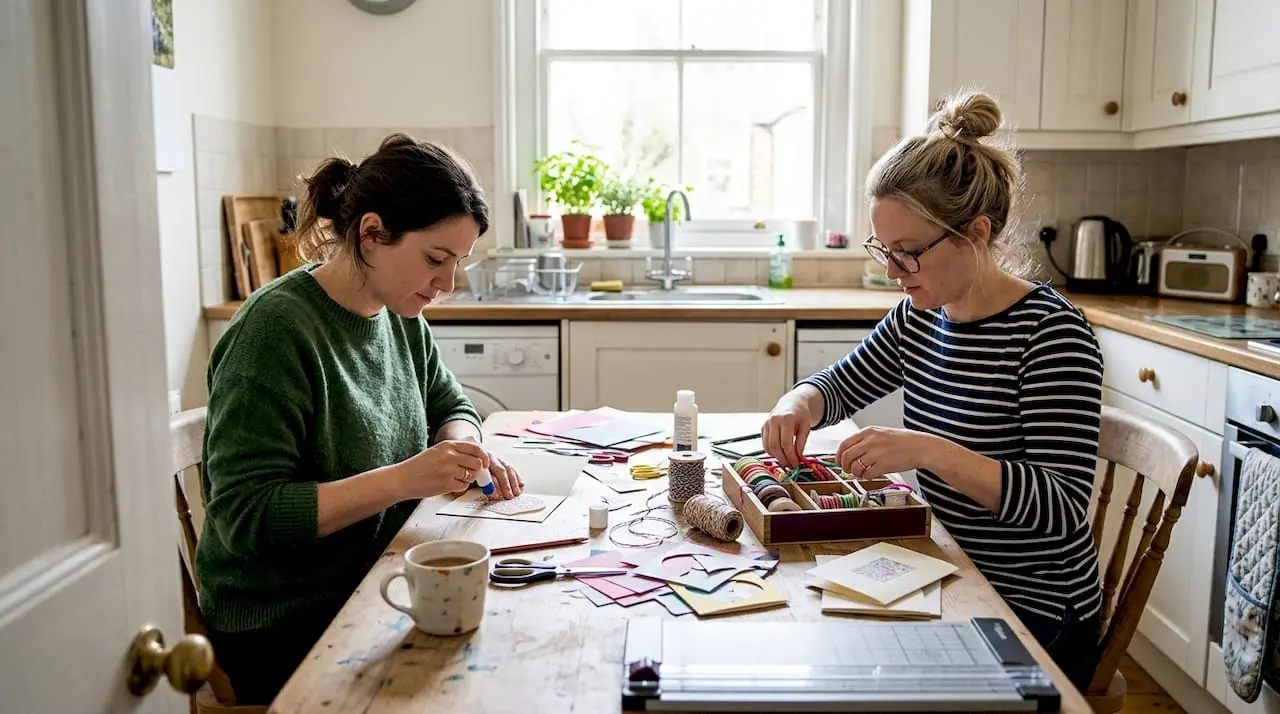
Themed card making carries an undeserved reputation for being complicated, expensive, or strictly the domain of seasoned crafters. In reality, anyone with basic supplies and a clear idea can create something genuinely moving. Themed designs serve to evoke specific emotions, occasions, or stories, which means even a simple birthday card can feel deeply personal when it reflects the recipient’s passions. This guide walks you through everything from choosing a concept to layering your final details, so you can make cards that are remembered long after the occasion has passed.
Table of Contents
- Why themed designs matter in card making
- Core elements of effective themed card designs
- Step-by-step: Creating your own themed card
- Common pitfalls and how to master themed layouts
- A fresh take: Themed designs are a storytelling superpower
- Find themed card making inspiration and resources
- Frequently asked questions
Key Takeaways
| Point | Details |
|---|---|
| Themes personalise cards | A thoughtful theme turns handmade cards into memorable, meaningful gifts for any occasion. |
| Simple design rules matter | Selecting a limited palette and balanced layout make the biggest difference in themed card success. |
| Stepwise creation works | Following a sequence—theme, planning, layering, and details—ensures results you can be proud of. |
| Avoid overdesign | Mastering restraint and pre-testing layouts helps cards look polished, not chaotic. |
Why themed designs matter in card making
There is a real difference between a card that gets placed on the mantelpiece and one that ends up in the recycling bin within a week. The cards that stay are almost always the ones that feel as though they were made for someone, not merely to someone. That distinction comes down to theme.
“Themed designs transform basic cards into personalised storytelling portals, ideal for hobbyists to evoke joy and connection via fantasy, nature, or occasion-specific scenes.”
Think about what a card actually does. It communicates feeling before the recipient reads a single word inside. A woodland scene tells a nature lover you paid attention. A celestial design speaks directly to someone who adores stargazing. The visual language of a theme carries meaning that a plain card simply cannot replicate.
Personalisation also has a measurable impact beyond crafting. Research into direct mail marketing shows that personalised content boosts engagement and retention significantly, and while hobby crafting operates in a very different world, the underlying human psychology is identical. People respond more strongly when something feels made for them specifically.
Some of the most popular themes right now include:
- Birthdays and milestones: Age-specific celebrations, achievement cards, and anniversaries
- Seasonal and holiday: Christmas, Easter, Halloween, and autumn harvest designs
- Fantasy and whimsy: Fairies, dragons, enchanted forests, and celestial skies
- Nature and botanicals: Florals, woodland creatures, and coastal scenes
- Nostalgia and vintage: Retro patterns, old-fashioned illustrations, and sepia palettes
If you are unsure where to start, browsing current popular themes on a dedicated platform gives you a feel for what resonates with crafters and recipients alike. Seeing finished examples is often the fastest route from uncertainty to inspiration.
Now that you see how accessible and impactful themed designs can be, it is important to understand what makes a theme truly effective and engaging.
Core elements of effective themed card designs
Understanding the purpose and power of themes leads directly to the fundamentals every crafter can master for stunning results.
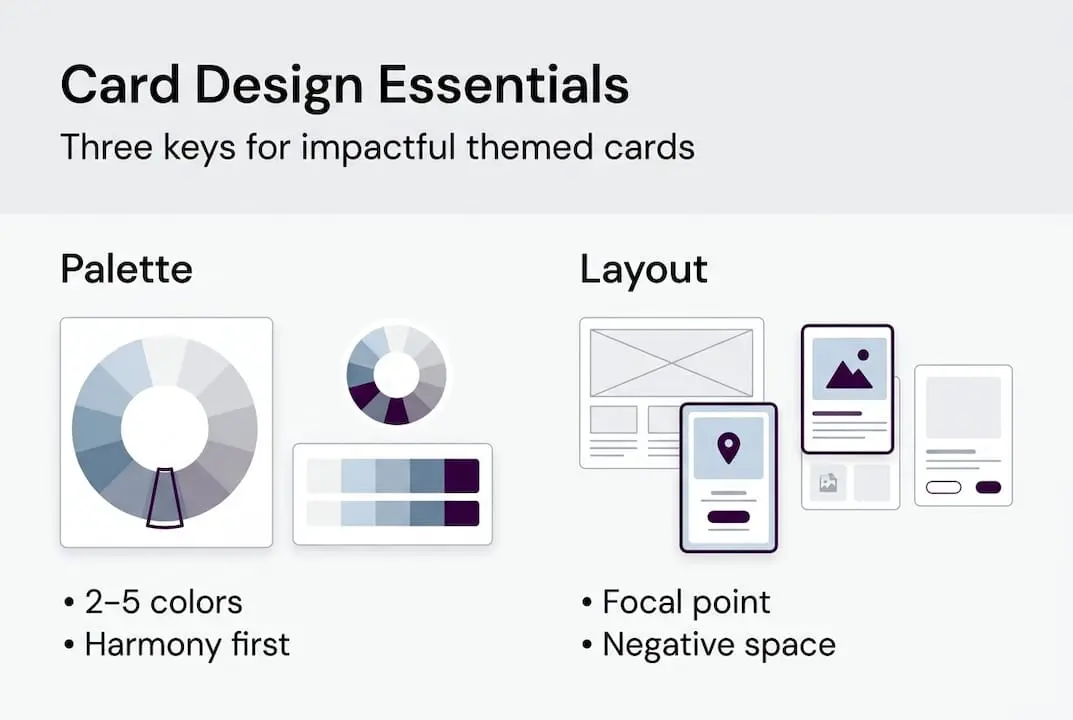
Every strong themed card is built on three pillars: a coordinated colour palette, a layered scene, and a balanced layout. Get those three right and the rest falls into place almost automatically.
Colour palette
Colour is the fastest signal your card sends. A palette of two to five harmonious hues keeps things cohesive and avoids visual noise. The key mechanics of colour coordination include selecting shades that relate either tonally (all warm, all cool) or by contrast (one dominant, one accent, one neutral).
| Palette type | Example colours | Best suited for |
|---|---|---|
| Monochromatic | Soft lilac, mid-purple, deep violet | Elegant or romantic themes |
| Complementary | Teal and coral | Bold, energetic designs |
| Analogous | Peach, gold, burnt orange | Autumn and harvest themes |
| Neutral with pop | Cream, grey, one accent | Minimalist or vintage styles |
Layered scenes and focal points
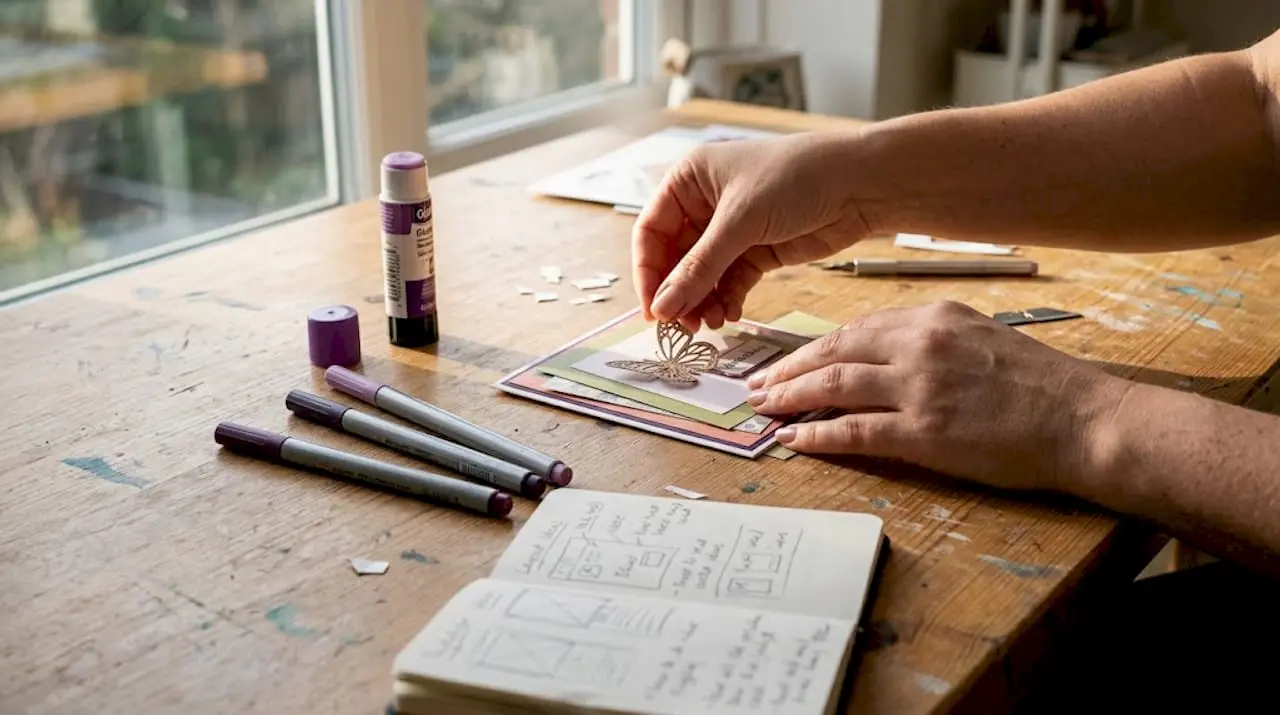
A flat card looks unfinished. Layering creates depth, and depth creates interest. Think of your card in three zones: background (a sky wash or patterned paper), mid-ground (your primary scene elements), and foreground (die-cuts or embellishments that sit closest to the viewer).
- Lay your background paper first
- Build the mid-ground with your main thematic elements
- Add foreground detail with dimensional pieces or foam tape
- Position your sentiment or focal image last, using the rule of thirds
The rule of thirds divides your card into a three-by-three grid. Placing your focal point at one of the four intersection points rather than dead centre immediately makes the design feel more dynamic and professional.
Pro Tip: Before you reach for the adhesive, arrange all your elements loosely and photograph them. Viewing the photo gives you a fresh perspective on balance and spacing that is easy to miss when working close up.
Exploring innovative techniques for scene-building can also introduce you to methods like stencilling backgrounds or shadow-boxing focal images that take your cards from flat to fabulous.
Step-by-step: Creating your own themed card
With foundational skills in place, the card creation process becomes far less daunting. Let us break it down in an easy-to-follow sequence.
What you will need:
- Card blanks or heavy cardstock (alternative: folded watercolour paper)
- Patterned papers or digital printouts
- Die-cuts or punched shapes (alternative: hand-cut motifs)
- Adhesive: glue stick for flat layers, foam tape for dimension
- Stamps, inks, or printed sentiments
- Scissors, craft knife, and cutting mat
Choosing your theme and occasion
Start with who will receive the card and why. A garden enthusiast celebrating a birthday calls for something very different from a child receiving a thank-you card. The more specific your theme, the more meaningful the result.
The creation sequence:
- Select your palette using two to four colours that fit your theme
- Prepare your background by cutting and adhering your base paper to the card blank
- Plan your scene by placing elements loosely before committing
- Layer from back to front, securing background pieces first
- Add dimension with foam tape under focal images or die-cuts
- Finish with details such as gems, ribbon, or a stamped sentiment
Many of the best-known materials and project ideas for themed cards lean on techniques like die-cutting and layering stencils, stencilling backgrounds, and adding dimension with foam tape or embossing. These approaches work whether you are a complete beginner or building on years of practice.
Pro Tip: Make multiples of the same card at one time using the stack-and-shuffle method. Cut several backing papers simultaneously and rotate elements between cards for varied results from a single creative session.
Common pitfalls and how to master themed layouts
Once you can build a basic themed card, the next step is mastering the balancing act that keeps your designs clean and professional.
The most common complaint crafters have about their own work is that it looks “too busy.” Overcrowding is almost always the result of adding elements without a plan, rather than having too many ideas. The solution is straightforward: limit colours and elements and test your layout before securing anything.
| Beginner pitfall | Expert refinement |
|---|---|
| Too many colours | Strict two-to-four colour palette |
| Centred focal point every time | Rule of thirds placement |
| All elements at the same level | Foam tape and layering for depth |
| Embellishments scattered randomly | Grouped in threes for visual flow |
| Skipping the dry run | Full layout test before adhering |
A practical checklist for polishing any themed layout:
- Does the colour palette stay within five hues?
- Is there a clear focal point or does the eye wander?
- Are embellishments grouped rather than scattered?
- Have you left some white or negative space to let elements breathe?
- Does the sentiment placement complement rather than compete with the design?
Negative space is one of the most underused tools in a crafter’s kit. Leaving areas of the card intentionally empty is not laziness; it is a deliberate design choice that makes your focal elements stand out far more strongly.
Pro Tip: Group embellishments in odd numbers, particularly threes. The human eye finds odd-numbered groupings more naturally pleasing than even ones, which gives your card a polished, intentional feel without extra complexity.
A fresh take: Themed designs are a storytelling superpower
Here is something that surprises most crafters when they first hear it: adding more constraints to your design often produces better results. It feels counterintuitive, but it is consistently true.
When you limit yourself to three colours and a single theme, you force every element to work harder and mean more. You stop filling space and start building a story. That is the real reason themed designs enable wild creativity even when they require restraint for cohesion. The theme is your creative brief, and like any good brief, it focuses your energy rather than limiting it.
Beginners often assume that experienced crafters succeed because they have more materials or more technical skill. The honest truth is that experienced crafters succeed because they have learned to edit. They know which element to leave off the card as confidently as they know what to include.
Kits and templates are not a shortcut or a sign of lesser skill. For a beginner, a well-designed kit removes decision fatigue and lets you focus entirely on the craft itself. For an expert, a kit is a springboard. The theme is already set; now you push the boundaries of how it can be expressed. Both approaches are entirely valid and genuinely enjoyable.
Find themed card making inspiration and resources
Ready to bring your themed designs to life? Whether you are just starting out or looking to push your card making further, having the right resources makes all the difference.
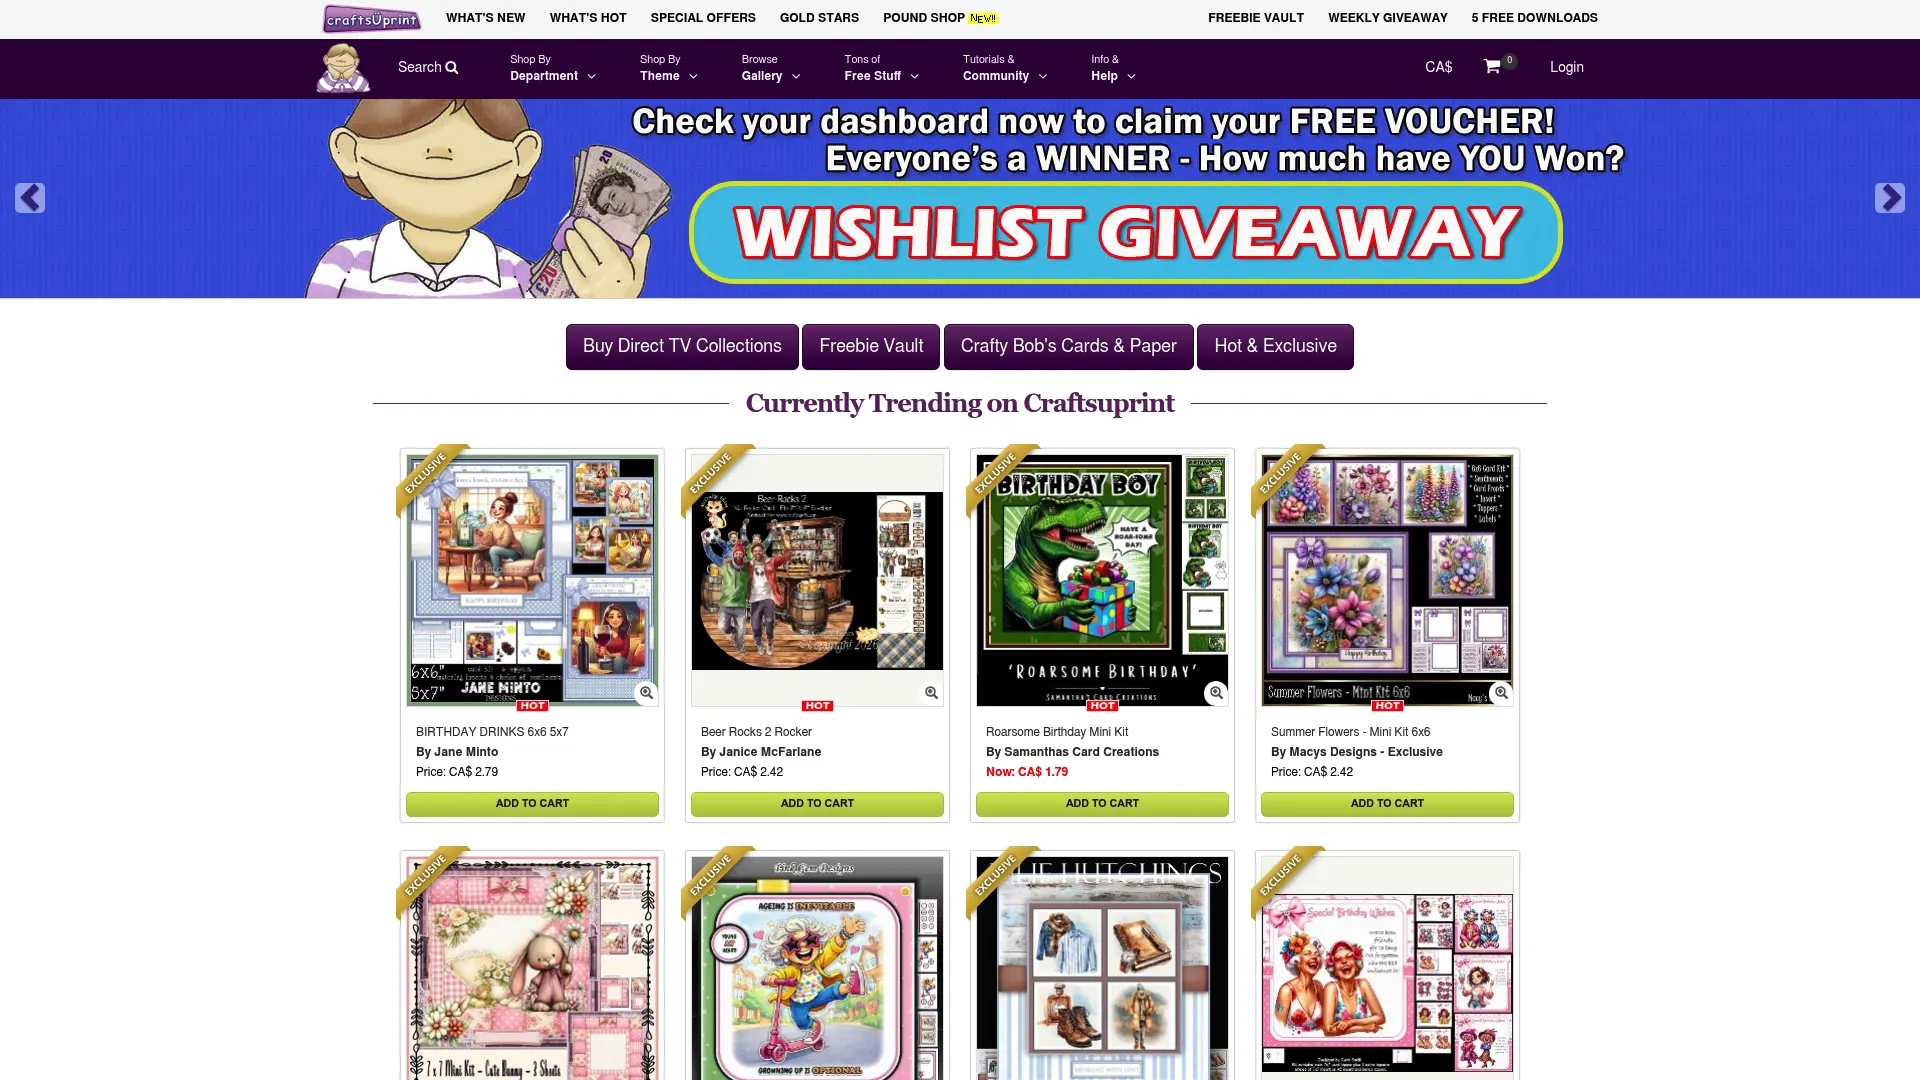
Craftsuprint is home to an extensive range of themed card designs that cover everything from whimsical fantasy scenes to elegant botanical prints, all available as instant digital downloads. You can print, cut, and create the same day. For those looking to build a collection of tools and inspiration, the downloadable resources on the platform support every skill level, from first-time card makers to seasoned designers. Browse, download, and let your next themed card tell its own story.
Frequently asked questions
How do I choose the right theme for my card?
Start by considering the recipient’s interests and the occasion, then pick a theme that personalises your message. Themed designs work best when they reflect something specific about the person receiving the card rather than a generic seasonal motif.
What is the rule of thirds in card design?
The rule of thirds divides the card into a three-by-three grid, helping you place focal elements at natural visual intersection points for a more balanced, appealing layout. Following balanced layout principles like this is one of the fastest ways to make your cards look more professional.
Are kits or custom themes better for beginners?
Kits are ideal for beginners because they simplify decisions and let you focus on technique, while custom themes suit more experienced crafters seeking full creative control. There is no wrong choice; both paths build confidence and skill over time.
How can I keep my themed design from looking too crowded?
Limit your colour palette to two to five hues, group embellishments in odd numbers, and always plan your layout before securing any elements to the card.