
Discover creative ways to craft personalised card toppers
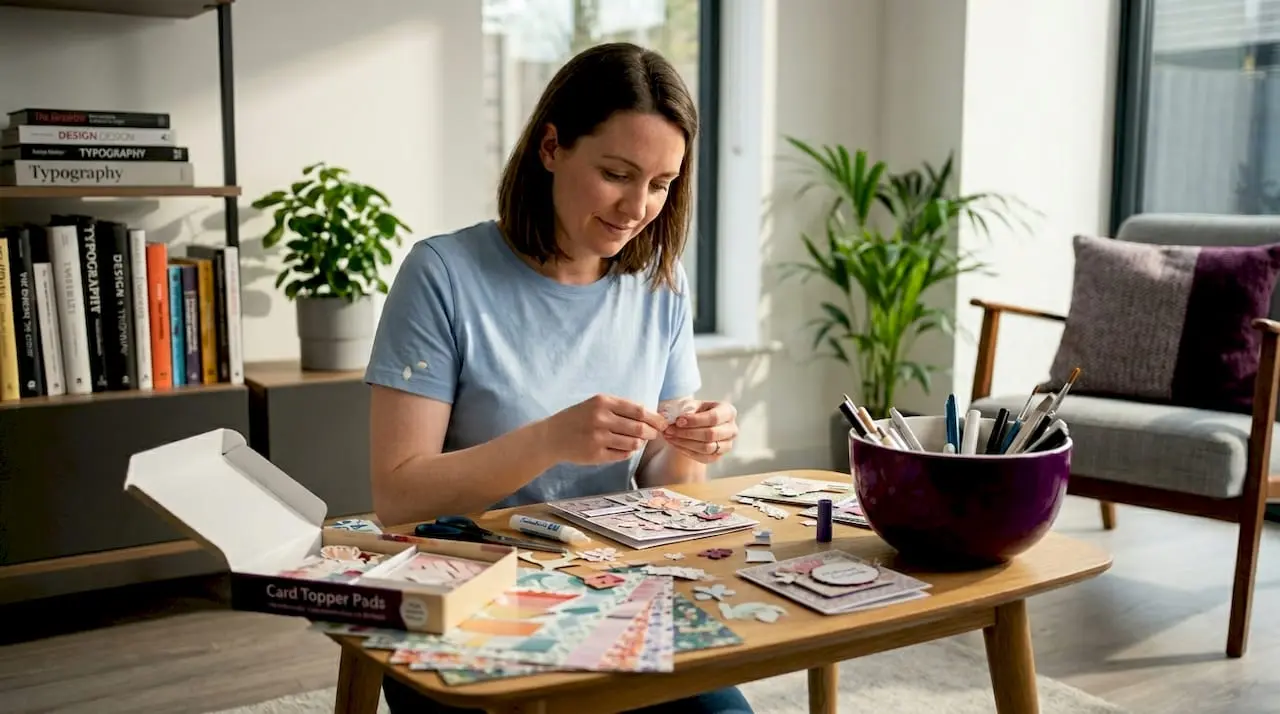
Store-bought cards are fine for a quick fix, but there is something quietly disappointing about handing someone a design that dozens of other people received this week. Card toppers change that entirely. A card topper is a decorated panel or shaped element placed on the front of a greeting card to create dimension, colour, and personality. Whether you are celebrating a birthday, a wedding, or simply want to brighten someone’s day, a well-crafted topper transforms an ordinary card into something genuinely memorable. This guide walks you through the materials, techniques, and digital resources you need to create card toppers with confidence and flair.
Table of Contents
- Essential tools and materials for crafting card toppers
- How to design your card topper: step-by-step guide
- Crafting and assembling your card topper
- Troubleshooting, tips and achieving a professional finish
- Why digital tools and careful technique transform card toppers
- Explore ready-made resources and digital templates for card toppers
- Frequently asked questions
Key Takeaways
| Point | Details |
|---|---|
| Choose the right materials | Select high-quality cardstock, digital templates and embellishments for best results. |
| Test specialist papers | Always perform test cuts when using glitter or light cardstock to prevent tearing. |
| Layer for durability | Multiple backing layers create sturdy toppers, especially for delicate or outdoor cards. |
| Use digital tools for custom designs | Digital resources expand creative possibilities and simplify precise card topper creation. |
| Finish with care | Troubleshoot issues and add personalised touches for a professional, original finish. |
Essential tools and materials for crafting card toppers
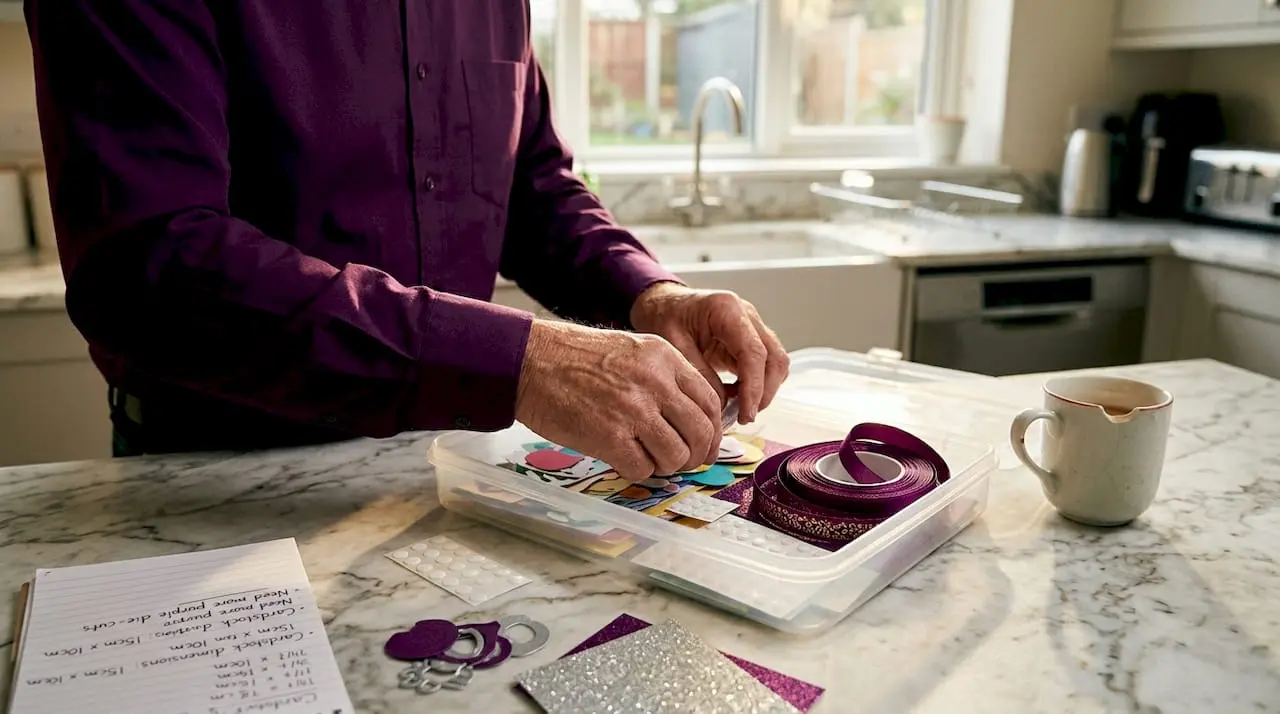
Having introduced the creative need for card toppers, the very next step is making sure you have the right materials before you start. Arriving at your craft table underprepared is one of the most common reasons projects stall halfway through, so building a solid toolkit from the outset saves you considerable frustration.
Basic supplies you will need:
- Cardstock in a range of weights (160gsm to 300gsm works well for most toppers)
- Standard white paper for test prints and backing layers
- Scissors, both standard and detail scissors for intricate shapes
- A craft knife and cutting mat for clean, straight edges
- Bone folder for crisp folds without cracking
- Double-sided tape, foam pads, and liquid adhesive for different bonding needs
- Ruler and pencil for measuring and marking
Beyond the basics, digital tools have genuinely changed what hobby crafters can achieve at home. Printable templates downloaded from specialist platforms mean you no longer need design software expertise to produce professional-looking toppers. Cutting machines such as the Cricut or Silhouette Cameo work brilliantly with digital template files, cutting intricate shapes in seconds that would take painstaking minutes by hand.
Specialty materials are where your topper gains real visual impact. Glitter cardstock adds sparkle, mirror card adds a dramatic reflective finish, and vellum creates a soft, translucent layering effect. Embellishments such as brads, ribbon, pearls, and adhesive gems can elevate even the simplest design. Foam pads, also called foam dots or sticky foam, lift elements off the card surface to create a layered, three-dimensional look that catches the light beautifully.
| Material | Best use | Approximate weight |
|---|---|---|
| Standard cardstock | Base layers and backing | 160gsm to 200gsm |
| Glitter cardstock | Decorative front layer | 200gsm to 250gsm |
| Mirror card | Accents and frames | 250gsm |
| Vellum | Overlays and soft effects | 90gsm to 100gsm |
| Foam pads | Dimensional layering | N/A |
One crucial handling point: glitter cardstock requires care when cutting.
If you are just starting out and want to skip the design phase entirely while you build your skills, pre-made card topper kits give you professionally designed printable sheets that are ready to cut and assemble straight away.
Pro Tip: Keep a small container of spare foam pads, brads, and adhesive gems near your workspace. Reaching for embellishments mid-project without rummaging through a drawer keeps your creative flow uninterrupted.
How to design your card topper: step-by-step guide
Now that you understand the required materials, move on to designing your card topper with a clear, creative process. Good design is not about artistic talent alone. It is about planning before you cut, thinking about proportion, and making thoughtful colour choices.
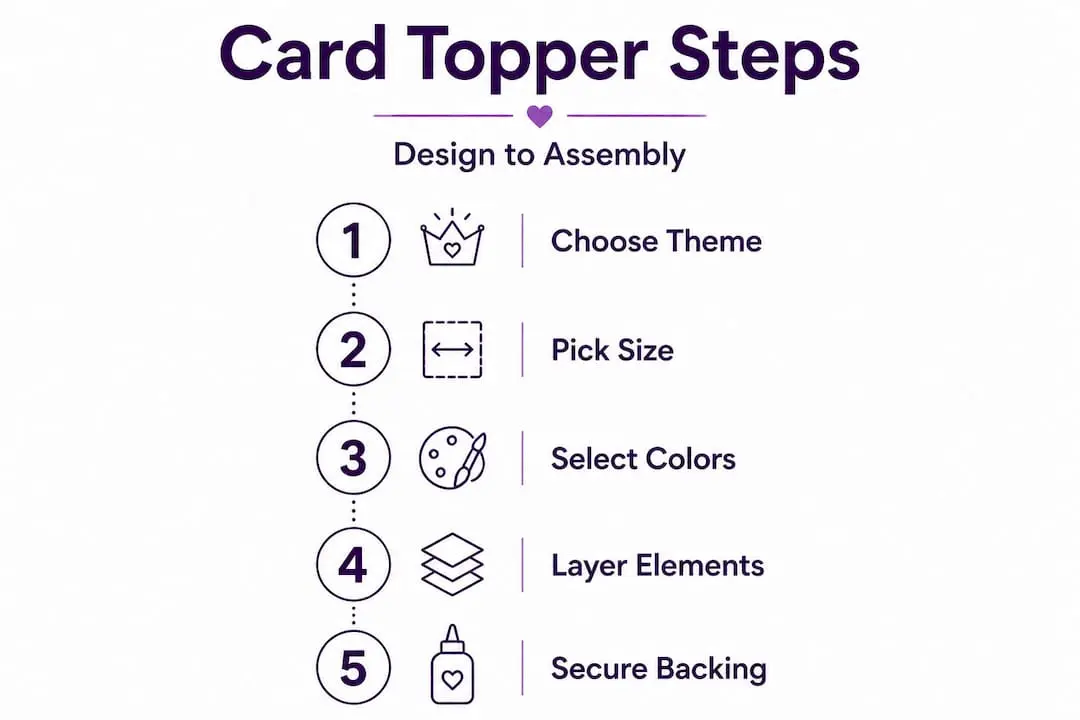
Step 1: Choose your theme and purpose. A birthday topper for a child calls for bold colours, playful shapes, and perhaps a numeral. A sympathy card calls for muted tones, florals, and clean lines. Write down your theme before you open any design software or browse templates. This single step prevents the overwhelm that comes from having too many options in front of you.
Step 2: Decide on size. Most standard cards are A5 or A6 in size. Your topper should be slightly smaller than the card front, typically leaving a 3mm to 5mm border of the card visible around the topper’s edge. A common topper size is 12cm x 12cm for a square card or 10cm x 14cm for a portrait A6 card. Sketch this out on paper first.
Step 3: Select your colour palette. Limit yourself to three or four colours for a cohesive result. Using digital card making templates from specialist platforms means the colour palette is often pre-selected for you, which is enormously helpful when you are learning to judge tonal balance.
Step 4: Build your layers on paper before you print. Sketch rough layer positions, noting which elements will sit flat, which will be raised on foam pads, and where embellishments will land. This is sometimes called a “mock-up” in the crafting world, and experienced makers swear by it.
Step 5: Print, test, and adjust. Always print one copy on standard paper before using your specialty cardstock. Check the sizing, colour accuracy (screens display colours differently from printed output), and alignment.
| Design element | Recommended choice | Reason |
|---|---|---|
| Background layer | 200gsm cardstock | Provides stability and body |
| Decorative panel | Patterned or glitter sheet | Adds visual interest |
| Focal image | Die-cut or printed motif | Draws the eye naturally |
| Sentiment strip | Contrasting colour cardstock | Ensures legibility |
| Embellishments | Pearls, gems, ribbon | Adds texture and dimension |
When working with glitter cardstock or specialty paper, curl paper with a scraper to achieve a natural, three-dimensional shape on petals, leaves, or curved elements. This technique involves pressing the paper firmly against a rounded tool such as the back of a bone folder or a dedicated paper scraper, then pulling it gently through to create a soft curl.
Pro Tip: Save your finalised template files in a dedicated folder organised by theme and season. Christmas, birthdays, weddings, and seasonal collections kept separately mean you will never have to recreate a design from scratch next year.
Crafting and assembling your card topper
With your design in hand, proceed with the practical assembly, using expert advice for the best results. This is the stage where patience pays dividends. Rushing the assembly is the most common reason card toppers look messy rather than polished.
Step 1: Prepare your materials. Gather all cut pieces, embellishments, foam pads, and adhesives before you begin sticking anything down. Lay pieces out in the order they will be assembled.
Step 2: Cut all elements carefully. For machine cutting, load your file and run a test cut on plain paper first. For hand cutting, use a sharp craft knife on a self-healing cutting mat, always cutting away from your body and using a steel ruler for straight lines.
Step 3: Build your backing layers. This is a step many beginners skip, and it is the difference between a limp topper and one that holds its shape beautifully. Multiple backing layers for sturdiness of three to five layers are particularly important when you are working with lightweight cardstock or when the finished card will be displayed outdoors, for example at a garden party table setting.
Step 4: Layer your decorative elements. Adhere your background panel to the backing layers first. Then add patterned paper or decorative sheets on top, then your focal image, then any raised elements using foam pads.
Step 5: Attach embellishments last. Gems, pearls, and ribbon should go on after all flat and raised layers are secure. This prevents them from being accidentally knocked loose during earlier assembly stages.
“Take your time with each layer. A card topper built with patience looks handmade in the best possible sense, not the rushed sense.”
Common assembly techniques:
- Use foam pads in varying thicknesses to create different levels of dimension
- Apply liquid adhesive with a fine-tip applicator bottle for precision on small embellishments
- When using ribbon, seal cut ends with a lighter flame quickly or use fray stopper liquid to prevent fraying
- Press assembled layers firmly under a heavy book for two to three minutes to ensure strong adhesion
Embellishment packs available from specialist digital craft platforms often include coordinated gems, borders, and accent shapes designed to work together, which takes considerable guesswork out of the decorating process.
Pro Tip: When layering with foam pads, stack two foam pads on top of each other for extra lift beneath your focal image. This creates a shadow effect that makes the centrepiece stand out dramatically.
Troubleshooting, tips and achieving a professional finish
Once assembly is complete, focus on refining your topper and solving frequent crafting challenges. Even experienced makers encounter problems. Knowing how to troubleshoot quickly is what separates a good craft session from a frustrating one.
Common problems and their solutions:
- Tearing during cutting: Usually caused by a blunt blade or incorrect settings on a cutting machine. Replace your blade regularly and always test cuts before full cutting glitter or specialty cardstock.
- Warping after adhesive: Wet adhesives can cause paper to buckle. Use double-sided tape or foam pads instead of liquid glue for large flat areas.
- Misaligned layers: Measure twice before you adhere. Use a light box or window to check alignment by holding layers up to the light.
- Embellishments falling off: Replace repositionable adhesive with permanent adhesive. For heavier embellishments such as buttons or thick gems, use a strong craft glue rather than tape.
- Ink smudging from home printer: Allow printed sheets to dry fully (at least ten minutes) before handling. Use a setting spray designed for inkjet prints to seal the surface.
“A professional finish comes from the details: clean edges, secure layers, and embellishments placed with intention rather than scattered for the sake of it.”
Finishing touches that genuinely elevate your work:
- Sand or ink the edges of cardstock layers with a brown or black ink pad for a vintage, framed look
- Use a white gel pen to add hand-lettered details or highlights to a dark background
- Wrap a strip of organza ribbon around the completed topper and tie it in a bow before attaching to the card front
- Package finished cards in clear cellophane bags to protect the topper during transport
Personalisation is the final step. A small sentiment tag, a hand-written name, or a custom colour choice that reflects the recipient’s favourite hues turns a well-made topper into something deeply thoughtful. Exploring ready-to-use card topper projects can spark ideas for personalisation details you may not have considered on your own.
Pro Tip: Keep a sample of each completed topper in a physical portfolio or a dedicated photo album on your phone. Reviewing your own progress over time is motivating, and you will often spot techniques in older work that you want to revisit or improve.
Why digital tools and careful technique transform card toppers
After reviewing practical techniques, it is worth stepping back to consider what genuinely separates a card topper that impresses from one that simply decorates.
The conventional crafting advice tends to focus almost entirely on materials. Buy better paper. Invest in a cutting machine. Source more elaborate embellishments. These things help, but they are not the deciding factor. The deciding factor is technique combined with patience. A mediocre material list handled with care and attention to detail will outperform an expensive material list thrown together in a hurry every single time.
Digital resources have shifted the power balance in card making significantly. A decade ago, creating a topper with a specific theme, colour palette, and coordinated embellishment style required either considerable design skill or a large physical stash of pre-purchased papers and die cuts. Now, downloading a coordinated digital kit and printing exactly what you need means even a complete beginner can produce work that looks considered and professional.
However, there is a contrarian point worth making here. Pre-made toppers, whether purchased from a shop or ordered from a print service, will always lack one thing: your fingerprints on the process. The slight curl you gave that petal, the choice to use navy foam pads instead of white ones, the decision to add a single pearl in an unexpected place. These are the details that make a handmade card genuinely special.
The crafters we see producing truly standout work at Craftsuprint are not necessarily the ones with the biggest budgets. They are the ones who test before they cut, who layer with intention, and who treat each card as an opportunity to learn something new. Patience is not a soft skill in this craft. It is a core technique.
We would also gently challenge the idea that complicated toppers are inherently better. Some of the most striking card toppers are architecturally simple: a single die-cut shape, beautifully inked, raised on foam pads against a clean background. Simplicity with precision is harder to achieve than complexity and far more elegant. Browse inspirational card making projects to see how restraint in design often produces the most memorable results.
Explore ready-made resources and digital templates for card toppers
Having gained hands-on knowledge from this guide, the natural next step is finding quality resources that support your practice and spark new creative directions.
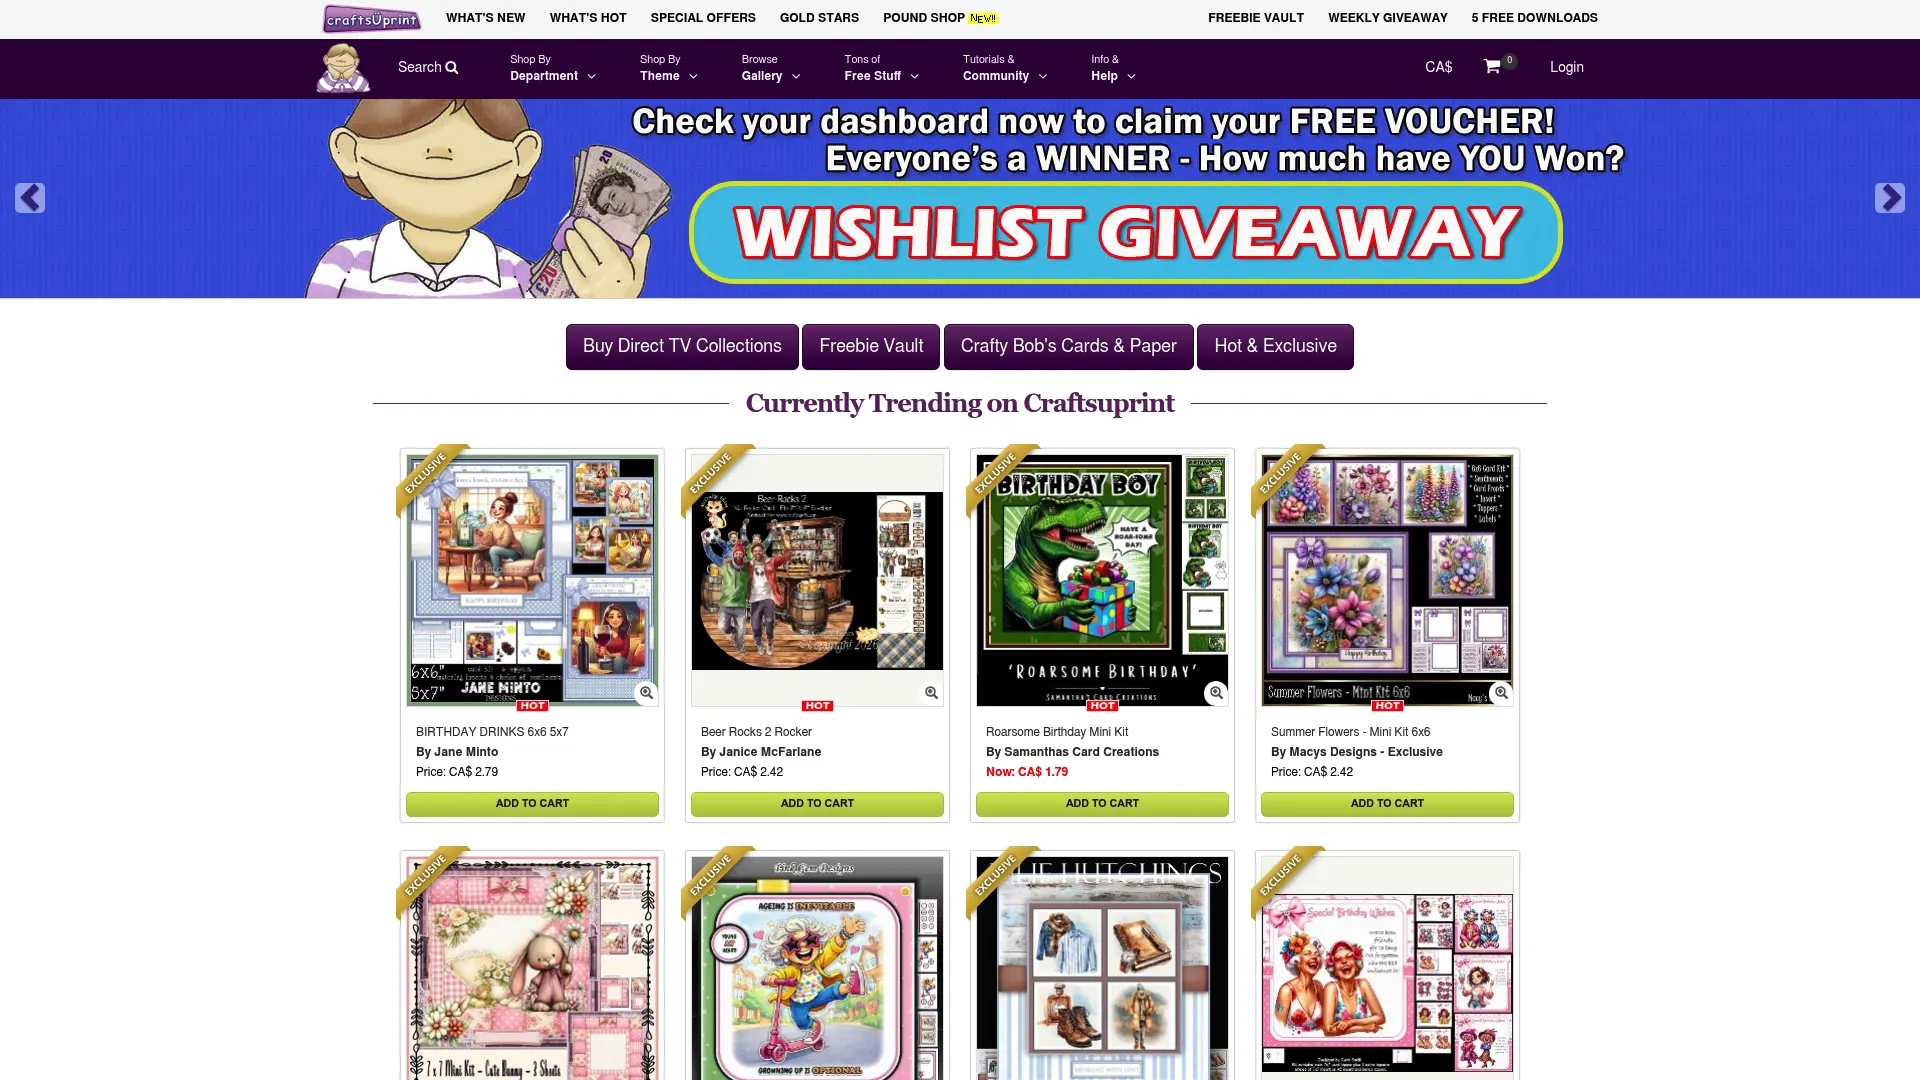
Craftsuprint offers an extensive library of card making downloads including printable card topper sheets, coordinated embellishment packs, and themed mini kits covering everything from seasonal celebrations to everyday occasions. Each download is ready to print at home, meaning you can go from inspiration to finished card in a single afternoon. Whether you want to build your template library, find coordinated embellishment sets, or explore the work of independent designers who share your aesthetic, Craftsuprint brings together everything you need in one well-organised digital marketplace. Weekly freebies and a thriving community make it a genuinely enjoyable place to grow your crafting skills.
Frequently asked questions
What cardstock is best for card toppers?
Glitter cardstock and thick paper between 200gsm and 250gsm produce the most professional results. Always use a fine point blade and test cuts with glitter cardstock specifically, as it tears more easily than standard stock.
How many backing layers should I use for a sturdy card topper?
Using three to five backing layers is recommended when working with lightweight cardstock or when the finished topper will be displayed outdoors or handled frequently.
How do I curl paper for dimension?
Press your paper firmly against a bone folder or dedicated scraper and draw it through gently. This curling with a scraper technique works especially well on petal and leaf shapes, giving them a natural, lifted appearance.
Where can I find digital templates for card toppers?
Digital templates are available through specialist craft platforms such as Craftsuprint, which offers a wide selection of printable card topper designs, seasonal kits, and coordinated embellishment sheets ready for immediate download.