
Die cut shapes in card making: a complete guide
TL;DR:
- Die cut shapes enable precise, repeatable, and layered designs that enhance the complexity and professionalism of cards. They work across various materials and techniques, such as creating intricate scenes, shaped bases, and textured backgrounds with embossing. Mastering their placement, layering, and proper handling significantly improves card quality and crafting efficiency.
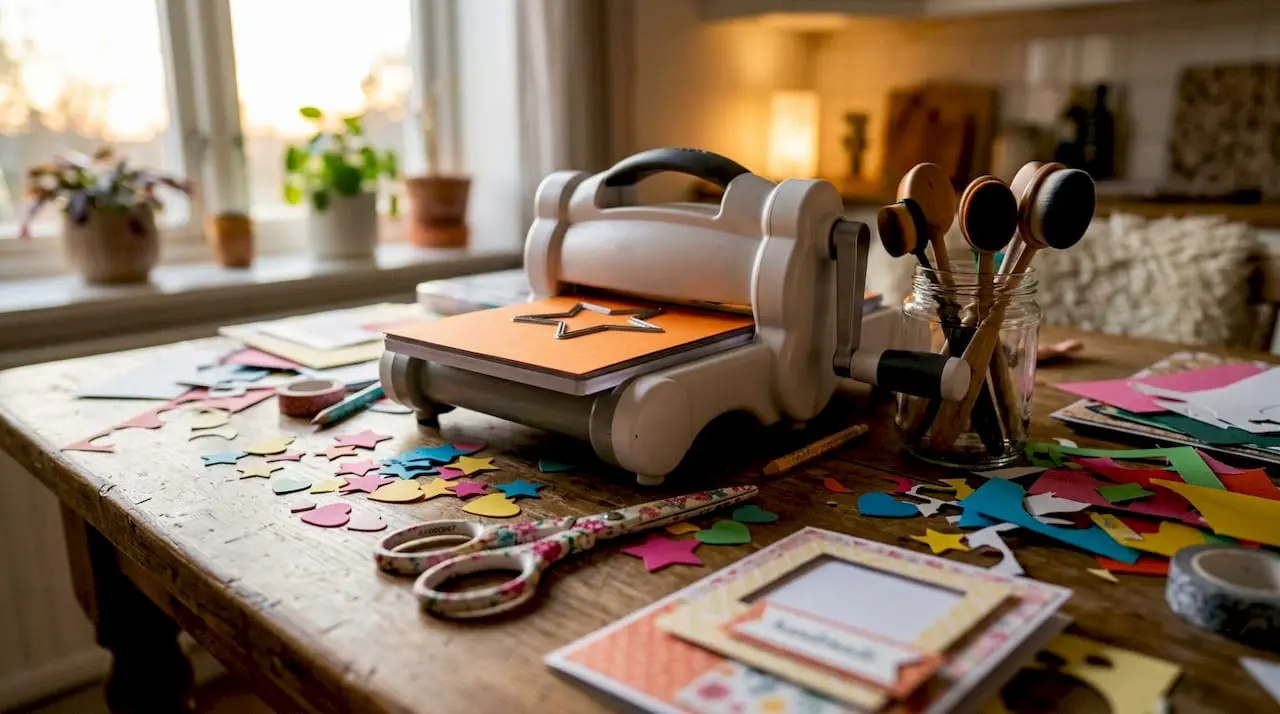
Die cut shapes are metal templates used with die-cutting machines to cut precise, repeatable forms from card, paper, and fabric. The role of die cut shapes in card making goes far beyond simple decoration. They give crafters the ability to produce intricate outlines, layered scenes, and shaped card bases that would take hours to cut by hand. Whether you are new to the craft or building on existing skills, understanding how to use die cuts well is the single biggest step you can take towards producing cards that look genuinely professional.
What is the role of die cut shapes in card making?
Die cutting is the process of applying pressure to a metal die through a die-cutting machine, which forces the die’s sharp edges through paper or card to produce a clean, exact shape. Die-cutting machines operate by applying pressure to metal dies, producing precise cuts quickly and elevating card making efficiency and quality. That precision matters because hand-cutting even a simple flower or sentiment frame rarely produces the clean edge that a die delivers every time.
The repeatability of die cutting is equally important. Die-cutting saves significant time by allowing perfect replication, which is essential for batch card making. If you are making twelve birthday cards for a family event, a die gives you twelve identical shapes in a fraction of the time. That consistency is something no scissors or craft knife can reliably match.
Die cuts also work across a wide range of materials. Card stock, vellum, foam sheets, felt, and thin acetate all respond well to quality metal dies. That versatility means a single die can serve multiple purposes across different card projects, making it one of the most cost-effective tools in any crafter’s collection. Craftsuprint offers a broad range of craft supplies and tools to support crafters at every stage of this process.
How are die cut shapes used to create unique card designs?
The most immediate use of die cuts is cutting individual shapes to place on a card front as embellishments. A butterfly, a flower cluster, or a geometric frame cut from patterned card stock adds instant visual interest. The real skill, however, lies in combining those shapes thoughtfully to build something more than the sum of its parts.
Layering for depth and dimension
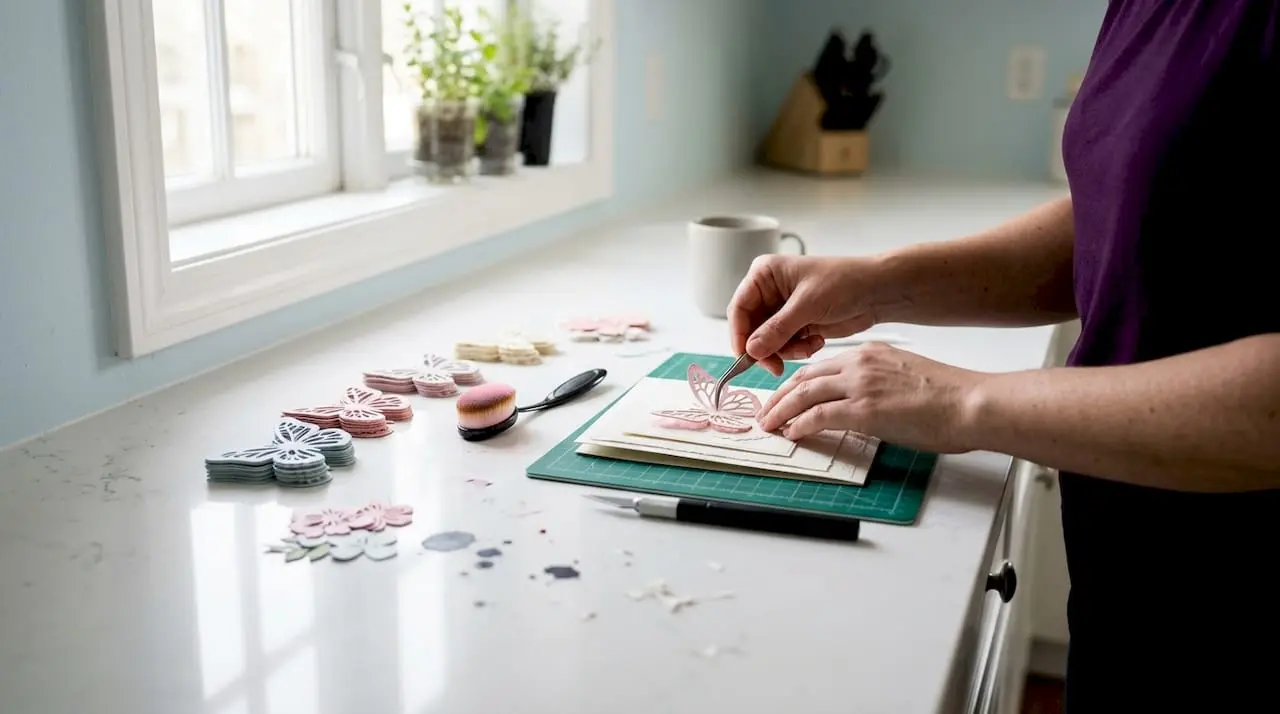
Stacking 2–3 identical die-cut layers behind a focal point adds dimension and structural stability without overwhelming visual clutter. This technique works particularly well with floral focal points. Cut the same flower die three times from slightly different shades of the same colour, stack them with foam squares between each layer, and the result is a bloom that appears to lift off the card surface. The foam squares create physical height, while the tonal variation gives the flower a natural, three-dimensional quality.
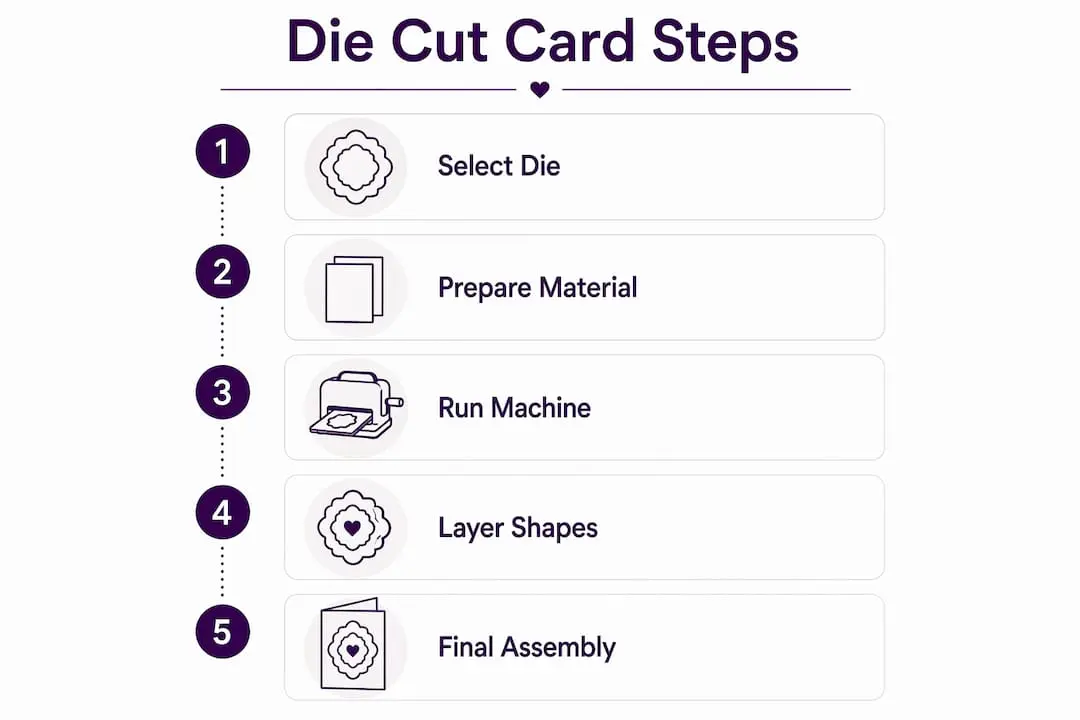
Ink blending pairs beautifully with layered die cuts. Sponging ink around the edges of a die-cut shape before assembly adds shadow and depth, making flat card stock read as something far more textured. Die cutting complements techniques like ink blending and stamping, adding dimension and richness to cleaner card designs.
Shaped card bases
Large dies open up a technique that many crafters overlook: the shaped card base. Shaped cards are created by partially positioning a large die over folded card stock edges and running it through the machine, producing a connected custom silhouette base. A card shaped like a teapot, a Christmas tree, or a hot air balloon immediately stands out from a standard rectangle. The shaped base becomes the design itself, with decoration added on top rather than carrying the full creative load.
Materials that work well with dies
The following materials all cut cleanly with standard metal dies:
- Card stock (80–300gsm): the most common choice, available in smooth, linen, and glitter finishes
- Vellum: produces elegant translucent shapes ideal for overlays and window effects
- Foam sheets: cut cleanly and add instant dimension when layered
- Felt: works with sharper dies and produces soft, tactile embellishments
- Thin acetate: creates clear window panels within card fronts
Pro Tip: Run a piece of scrap card stock through your machine first to check the pressure setting before cutting your good materials. A single test run prevents wasted sheets.
What design principles make die cut card designs more effective?
Good die cut card designs follow the same visual principles that apply to any form of graphic composition. Knowing these principles means you can make deliberate choices rather than guessing what looks right.
Focal point dominance
Minimalist “clean and simple” card designs benefit from fewer die cuts to highlight a dominant focal point and create visual cohesion. Placing one strong focal element, such as a large floral cluster or a bold sentiment frame, and keeping everything else minimal draws the eye exactly where you want it. Resist the temptation to fill every corner. White space is not wasted space. It gives the focal point room to breathe and makes the card feel considered rather than cluttered.
Rule of thirds in die cut placement
Limiting die cut colours to 2–3 and placing taller elements along rule-of-thirds vertical thirds achieves balance and enhances visual interest without requiring advanced art skills. The rule of thirds divides your card front into a 3x3 grid. Placing your main die cut element at one of the four intersection points, rather than dead centre, creates a more dynamic composition. Dead-centre placement can feel static; off-centre placement feels intentional and lively.
Colour harmony and restraint
Limiting your palette to two or three colours across all die cut elements keeps a card feeling cohesive. Choose one dominant colour, one supporting colour, and one accent. A card built around soft sage green, warm cream, and a single pop of dusty rose will always feel more polished than one using six competing shades. This principle applies to the die cuts themselves and to any stamped sentiments or background panels you add alongside them.
The following design principles work together to produce consistently strong results:
- Focal point first: choose your hero die cut before selecting supporting shapes
- Limit your palette: two to three colours across all elements, including card base and sentiment
- Use contrast deliberately: pair intricate, detailed dies with simple, clean backgrounds
- Repeat shapes: using the same die cut in two sizes creates rhythm without adding complexity
- Balance weight: a heavy cluster on one side needs a smaller element on the opposite side to feel stable
What practical tips should card makers know about using die cuts?
Knowing the techniques is one thing. Avoiding the mistakes that waste materials and time is another. These are the issues that catch crafters out most often, and the fixes are straightforward once you know them.
-
Prevent die shifting. Use low-tack tape or magnetic platforms to prevent die shifting during die-cutting runs. Die shifting is the most common cause of inaccurate cuts. Even a small movement mid-run leaves a partial cut that ruins the shape. A strip of low-tack tape across the die holds it in place without leaving residue on your card stock.
-
Release intricate cuts carefully. Releasing intricate die cuts with a pokey tool preserves delicate edges, which is particularly important for complex botanical or lace designs. Never push a fragile shape out with your finger. A fine-tipped tool gives you control and prevents tearing.
-
Use dies for embossing, not just cutting. Dies can emboss or deboss paper by using embossing pads or machine-specific techniques without cutting through the material. Placing a die face-up under your card stock and running it through the machine creates a raised or recessed impression. This adds texture to a background panel without removing any material at all.
-
Match your die to your material. Intricate dies with fine detail require thinner, smoother card stock to cut cleanly. Thick, heavily textured card stock works better with bold, simple die shapes. Mismatching die complexity with material weight is a common source of frustration.
-
Batch cut to save time. Stack two or three sheets of the same card stock beneath your die and run them through together. Most machines handle two to three layers without any loss of cut quality. You produce multiple identical shapes in a single pass, which is particularly useful when building layered scenes.
Pro Tip: Store your dies in a magnetic sheet inside a binder. Each die stays flat, visible, and easy to retrieve. Loose dies in a box scratch each other and are difficult to sort quickly.
For a broader look at the tools and supplies that support these techniques, the Craftsuprint guide to essential craft supplies covers the full kit a card maker needs.
How can crafters use die cut shapes creatively beyond standard designs?
The most exciting aspect of crafting with die cut shapes is how far you can take them beyond a simple shape stuck to a card front. The techniques below move from straightforward to genuinely impressive, and none of them require artistic drawing skills.
Building layered scene cards
Breaking complex die-cut scenes into background, foreground, focal point, and charming details simplifies design for beginners and improves cohesion. Think of your card front as a stage. The background layer sets the scene: a sky panel, a grassy strip, or a simple ink-blended wash. The foreground layer adds context: trees, a fence, or a path. The focal point sits in the middle ground: a house, a figure, or a large floral cluster. Details come last: small birds, butterflies, or a stamped sentiment. Breaking scene cards into parts helps beginners create sophisticated layered cards without feeling overwhelmed by the whole composition at once.
Using die cuts as frames and windows
A large rectangular or oval die cut from the card front itself creates a window. Back the window with a contrasting panel, a piece of patterned paper, or a stamped image, and the frame becomes a design feature rather than just a border. This technique works particularly well with shaped card bases, where the window echoes the silhouette of the card itself.
Combining die cuts with stamped sentiments
A die-cut sentiment frame paired with a stamped or hand-lettered message gives the words a visual home on the card. Without a frame, sentiments can feel adrift on a large card front. The frame anchors the text and ties it to the rest of the design. For ideas on how templates and die cuts work together, the Craftsuprint guide on creating card templates is a useful reference.
The table below shows how different creative applications of die cuts serve different card styles:
| Application | Best suited to | Key technique |
|---|---|---|
| Layered floral focal point | Birthday, thank you cards | Stack 2–3 layers with foam squares |
| Shaped card base | Novelty, seasonal cards | Position large die over folded edge |
| Die-cut window frame | Clean and simple designs | Back window with contrasting panel |
| Scene building | Christmas, landscape cards | Layer background, foreground, focal point |
| Embossed background panel | Elegant, formal cards | Run die face-up without cutting through |
For further inspiration on shaped and personalised designs, the Craftsuprint blog on personalised card toppers offers a range of creative starting points. The design workflow principles behind cake topper layouts also translate well to die-cut card composition, particularly when working with shaped silhouettes.
Key takeaways
Die cut shapes are the most versatile structural and decorative tool in card making, and mastering their placement, layering, and combination with other techniques produces results that hand-cutting cannot match.
| Point | Details |
|---|---|
| Precision and repeatability | Die-cutting machines produce identical shapes every time, making batch card making fast and consistent. |
| Layering adds dimension | Stacking 2–3 identical die cuts with foam squares creates depth without visual clutter. |
| Design principles matter | Applying the rule of thirds and limiting colours to 2–3 produces balanced, polished card designs. |
| Prevent die shifting | Secure dies with low-tack tape or a magnetic platform before every run to avoid wasted cuts. |
| Expand beyond cutting | Dies also emboss and deboss, adding texture to backgrounds without removing any material. |
Why I think die cuts are the skill that changes everything
Card making has a lot of techniques competing for your attention. Watercolour washes, heat embossing, alcohol inks, and foiling all have their advocates. After years of working with card makers at every level, I keep coming back to the same observation: die cutting is the technique that produces the most visible improvement in the shortest time.
The reason is structural. A well-placed die cut gives a card a finished quality that no amount of stamping or colouring alone can replicate. The clean edge, the precise repeat, the ability to build a three-dimensional focal point from flat card stock. These are things that immediately separate a card that looks handmade from one that looks hand-crafted. That distinction matters to the person receiving it.
My honest advice for beginners is to resist buying too many dies at once. One good floral die, one sentiment frame, and one geometric border will teach you more about composition, layering, and material choice than a collection of fifty shapes used once each. Mastery comes from repetition with a small set of tools, not variety with a large one. The step-by-step card making guide on Craftsuprint is a good place to practise that focused approach.
The trend I find most interesting right now is the move towards clean and simple die-cut scenes. Crafters are using fewer shapes, more deliberately, to create cards with genuine visual impact. That restraint is harder than it looks, but the results are consistently stronger than cards packed with every die in the collection.
— Rob
Craftsuprint: where to find dies and supplies for your next project
Craftsuprint brings together a wide selection of dies, card-making tools, and decorative supplies in one place, making it straightforward to find exactly what your next project needs.

The craft tools and supplies section covers everything from die-cutting accessories to card stock and embellishments, with new products added regularly from independent designers. If you are just getting started, the free members’ gift from Craftsuprint is a practical way to explore the range without any upfront cost. The paper crafts classifieds section is also worth browsing for shaped card resources and printable templates that work alongside your die-cutting projects.
FAQ
What are die cut shapes used for in card making?
Die cut shapes are used to create precise, repeatable decorative elements, shaped card bases, frames, and layered scenes. They replace hand-cutting and produce clean edges consistently across multiple cards.
How do I stop my die from shifting during cutting?
Secure the die to your card stock with low-tack tape or use a magnetic platform before running it through the machine. Die shifting is the most common cause of inaccurate or partial cuts.
Can I use a die without cutting through the paper?
Yes. Placing a die face-up under your card stock and running it through the machine creates an embossed or debossed impression without cutting the material, adding texture to background panels.
How many die cut shapes should I use on one card?
For clean and simple designs, one strong focal point die cut with one or two supporting shapes is enough. Limiting your palette to 2–3 colours across all elements keeps the card feeling cohesive and polished.
What materials can I cut with metal dies?
Standard metal dies cut card stock, vellum, foam sheets, felt, and thin acetate cleanly. Matching the complexity of the die to the weight and texture of the material produces the best results.