
Card making gift set assembly: quick kit for beginners
TL;DR:
- A complete card making gift set can be assembled in about 75 minutes using one coordinated paper pack, four core tools, and batch workflow. Curated sets with matching envelopes and attractive packaging look professional and feel deliberate, increasing their perceived value. Craftsuprint offers ready-to-print templates, designer paper packs, and step-by-step guides to simplify and speed up the process for beginners.
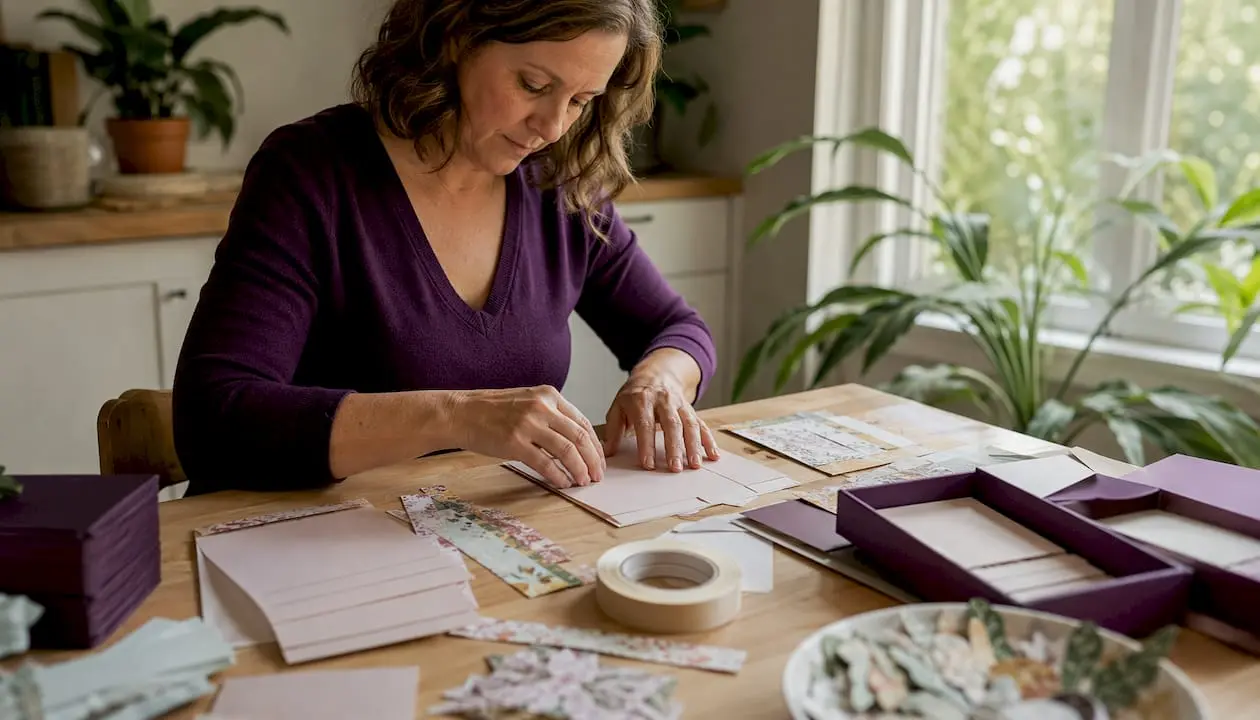
A complete, gift-ready card making set can be assembled in a single afternoon using one coordinated paper suite, a handful of tools, and a clear sequence. Success looks like a finished set of cards, matching envelopes, and a neat boxed or folio presentation the recipient can use straight away.
Here is what you need before you start:
- Card bases: pre-scored A6 or square blanks, 216gsm or heavier
- Envelopes: matching size, one colour to coordinate with the paper pack
- Focal elements: die-cuts, stickers, or printed ephemera
- Adhesive: glue tape or double-sided tape (not a glue stick for bases)
- Paper trimmer and bone folder
A printable card template or a designer paper pack is the fastest starting point. Download one, print on cardstock, and you are ready to cut.
Table of Contents
- What goes into a card making gift set?
- How to assemble a card making gift set step by step
- How to package and present the finished set
- Beginner-friendly themes and layout ideas
- Common beginner mistakes and how to fix them
- How Craftsuprint printables make assembly faster
- How long does it take and what does it cost?
- Your next steps to a finished gift set
- How to personalise your card making gift set
- Key takeaways
- Why a curated card set is worth the effort
- Craftsuprint has the printable kits ready for you
- Useful sources
- FAQ
What goes into a card making gift set?
A well-stocked card assembly kit has two layers: what lives inside the finished gift, and the tools you use to build it.
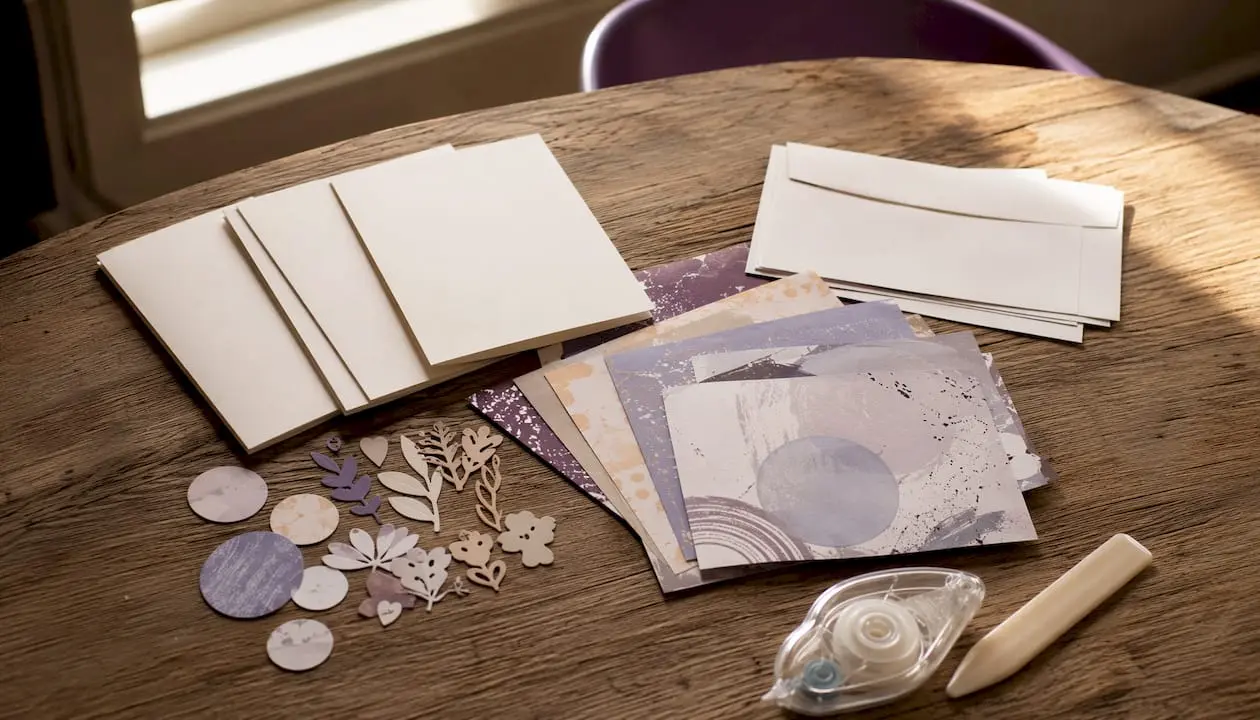
Kit contents (what the recipient receives)
| Component | Specification | UK sourcing tip |
|---|---|---|
| Card bases | 216gsm+, pre-scored | Craft Superstore, The Range, or Craftsuprint printables |
| Envelopes | Matching size (C6 for A6 cards) | Buy in multi-packs for economy |
| Focal die-cuts or stickers | Themed to the paper pack | Included in many printable kits |
| Adhesive (small roll) | Glue tape, permanent | Hobbycraft, Amazon UK |
| Brief instruction card | One folded sheet | Print from Craftsuprint templates |
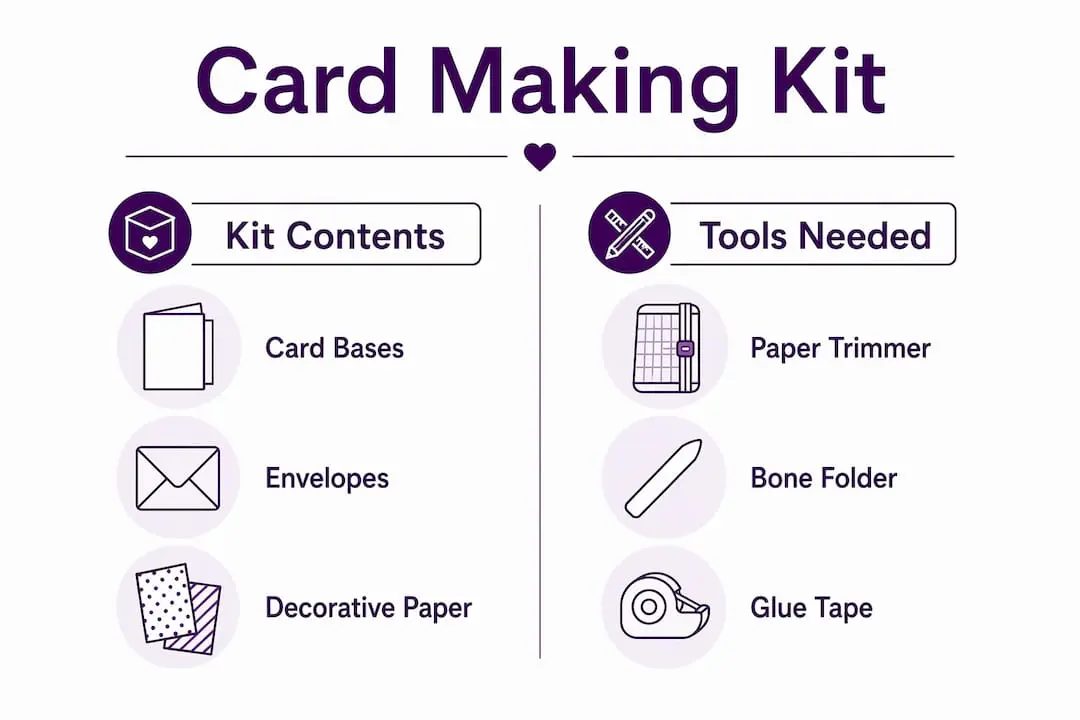
Tools you need to make the set
Beginners should prioritise four core tools: a paper trimmer for precise cuts, a bone folder for crisp folds, glue tape for a clean bond, and cardstock at around 80lb (216gsm) or heavier for bases. Everything else is optional at first.
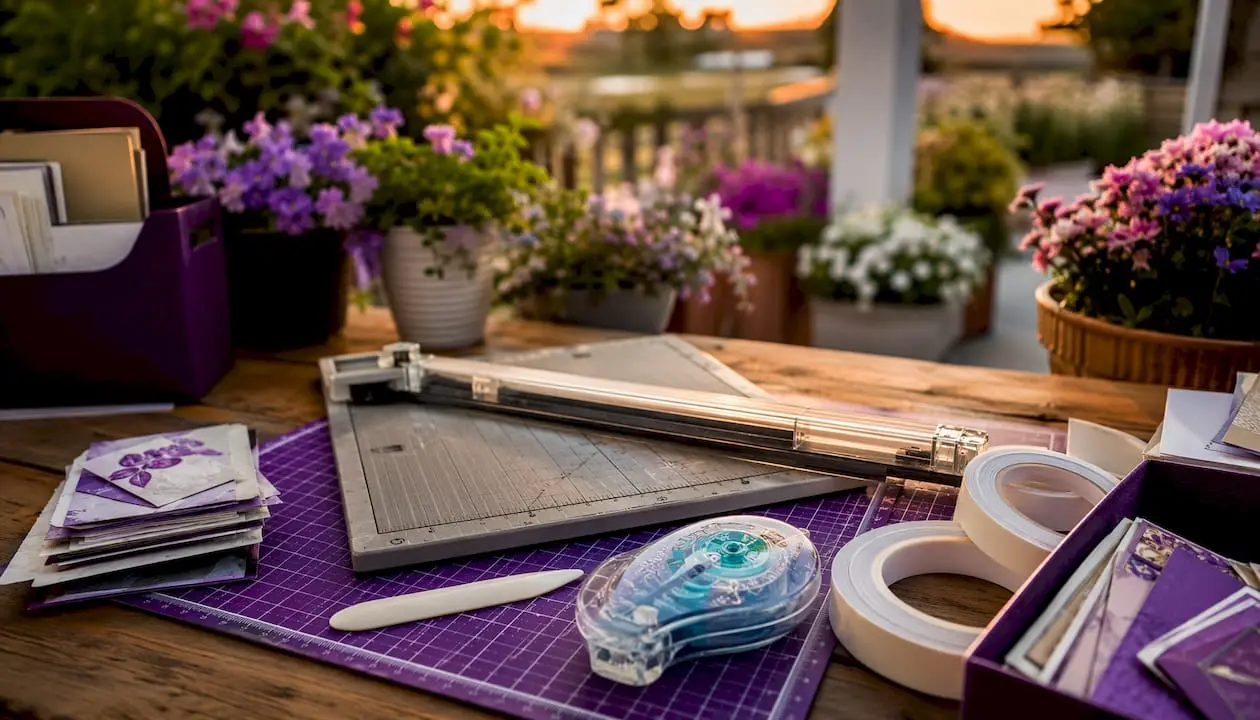
Must-haves: paper trimmer, bone folder, glue tape, cutting mat. Nice to have later: scoring board, foam tape for dimension, embossing tool.
Pro Tip: Buy a multi-pack of C6 envelopes in white or kraft from a UK stationery wholesaler. They cost a fraction of craft-shop prices and coordinate with almost any paper palette.
How to assemble a card making gift set step by step
Batch-making is the key. Do every step across all cards before moving to the next, rather than finishing one card at a time. It cuts total time significantly and keeps your results consistent.
- Prep your workspace (5 minutes). Lay out your cutting mat, trimmer, bone folder, and adhesive. Print all templates or cut your designer paper pack into panels before touching a single card base.
- Cut all card bases (10 minutes for 10 cards). Score and fold each base using the bone folder. Burnish firmly along every fold line to prevent bulging later.
- Cut all layer panels (10–15 minutes). Trim your designer paper into card-front panels, slightly smaller than the base (typically 10.5 × 14.5cm for an A6 base). Stack them in order so you are not hunting for pieces mid-assembly.
- Adhere all base layers (10 minutes). Run glue tape along the back of each panel and press firmly onto each card base. Work across the whole batch before moving on.
- Add focal elements (15 minutes). Position die-cuts, stickers, or printed ephemera. Use foam tape under key focal pieces for a subtle lift that reads as professional.
- Finishing touches (5–10 minutes). Add any ribbon, washi tape border, or sentiment stamp. Check each card for stray adhesive or uneven edges and trim if needed.
- Pair with envelopes and package (10 minutes). Slot each card into its envelope, stack neatly, and move to packaging.
Pro Tip: Cut a small test panel first and check it fits your base before cutting the full batch. One minute of testing saves ten minutes of remaking.
A beginner’s step-by-step assembly guide on the Craftsuprint blog walks through this workflow with photos if you want a visual reference alongside these steps.
How to package and present the finished set
Presentation is where a homemade card set earns its “wow.” The packaging does not need to be complicated, but it does need to feel intentional.
Boxed set
A kraft or decorated box with a lid is the most gift-ready option. Use heavy-weight cardstock of at least 350gsm for the box base so it holds its shape when the lid is lifted repeatedly. Assemble the box with strong double-sided tape; small magnetic closures or Velcro dots keep the lid secure. This format suits sets of 10 or more cards.
Card folio
A card folio holds six full-size cards and envelopes and is a compact, elegant alternative for smaller sets. It folds flat, ties with a ribbon, and feels considered without requiring a box. If you plan to include dimensional embellishments such as gems or ribbon bows, allow slightly wider gussets so the folio closes comfortably.
Banded or wrapped set
The simplest option: stack the cards, wrap with a strip of coordinating paper, and tie with twine or ribbon. Add a small tag. This works beautifully for a set of three to five cards and takes under five minutes.
A cohesive suite across cards, envelopes, and packaging makes the set appear high-end and consistent. Curation improves perceived value more than adding many different embellishments ever could.
Pro Tip: Use one sheet from your designer paper pack to line the inside of the box lid. It costs nothing extra and makes the set look like it came from a boutique.
For more ideas on presentation and wrapping, the gift wrapping keepsake guide has practical advice that translates well to card sets.
Beginner-friendly themes and layout ideas
Choosing a theme before you cut anything removes the biggest source of decision fatigue. Stick to one paper pack and let it do the work.
Accessible themes for beginners:
- Florals: soft watercolour prints pair with white bases and gold or blush die-cuts
- Minimal typography: black-and-white text prints with a single colour accent (terracotta, sage)
- Seasonal neutrals: kraft, cream, and forest green work across Christmas, autumn, and general gifting
- Bold geometrics: high-contrast patterns that need no embellishment beyond a clean sentiment stamp
Three layout templates you can repeat across the set
One-strip layout: a single horizontal band of patterned paper across the lower third of the card. Fast, clean, and works with any theme. Vary it by changing the strip width or adding a small die-cut above.
Centred panel: a patterned rectangle centred on the card front with a narrow white mat beneath it. The white mat creates visual breathing room and makes even a busy print look deliberate.
Layered frame: two or three panels of decreasing size stacked on the base, each from a different pattern within the same paper pack. This looks complex but takes only a few extra cuts.
Picking a colour scheme quickly
Pull your palette directly from the paper pack. Identify the dominant colour (the one that appears most), then choose two accent colours already present in the print. You do not need a colour wheel; the designer has already done that work for you. A single 12×12 designer paper sheet can produce multiple card fronts, making paper packs both cost-effective and an instant guarantee of colour harmony.
Common beginner mistakes and how to fix them
Most problems with a finished card set come down to three things: wrong paper weight, rushed scoring, and over-embellishing.
Wrong paper weight is the most common. Card bases made from standard 80gsm printer paper buckle under adhesive and feel flimsy. Use 216gsm minimum for bases; 300gsm if you want a particularly sturdy feel.
Poor score lines cause tearing and uneven folds. Always score before folding, never after. Run the bone folder along the score twice, pressing firmly, then fold towards you.
Over-embellishing is the beginner’s instinct and the professional’s warning. Three well-placed elements beat seven competing ones every time. If you find yourself adding “just one more thing,” stop.
Pro Tip: Apply glue tape to the panel, not the base. You get more control and avoid the adhesive creeping past the panel edge onto the card front.
The neatest cards are not the most decorated. They are the ones where every element has a reason to be there.
On the question of remaking: if a score line has torn or a panel is visibly skewed, remake it. A card that looks wrong in the set will bother you every time you see it. If the flaw is minor (a tiny adhesive smear on the inside, a slightly off-centre sentiment), accept it. Recipients notice far less than makers do.
How Craftsuprint printables make assembly faster
Craftsuprint’s marketplace carries printable card templates, designer paper packs, envelope printables, and assembly guides created by independent designers. The workflow is straightforward:
- Download a template or paper pack from Craftsuprint
- Print on 216gsm cardstock (or heavier for bases)
- Cut and score using the printed cut lines as guides
- Assemble following the included guide
Ready-to-print templates remove the measurement step entirely, which is where most beginners lose time and make errors. The ready-to-print kits are designed so someone with no prior experience can produce store-quality results by following the printed instructions. Craftsuprint also hosts blog tutorials and a community of independent designers, so you can find themed kits (florals, geometrics, seasonal) without searching across multiple sites.
UK crafters can browse paper craft listings directly on the site to find supplies alongside downloadable kits.
How long does it take and what does it cost?
| Task | Time (10-card set) |
|---|---|
| Prep and printing | 10 minutes |
| Cutting card bases and panels | 10–15 minutes |
| Scoring and folding | 10 minutes |
| Adhering layers | 10 minutes |
| Embellishing | 15 minutes |
| Packaging | 10 minutes |
| Total | ~75 minutes |
Sample UK cost breakdown for a 10-card set:
| Item | Approximate cost |
|---|---|
| Cardstock (A4 pack) | £5 |
| Designer paper pack or printable download | £2–£6 |
| Envelopes (multi-pack, C6) | £3–£5 |
| Embellishments (stickers, die-cuts) | £2–£4 |
| Packaging (kraft box or folio materials) | £2–£5 |
| Total per set | £14–£28 |
Cost per card drops significantly when you batch. Making multiple cards from the same paper pack lowers the per-card cost because cardstock and paper packs are the largest fixed outlay.
If you are posting the finished set, a boxed set of 10 cards typically falls within Royal Mail’s large letter or small parcel category depending on box depth. Factor in a padded envelope or rigid mailer (around £1–£2) to protect the contents.
Your next steps to a finished gift set
Getting started is simpler than it looks. Follow these three steps and you will have a complete set ready to give by the end of the afternoon.
- Gather your kit. You need card bases (216gsm+), a matching paper pack or printable download, envelopes, glue tape, a paper trimmer, and a bone folder. Check the materials table above for UK sourcing options.
- Choose one template or paper pack. Browse DIY card kit examples on the Craftsuprint blog for themed inspiration, or download a ready-to-print kit directly. Commit to one palette before you cut anything.
- Make one card first, then batch. Assemble a single card end-to-end to check your measurements and adhesive placement. Once it looks right, repeat each step across the full set.
A handwritten insert tucked inside the box makes the set feel personal. Even a short note (“Made with care, for you”) shifts the gift from pretty to meaningful.
How to personalise your card making gift set
Personalisation does not require extra materials. It requires a small amount of intention.
Handwritten note or insert: print a simple card-sized insert with the recipient’s name and a short message, or write it by hand on a coordinating piece of cardstock. Tuck it inside the box lid or fold it into the first envelope.
Customisable elements: many Craftsuprint templates include editable sentiment panels. Swap a generic “Happy Birthday” for the recipient’s name, a shared joke, or a specific occasion. Print, cut, and adhere in place of the standard sentiment.
Occasion-specific extras: add a small sachet of dried flowers, a wax seal sticker, or a length of ribbon in the recipient’s favourite colour. These cost pennies and make the set feel curated rather than generic.
Themed card selection: if you know the recipient well, tailor the card mix. A set for a gardener might lean heavily on floral prints; one for a minimalist friend might use only typography and clean geometry. The creative gifting guide has further ideas for matching a gift to a personality.
Key takeaways
A complete card making gift set can be assembled in roughly 75 minutes using one coordinated paper pack, four core tools, and a batch workflow.
| Point | Details |
|---|---|
| One paper pack rule | Use a single designer paper pack to guarantee colour harmony across every card in the set. |
| Core tools only | Paper trimmer, bone folder, and glue tape are all you need to start; everything else is optional. |
| Batch for speed | Complete each step across all cards before moving on; this cuts total assembly time by roughly a third. |
| Packaging matters | A kraft box (350gsm+) or card folio lifts the perceived value of the set without significant extra cost. |
| Craftsuprint printables | Download ready-to-print templates and designer paper packs from Craftsuprint to skip measurement errors and speed assembly. |
Why a curated card set is worth the effort
There is a gap between what most gifting advice suggests and what actually lands with recipients. A single handmade card is lovely. A curated set of ten, all coordinated, all ready to use, is something people keep on their desk and reach for months later. That shift from “one card” to “a collection” changes the gift’s usefulness entirely.
The beginner’s worry is always the same: “It won’t look professional enough.” The honest answer is that curation does more for perceived quality than skill does. One paper pack, consistent embellishments, and neat packaging will produce a set that looks considered and deliberate, even on a first attempt. The templates exist precisely to remove the technical barrier. Start with the simplest layout, make one card, and the rest follows naturally.
Craftsuprint has the printable kits ready for you
Craftsuprint gives you a faster route from idea to finished gift set. Instead of sourcing templates separately and hoping the colours coordinate, you get designer paper packs, printable card bases, envelope templates, and step-by-step assembly guides in one place, created by independent UK designers.

Three things Craftsuprint offers that matter for this project:
- Ready-to-print card templates with cut lines included, so you skip the measuring stage entirely
- Coordinated designer paper packs that guarantee colour harmony across your whole set
- Step-by-step downloadable guides written for beginners, covering scoring, layering, and packaging
Browse the Create & Craft downloads to find themed kits, or claim your free member gift to get started without spending anything. UK delivery on physical supplies is available, and digital downloads are instant.
Useful sources
- Craftsuprint — printable card templates, designer paper packs, and assembly tutorials for UK crafters
- Craftsuprint blog — free how-to guides covering card making, kit assembly, and theme inspiration
- Craftsuprint craft supplies listings — browse adhesives, cardstock, and embellishments from UK sellers
- Scrapbook.com: card making supply list — authoritative beginner tool guide with material specifications
- Kelli’s Kraft Studio: boxed card set tutorial — detailed walkthrough for making a designer boxed set, including box construction
- Klompen Stampers: card folio guide — step-by-step folio construction for a six-card set
Check paper weight specifications and stock availability before ordering online, as weights and pack sizes vary between suppliers.
FAQ
What does a card making gift set typically contain?
A standard kit includes pre-scored card bases, matching envelopes, decorative elements such as die-cuts or stickers, and adhesive. Many kits yield 6–16 finished cards in a single session.
What cardstock weight should I use for card bases?
Use cardstock at around 216gsm or heavier for card bases. For a box or folio, use at least 350gsm to prevent the structure from bulging or losing its shape.
How long does it take to assemble a 10-card gift set?
A 10-card set takes roughly 75 minutes from prep to packaging when you work in batches, completing each step across all cards before moving to the next.
Do I need special tools to make a card set?
No specialist equipment is required. A paper trimmer, bone folder, and glue tape cover the vast majority of card making gift set assembly tasks for beginners.
Where can I find printable card templates in the UK?
Craftsuprint offers a wide range of ready-to-print card templates and designer paper packs created by independent designers, available as instant digital downloads for UK crafters.