
Make Mail Safe Card Inserts: 14 Trend Ready Ideas for Crafters 2026
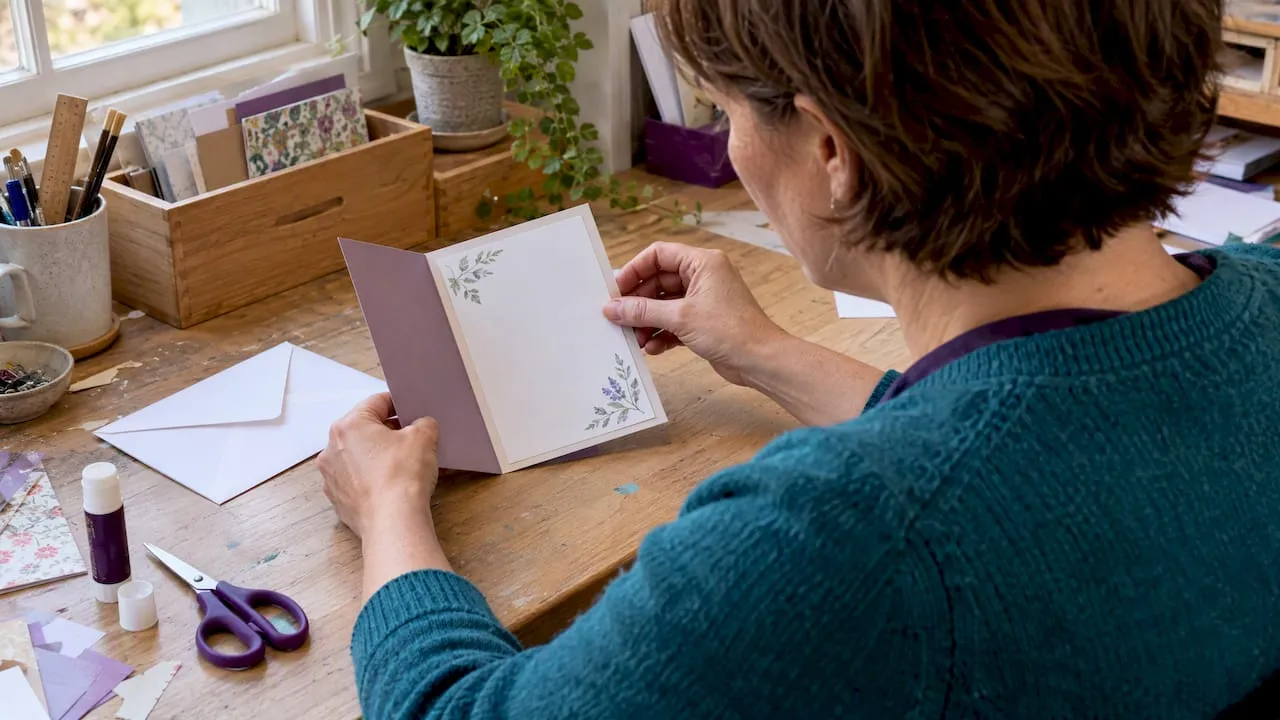
The most versatile card insert ideas fall into three groups: tuck-in gifts such as tea or seed packets, printable or photo inserts you make at home, and interactive QR inserts that link to a video or playlist. This guide gives you ready-to-make ideas, the materials and sizing that keep inserts flat in the post, and the 2026 trends worth borrowing, plus where to find printable templates if you would rather not start from scratch.
TL;DR:
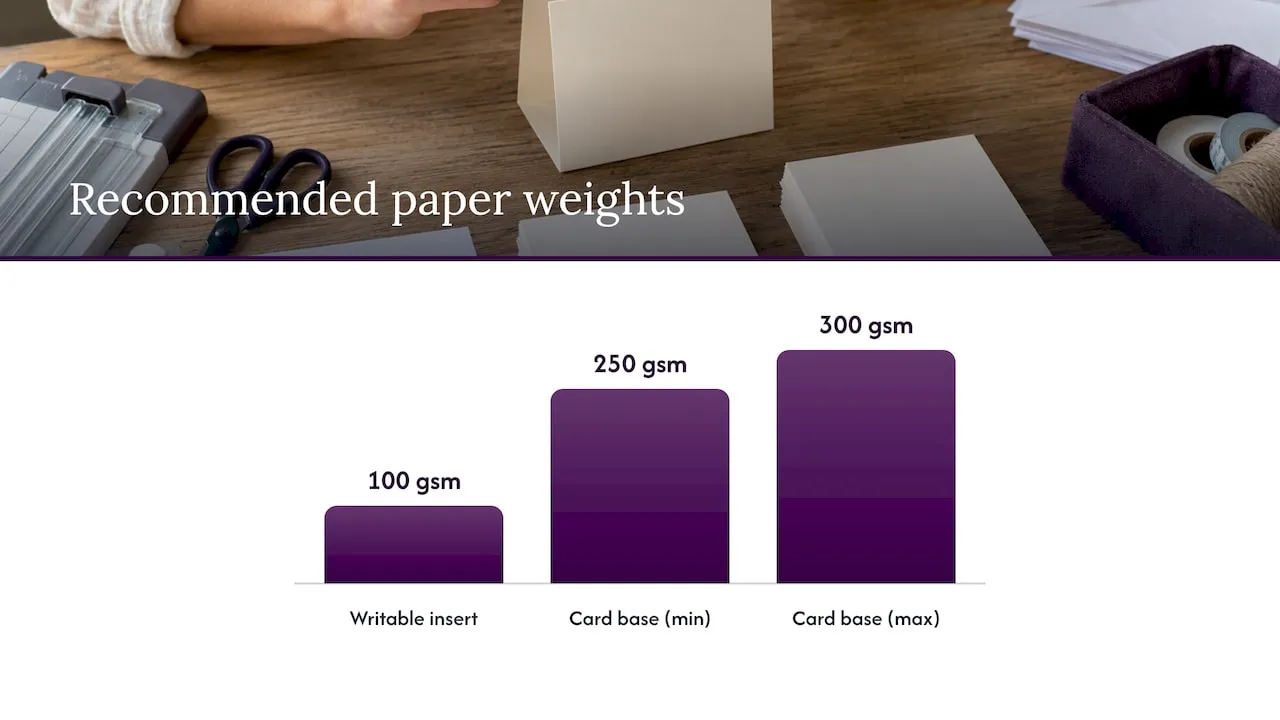
- Use 100gsm paper for handwritten or printed messages and 250 to 300gsm for structural or layered inserts to ensure durability and proper folding.
- Keep insert sizes slightly smaller than the envelope or box interior, with a safety margin, to prevent damage or crushing during mailing.
- Prioritize eco-friendly options like seed paper and plastic-free confetti to meet 2026 sustainability trends and appeal to environmentally conscious recipients.
- Attach inserts with a thin spine line of adhesive to allow flexibility, avoiding full-surface glue to prevent ripples on the card base.
- Incorporate hyper-personalization and gold or folk-inspired motifs, such as foil trims or vintage collages, to align with upcoming greeting card design trends.
Table of Contents
- Curated list: creative card insert ideas with one-line execution tips
- How to make and attach inserts: tools, materials and step-by-step
- Sizing, mailing and print considerations
- Personalisation ideas and 2026 trends to try
- Rob’s perspective: quick workflow and what works in practice
- Where to get templates, cutting files and supplies
- FAQ
- Sources
Curated list: creative card insert ideas with one-line execution tips
Some inserts take two minutes with scissors and glue. Others need a printer and a bit of planning. Here are the ideas worth keeping in your card-making kit.
- Tuck-in sachets: a small packet of tea or flower seeds tucked behind the main panel; works because the recipient gets something to use after the card is read, not just more paper.
- Ribbon bookmark: a strip of cardstock with a tassel or ribbon through a punched hole; slot it into a pocket so it does not fall out in transit.
- Photo collage insert: two or three printed photos arranged on a single panel; mount with photo corners rather than full glue so the insert stays crisp.
- Printable poem or quote strip: a short verse printed on a narrow strip and folded like a fortune cookie message, as seen in gift and greetings collections.
- Confetti pocket: a small vellum or glassine pouch filled with paper confetti, heat-sealed or taped shut so nothing spills in the envelope.
- Fold-out note panel: an extra accordion-folded strip glued into the spine, giving far more writing space than the card itself.
- Mini calendar: a credit-card-sized printed calendar, handy for a new-year or birthday card.
- Discount coupon or voucher: borrowed from retail packaging, this works well for small-business cards and loyalty gestures.
- Vellum overlay: a translucent sheet layered over a printed design to soften colours without hiding them.
- Die-cut layered panel: two or three shaped layers stacked with foam spacers for a dimensional insert, best made with a cutting machine.
- Origami heart or star: a single folded shape that opens flat, good for a quick personal touch with no adhesive needed.
- QR-code video message insert: a printed code linking to a short recorded video or playlist, an idea gaining ground in both greetings and e-commerce packaging.
- Washi-taped recipe or memory card: a handwritten note or recipe backed with patterned tape along the edges.
- Seed-paper tag: a plantable paper shape that doubles as a keepsake and an eco-friendly gift.
Eco-conscious options such as seed paper and plastic-free confetti pouches are worth prioritising, since several of these ideas also work as printable templates you can print on demand rather than draw from scratch.
Pro Tip: Keep promotional-style inserts, like vouchers or referral cards, to a few per envelope so the main message does not get lost.
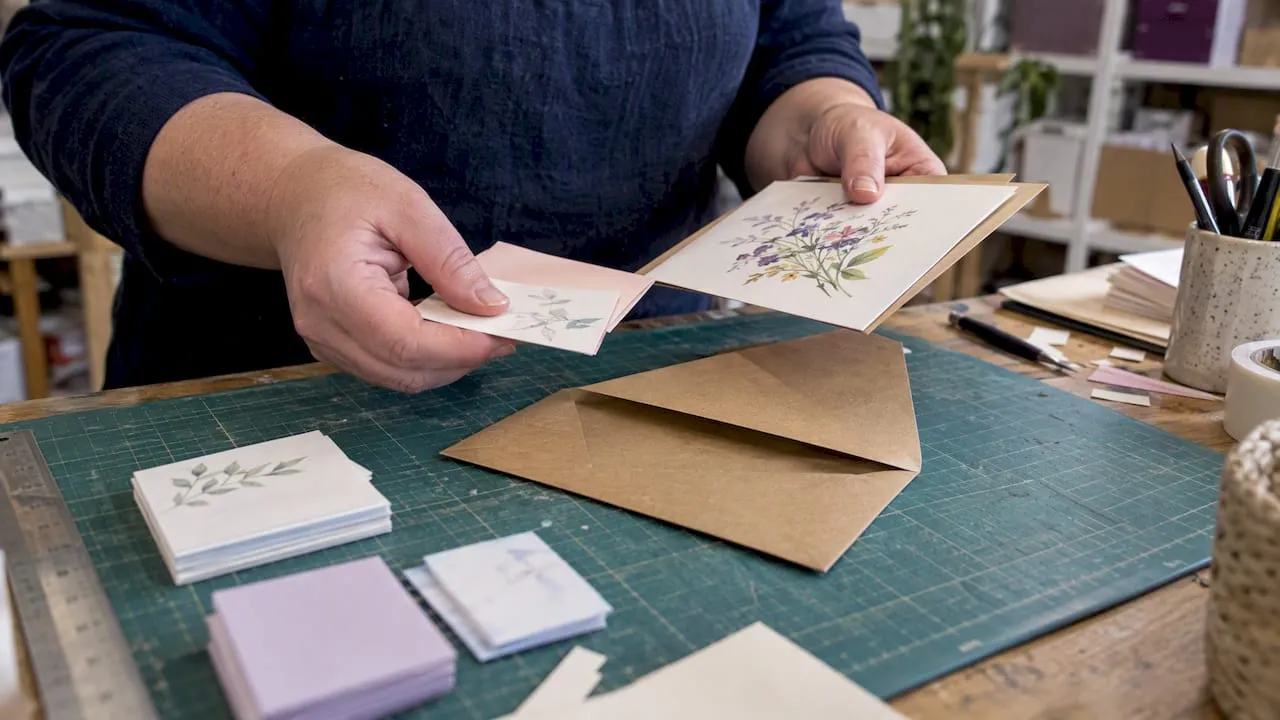
How to make and attach inserts: tools, materials and step-by-step
A neat insert needs the right tools more than it needs skill. A scoring tool or bone folder, double-sided tape or a glue roller, a sharp craft knife and, optionally, a cutting machine will cover nearly every idea above.
GSM is the measurement that matters, not the old-fashioned “pound” ratings some suppliers still use. Writable inserts print and fold best at around 100gsm, while card bases hold their shape at 250 to 300gsm; a full cardstock weight guide breaks this down further if you are buying stock for the first time.
- Choose 100gsm paper for anything with handwriting or a printed message.
- Use 250 to 300gsm for the card base and any structural insert, such as a die-cut layer.
- Attach inserts with a thin line of adhesive along the spine rather than across the whole back.
- Alternative fixings include corner slits, tuck pockets and removable tabs for inserts the recipient should lift out.
- When using pre-scored insert packs or cutting files, size the design slightly smaller than the insert and score before folding to stop the card cracking, a method confirmed in Cricut-style workflows.
Pro Tip: Full-surface adhesive is the most common cause of rippled card bases. A single thin spine line lets the insert flex without warping the front panel.
Sizing, mailing and print considerations
Inserts fail for two reasons: they do not fit, or they get crushed. Size each insert to the envelope or box’s usable interior minus a small safety margin, a rule recommended for mailer inserts generally and just as useful for greeting cards.
- A6 and DL are the safest sizes for standard envelopes; business-card dimensions suit tuck-in extras like vouchers or bookmarks.
- Protect inserts with a card-backed mailer or a layer of tissue wrap so nothing bends in transit.
- Print QR codes at a minimum of 2 by 2 centimetres with strong contrast and a clear quiet zone around the symbol, per packaging best practice.
- Keep QR codes away from folds or sealed edges, where cracking or tape can block the scan.
Personalisation ideas and 2026 trends to try
Sustainability and personal touches are now the expected baseline, not a bonus. Greeting-card buyers in 2026 are looking for hyper-personalisation, soft-luxury finishes, and verifiable eco credentials such as FSC-certified paper and plastic-free packaging.
- Add a hot-foil trim to a bookmark insert for a soft-luxury finish without a full letterpress setup.
- Build a collage-style photo insert that mixes old and new pictures, echoing the vintage and folk-inspired motifs showing up across card design.
- Pair a QR-linked video message with a handwritten note for an insert that feels personal rather than generic.
- Choose FSC-labelled stock and avoid plastic sleeves where you can, since this is increasingly what recipients notice first.
Letterpress, die-cuts and photo integration are also showing up more often on premium cards, a direction worth borrowing even for a handmade insert made with a craft knife rather than a press.
Rob’s perspective: quick workflow and what works in practice
My go-to insert is the photo collage: pick two or three photos, lay them on a printable template, print on 100gsm, then mount onto a 250gsm backing panel. It takes fifteen minutes and looks considered rather than rushed.
An online marketplace of printables, cutting files, freebies and tutorials can be a useful source for templates when you do not want to design a layout from a blank page.
— Rob
Where to get templates, cutting files and supplies
If you would rather print a ready-made layout than build one from scratch, Craftsuprint’s card making section has templates and kits for most of the ideas above, from poem strips to layered panels. The cutting files collection covers die-cut and dimensional inserts for anyone working with a cutting machine, and the card and paper supplies range stocks the 100gsm and 250gsm stock this guide recommends.

A die-cut layered panel, for instance, maps directly onto a cutting file: download the design, cut it on 250gsm stock, and assemble with foam spacers in under ten minutes. Browse the card making templates to find a starting layout for your next batch of inserts.
FAQ
What are some good things to put inside a card?
Tuck-in gifts such as tea or seed packets, printable poem strips, photo collages and QR-code video links are all strong choices because each gives the recipient something beyond the card itself. Keep promotional-style inserts like vouchers to one or two per card so the main message stays the focus, a point echoed in e-commerce insert guidance.
How do I make card inserts?
Cut your insert slightly smaller than the card base, score before folding, and attach with a thin line of adhesive along the spine rather than full coverage. Use 100gsm paper for anything written or printed on, and 250 to 300gsm for structural or layered pieces, following the GSM guidance suited to card stock.
What are the trends for greeting cards in 2026?
2026 trends centre on hyper-personalisation, soft-luxury finishes like foil and letterpress, vintage or folk-inspired motifs, and sustainability credentials such as FSC-certified, plastic-free packaging. Photo integration and bolder colour palettes are also appearing more often on premium designs.
What are some creative ideas for packaging inserts?
Common packaging inserts include thank-you cards, discount vouchers, referral cards, care instructions and QR-code calls to action, each aimed at encouraging reviews or repeat purchases, according to packaging insert guidance. For greeting cards specifically, tuck-in gifts and printable strips tend to work better than overtly promotional pieces.
Sources
- Greeting card industry stays strong
- Pangolins greetings card collection and ideas
- Mailer box inserts size guide
- How to make Cricut insert cards and cutaway cards
- QR code packaging best practices