
Crafters: 5 Print Specs That Stop White Edges on Borderless Cards
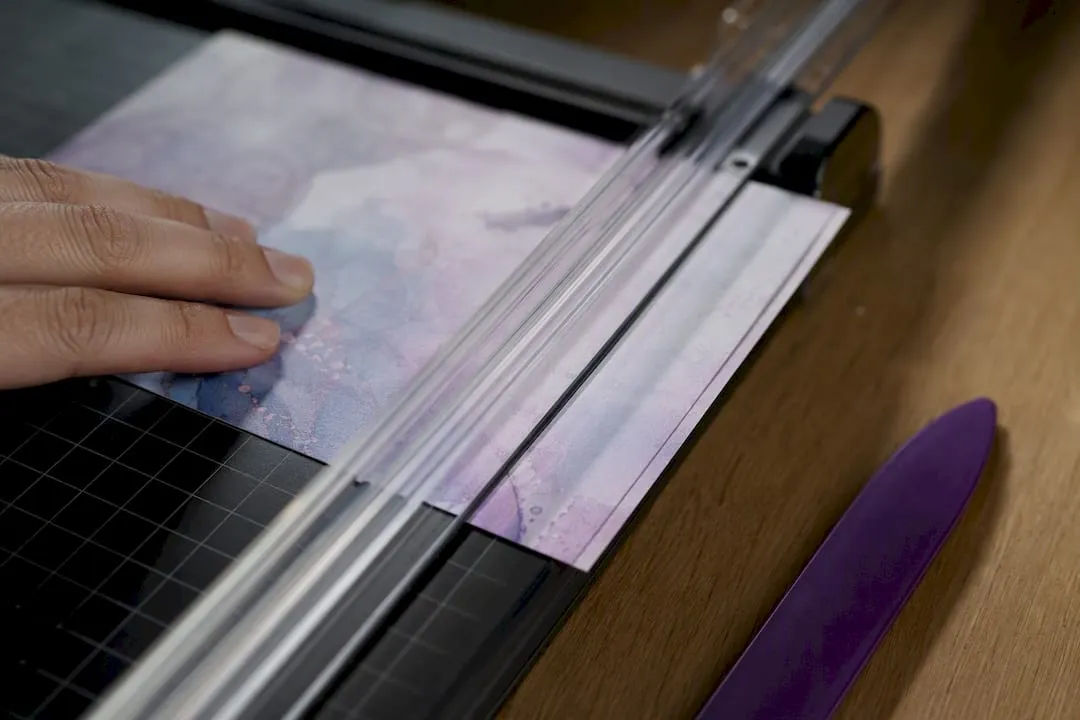
Borderless printing cards means downloadable, print-ready templates designed to print edge to edge with no white margin, known in the trade as full bleed. Every working template shares the same non-negotiable specs: 3mm bleed, a 3mm safe zone, 300 DPI resolution, CMYK colour, exported as PDF/X. Get those five right and the design itself is the easy part. There are templates available that are built to these standards, with tutorials covering the settings that trip most people up.
TL;DR:
- Designs must include a 3mm bleed on all sides and keep important elements within a 3mm safe zone to prevent trimming issues.
- Using a resolution of 300 DPI and CMYK colour mode is essential for maintaining print quality and accurate colour reproduction.
- Export files as PDF/X with embedded or outlined fonts, and only add crop marks if specifically requested by the printer.
- Different software handles bleed setup differently, with professional tools like InDesign and Illustrator offering straightforward options, while Canva requires manual adjustments.
- Ready-made templates from Craftsuprint already conform to these standards, simplifying the process for hobbyists and small-scale print runs.
Table of Contents
- What counts as full-bleed card design?
- How do you design a card layout that survives trimming?
- How do you set up bleed in InDesign, Illustrator, or Canva?
- How do you export and proof a print-ready file?
- Why does imposition matter for cutting and bleed?
- Which paper stock and finish suit a borderless card?
- Where can you find bleed-ready templates and design support?
- A practical note from Rob
- Get your next card template from Craftsuprint
- Sources
- FAQ
What counts as full-bleed card design?
“Borderless” and “full bleed” describe the same thing: artwork that extends past the edge of the finished card so there’s no sliver of white when it’s trimmed. The printing trade calls this bleed, and it comes with fixed numbers you shouldn’t fudge.
Before you download or design anything, check the file against this list:
- Bleed: 3mm (0.125in) on all four sides. This is the industry-standard bleed for card files, and it exists because cutters never trim with pixel-perfect accuracy.
- Safe zone: 3mm inside the trim line. Keep text, faces, and logos clear of this margin so nothing gets clipped.
- Resolution: 300 DPI. Anything lower and photos look soft or pixellated once printed.
- Colour mode: CMYK, not RGB. RGB files shift colour badly on a printing press. This is one of the most common reasons printers bounce a job back.
- File format: PDF/X, with fonts outlined or embedded so they don’t reflow on someone else’s machine.
Pro Tip: Only add crop marks if your printer specifically asks for them. Home inkjets and most online upload tools handle bleed automatically, so extra marks just clutter the file.
How do you design a card layout that survives trimming?
Full bleed changes how you compose a card, not just how you export it. Push a title too close to the edge and there’s a real chance the cutter takes a slice off it.
Keep every important element, meaning text, logos, faces, inside that 3mm safe zone from the previous section. Anything decorative, background colour, a repeating pattern, a photo, can and should run right off the edge, because that’s the whole point of a borderless design.
White space matters more than most hobby crafters assume. Design guidance from Jukebox recommends leaving 25 to 35% of the card as empty space. It isn’t wasted room. It gives the eye somewhere to rest and gives the cutter a margin of error before anything important is at risk.
A few practical habits help here:
- Use a simple grid (thirds or a centred column) rather than freeform placement, so elements line up predictably near the trim edge.
- Decide early whether the card is single or double sided. Double-sided designs need identical bleed and safe zone treatment on both faces.
- When a photo runs to the edge, crop it wider than you think you need. It’s easier to trim excess than to stretch a short image.
- Patterns should tile cleanly across the full bleed area. A pattern that stops short leaves an ugly seam once cut.
How do you set up bleed in InDesign, Illustrator, or Canva?
Different tools handle bleed differently, and the gap between professional and consumer software is bigger than people expect.
- Adobe InDesign: Open the document setup and add 3mm to the bleed field on all four sides before you start. Export as PDF with “Include Bleed” ticked under Marks and Bleeds.
- Adobe Illustrator: Set bleed the same way at document creation, then extend background artwork past the trim edge manually before exporting to PDF/X.
- Canva: Canva has no native bleed setting, so you have to build it in manually by making your canvas 6mm larger than the finished size and extending your background art to fill it. CMYK export is also limited on Canva’s free tier, so check your plan before relying on colour accuracy.
- Figma or other UI tools: These weren’t built for print, so expect an extra conversion step, exporting to PDF and then adjusting bleed and colour mode in a dedicated tool, rather than trusting Figma’s own export panel.
How do you export and proof a print-ready file?
PDF/X is the format most professional printers prefer because it locks fonts, colour profiles, and bleed settings so nothing shifts between your machine and theirs. If you’re using a specific print shop, ask whether they have their own preset; some do, and using it avoids a rejected file.
Before you send anything to print, or hit print at home, run through this:
- Confirm images sit at 300 DPI at final size, not stretched up from something smaller.
- Convert the whole file to CMYK. Files left in RGB colour mode are one of the most common reasons printers reject a job, alongside missing bleed and text sitting too close to the edge.
- Outline or embed every font so nothing substitutes on another system.
- Only add crop marks if the printer’s upload portal asks for them.
Then proof it. If you’re ordering from a commercial printer for a bigger run, ask whether they offer a press proof before committing to the full batch.
Why does imposition matter for cutting and bleed?
Imposition is how a printer arranges multiple cards on one sheet before cutting, and it’s the bit most hobby crafters never think about until their cards come back oddly spaced. Layouts commonly run 10-up or 12-up, meaning ten or twelve cards per sheet, separated by small gaps called gutters.
| Layout type | Typical use | Gutter consideration |
|---|---|---|
| 10-up | Standard card stock, straightforward grid | Gutters widen slightly on thicker stock |
| 12-up | Tighter packing for smaller card sizes | Needs precise bleed overlap between cards |
| Dutch cut | Reduces the number of cutter passes needed | Requires exact imposition math, less forgiving of errors |
Imposition software typically bakes bleed in at 3mm and automates crop marks and gutter spacing, which is why automated tools cut down on human error for multi-design print runs. If you’re sending several different designs on one sheet, deliver each as a separate print-ready file rather than trying to lay them out yourself.
Which paper stock and finish suit a borderless card?
Stock choice changes how forgiving your bleed needs to be. Standard card stock (roughly 250 to 300gsm) works fine for most hobby projects and handles both matte and gloss finishes well. Premium heavier stocks feel more substantial in the hand but ask more of your cutter.
- Matte finish keeps colours slightly muted and hides fingerprints, a sensible default for handwritten or textured cards.
- Gloss finish makes colours pop and photos look sharper, but it also shows every trimming imperfection more clearly.
- Home printers struggle with heavier stocks. Thick card stock is genuinely harder to cut cleanly on a domestic printer or guillotine, so anything above standard weight is usually better sent to a professional press.
- If you’re printing at home anyway, feed thicker stock through manually rather than trusting an automatic tray, and let ink dry fully before trimming.
Where can you find bleed-ready templates and design support?
Craftsuprint’s marketplace lists templates already built to the specs covered above: 3mm bleed, correct safe zone, and files exported at print resolution. The site’s Create Your Card Now tool also lets you build a card directly with sizing handled for you, which sidesteps much of the manual bleed setup described earlier.
When browsing a marketplace, a few habits save time:
- Check the product description for explicit bleed and safe zone figures rather than assuming every listing includes them.
- Filter by card size first, then confirm the file format matches what your printer or home setup can open.
- If you design your own templates, some designer programs let you list and sell them to other crafters, with support through tutorials on printer settings and bleed.
| What you need | Where to look on Craftsuprint |
|---|---|
| Ready-made bleed templates | Card and download categories |
| Guided card building | Create Your Card Now tool |
| Printer setting help | Tutorials on bleed and printer settings |
| Selling your own designs | Designer marketplace listings |
A practical note from Rob
It catches colour shifts and trim errors that a screen never shows you. Get into the habit of naming files with the version and date, too. “Card_final_v3_150626” saves you from printing the wrong draft, which happens more often than anyone likes to admit.
— Rob
Get your next card template from Craftsuprint
Some platforms give hobby crafters a shortcut past the trial-and-error of building bleed and safe zones from scratch. Instead of setting up InDesign documents or fighting Canva’s lack of native bleed, you can download a template that meets the 3mm bleed and 300 DPI standard, or build one with a card creation tool.

That matters most if you’ve read this far and still feel unsure about getting the specs right on your own. Browse the Create & Craft downloads for ready-made options across sizes and themes, or check the free Create & Craft member gift if you’re new to the site and want to test a template before committing to a full print run. Either way, start by picking a size and letting the file handle the technical side.
Sources
Specs and imposition guidance draw on Master Printing + Mailing, Jukebox, and PDF Press. For bleed setup specific to craft printables, see Craftsuprint’s guide to margins and bleed.
- Business card imposition: layouts, bleed settings & print-ready setup | PDF Press
- How to build a perfect print-ready file: a guide to bleeds and safe zones - Master Printing + Mailing
- Business card layout guide: specs and hierarchy | Jukebox
- How to make a business card print ready | Inkpress
FAQ
What is the standard bleed size for borderless cards?
The standard is 3mm (0.125in) on all four sides, with a matching 3mm safe zone kept clear inside the trim line.
Can I print borderless cards at home?
Yes, though home inkjets handle standard card stock better than heavier premium stock, which tends to cut more cleanly on a professional press.
Why does my printed card have a white edge?
This usually means the file had no bleed built in, or the design elements stopped exactly at the trim line instead of extending 3mm past it.
What file format should I use for print-ready cards?
PDF/X is preferred because it locks fonts, colour profile, and bleed settings, and avoids the RGB and missing bleed issues that cause most printer rejections.
Does Craftsuprint offer templates with bleed already set up?
Yes, Craftsuprint lists downloadable templates built to standard bleed and resolution specs, alongside a card creator tool and tutorials on printer settings.