
Craft Sellers: Fix Blurry Printables in 5 Minutes with 300 PPI
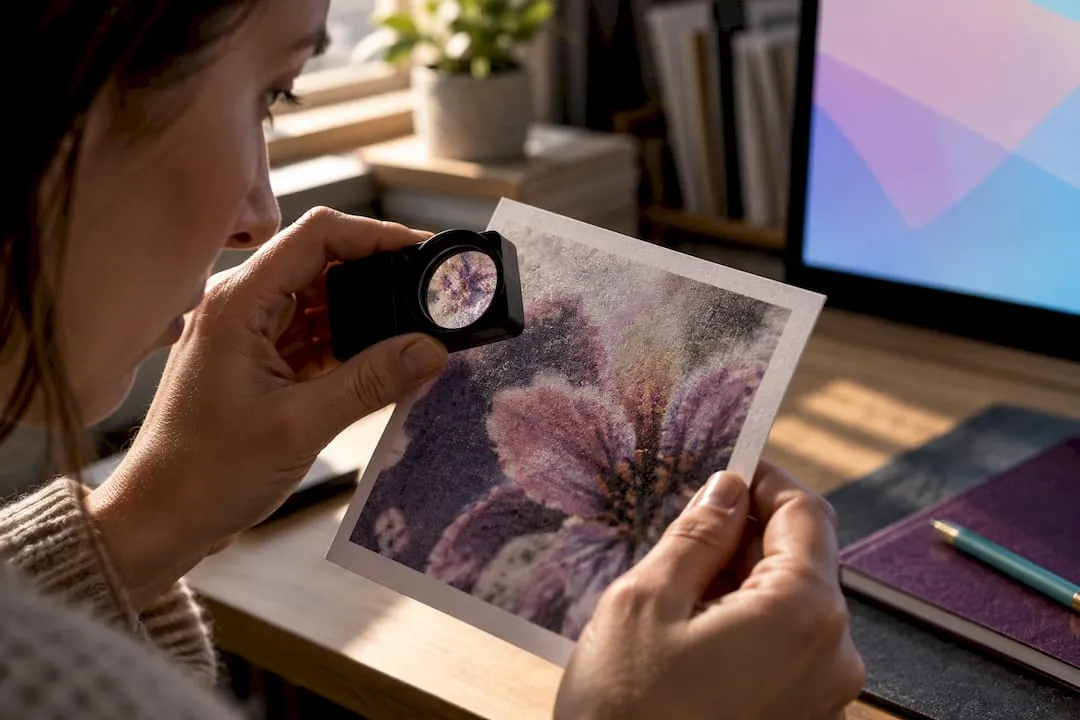
Blurry printables are almost always a pixels-for-size problem, not a printer problem. The fix is to re-export at the correct pixel dimensions (multiply your print size in inches by 300), or replace or carefully upscale the source file when the original is too small. Set the colour profile to sRGB, export as JPEG at quality 95 or above (or PNG for transparency), then inspect the result at 100% before you list or send it.
TL;DR:
- Proper pixel dimensions for print should match the print size in inches multiplied by 300, ensuring sharpness at close viewing distances.
- Re-export from the original source at 300 PPI rather than stretching old images, and consider AI upscaling only for clean line art or illustrations.
- Always inspect images at 100% zoom and order proof prints when color accuracy and fine details are critical to prevent blurry results.
- Use sRGB color profile and export JPEG at quality 95 or higher to avoid compression artifacts that cause blurriness.
- Prepared print-ready files from Craftsuprint are already optimized at 300 PPI and organized by size ratio, reducing the risk of blurry prints and returns.
Table of Contents
- Quick fixes checklist for a blurry printable
- Why does a printable look sharp on screen but blurry when printed?
- Export settings and file choices that prevent blurry prints
- When does AI upscaling actually fix a blurry printable?
- Proofing and delivery: final checks before you send a printable
- Craftsuprint and Rob: practical resources and step-by-step tutorials
- What crafters get wrong about fixing blurry printables
- Prefer ready-made, print-ready files? Browse Craftsuprint’s packs
- Sources
- FAQ
Quick fixes checklist for a blurry printable
Run through this before you touch any settings blindly. Most blur problems trace back to one of four things, and you can usually spot which one in under five minutes.
- Do the pixel maths first. Multiply your target print width and height in inches by 300, then compare that figure against the file’s actual pixel dimensions. A 5×7 print needs pixel dimensions matching its size at print resolution to avoid softness on paper.
- Re-export from the original source if you still have it. Open the master file, set the canvas to the correct size, and export fresh at 300 PPI rather than stretching the existing export.
- If the source is gone, consider AI upscaling as a recovery step, not a first resort. It works better on clean line art than on already-compressed photos.
- Fix the colour and compression settings. Set the profile to sRGB, and export JPEG at quality 95+ or PNG when you need a transparent background. Avoid heavy compression, which introduces its own blur.
- Inspect at 100% zoom and, where colour or fine detail matters, order a small test print rather than trusting the screen. Craftsuprint’s guide on resizing printables correctly walks through the exact steps for step three.
Why does a printable look sharp on screen but blurry when printed?
Screens display images at far lower effective resolution than paper demands, so a file that looks crisp on a 15 inch laptop can fall apart the moment it’s printed at 8×10 inches. The culprit is almost never the printer. It’s the gap between what your monitor is happy to show you and what a print head actually needs to lay down per inch.
Pixel dimensions matter more than the DPI number saved inside the file. A JPEG can carry a “300 DPI” tag and still print blurry if it contains too few pixels, because that tag is an instruction for how densely to pack existing pixels, not a promise of extra detail. Files exported at typical screen defaults of 72 DPI often carry far too few pixels for print, which is exactly why the pixel math for Etsy-style downloads matters more than any metadata field.
The formula is simple: required pixels equal print inches multiplied by 300.
| Print size | Pixels needed at 300 PPI |
|---|---|
| 4×6 inches | a pixel count matching 300 PPI print resolution |
| 5×7 inches | pixel dimensions matching print size at 300 PPI |
| 8×10 inches | pixel dimensions matching print size at 300 PPI |
| A4 (8×11 inches) | pixel dimensions matching print size at 300 PPI |
To check pixel dimensions on Windows, right click the file, choose Properties, then Details. On a Mac, select the file and press Command+I to open Get Info, which lists dimensions under “More Info.” If you’re working from a PDF, converting the page to a JPG and checking that image’s pixel count is the most reliable way to find the effective resolution buried inside a print file. Changing a DPI tag in software without resampling the image does nothing to add missing pixels; it just relabels the same data.
Export settings and file choices that prevent blurry prints
Set your document to the final print size before you export anything, not after. Working at final dimensions and exporting at 300 PPI keeps small and medium printables sharp; 150 PPI is only acceptable for large-format pieces meant to be viewed from a distance, such as posters or banners.
- Use sRGB for anything destined for a home printer or a typical print-on-demand service, since most consumer printers and non-colour-managed apps expect sRGB and will shift colours unpredictably if you hand them CMYK instead.
- If a print lab supplies its own ICC or CMYK profile, soft-proof inside your editor before exporting so you catch colour shifts before the buyer does.
- Export JPEG at quality 95 or higher for full-colour artwork, PNG when you need transparency, and PDF or TIFF only when a lab specifically asks for it.
- Keep compression above roughly 85; drop below that and gradients and thin lines start showing visible blocking.
- Split large multi-size outputs into a ZIP, name files clearly by ratio, and embed accurate DPI metadata so buyers know exactly what they’re opening.
Craftsuprint’s own notes on colour profiles for printables go deeper into soft-proofing if you sell colour-critical designs regularly.
Pro Tip: Build one high-resolution master file at final size, then export every ratio version from that master rather than resizing an already-resized copy each time. It saves you from compounding small quality losses across every product size you sell.
When does AI upscaling actually fix a blurry printable?
Upscaling helps most with clean illustration and clipart, particularly when you’re only enlarging 2 to 4 times from the original. It struggles far more with heavily compressed photos or thin text, where there’s simply not enough information left to reconstruct convincingly.
The safest workflow runs in order: clean up compression artefacts first, run the AI upscale, then inspect the result at 100% before doing any local retouching or final sharpening at print size. Tools built for this, such as Topaz Labs’ image upscaler, can reconstruct plausible detail in low-resolution images, but that word “plausible” is doing a lot of work. Sharpening should always come after resizing, applied gently at the final output size, because sharpening a file before it’s resized to its print dimensions tends to produce visible halos once it’s scaled.
- Good upscaling candidates: line art, flat-colour illustrations, simple clipart.
- Poor candidates: small compressed JPEGs, dense text blocks, fine photographic grain.
- Always check for hallucinated detail. Upscalers invent texture that wasn’t in the original, and it can look wrong under close inspection even when it reads fine at thumbnail size.
If you’re shipping upscaled files at any volume, build a spot-check into your process rather than trusting the first pass. A human glance at 100% catches artefacts an automated batch job will happily ship straight to a customer.
Proofing and delivery: final checks before you send a printable
Zoom to 100% and scroll the whole canvas, not just the thumbnail. Soft edges, JPEG blocking, and banding hide at small preview sizes and show up the moment someone opens the actual file.
- Inspect at true pixel size across every part of the design, corners included, checking specifically for text legibility.
- Order a small proof print, or request a soft proof from your lab, whenever colour accuracy or deep blacks matter to the finished piece.
- Give buyers clear sizing instructions and multiple ratio files so they pick the version that fits their frame rather than stretching one file to guess.
- Keep an export checklist: canvas size, DPI tag, colour profile, file name, format, and quality setting, logged every time.
Craftsuprint’s checklist for fixing dark printables covers a related proofing problem worth checking at the same time, since colour and sharpness issues often surface together.
Craftsuprint and Rob: practical resources and step-by-step tutorials
Craftsuprint’s blog, written by Rob, covers the exact workflows sellers need for resizing, DPI basics, and export settings, step by step rather than in theory. The 300 DPI baseline guide explains when 150 PPI genuinely holds up and when it doesn’t, and the PDF versus JPG breakdown is worth reading if you’re deciding which format to hand buyers, particularly given marketplace file-size limits. Beyond the tutorials, Craftsuprint operates as a marketplace for downloadable printables, with packs organised by size so crafters can find files already built for a specific ratio.
What crafters get wrong about fixing blurry printables
Most advice on this topic jumps straight to software tricks: sharpening filters, “AI enhance” buttons, resolution sliders. That’s backwards. The actual fix is almost always upstream of any editing tool, in whether the file had enough pixels to begin with. No amount of sharpening restores detail that was never captured.
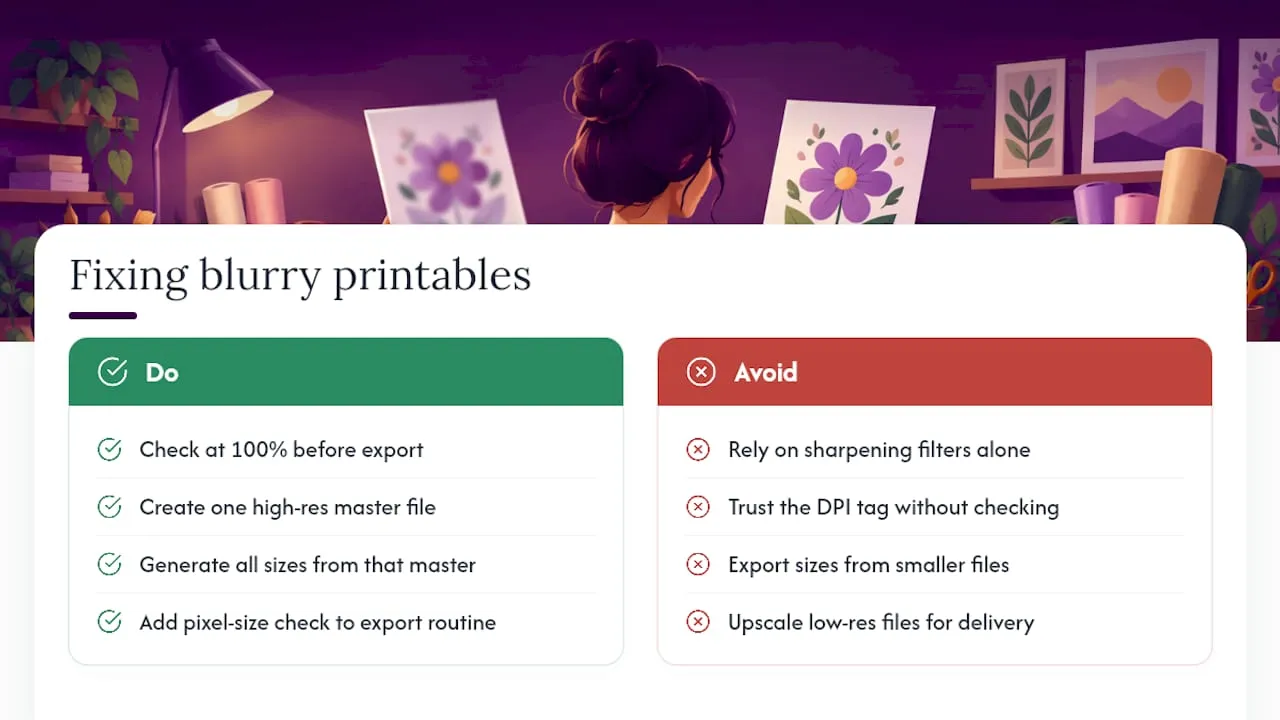
The bit conventional guides skip is the discipline of checking at 100% before anything ships, not after a customer complains. It takes thirty seconds and catches nearly every problem a screen preview hides. Sellers who build that check into their export routine rarely see returns for blur; sellers who trust the DPI tag and move on get the complaints weeks later.
If there’s one priority worth taking from this: build a single high-resolution master file per design, and generate every size from that master rather than stretching a smaller export each time. It’s less glamorous than an upscaling tool, but it’s the difference between fixing blur once and fixing the same complaint every month.
— Rob
Prefer ready-made, print-ready files? Browse Craftsuprint’s packs
Rebuilding a blurry file yourself takes time you might not have, especially mid-order. Downloadable craft packs are often exported at print-ready settings from the start, at 300 PPI and in sRGB, and organised by size ratio so you’re not guessing whether a design will hold up at 8×10 or A4.

That size labelling and export documentation matters more than it sounds. It means fewer returns from buyers who printed something soft, and less time spent troubleshooting pixel counts on a design you didn’t build. Browse the Card Making category for ready-to-print templates, or check Designer Resources if you’d rather work from a pre-exported master and build your own sizes from there. Either route gets you a file that’s already been through the resolution checks this guide just walked you through.
Sources
For deeper reading on export settings, colour space, and file checks, see the digital art export guide, Printful’s RGB versus CMYK explainer, and Topaz Labs’ upscaling tool.
- Should I use RGB or CMYK for Printful print files
- Topaz Labs — Image Upscale
- How to check DPI of PDF
FAQ
Why does my printable look fine on screen but blurry when printed?
Your screen displays far fewer pixels per inch than a printer needs, so a file with too few pixels for its intended size looks sharp on a monitor but soft on paper. The fix is checking actual pixel dimensions against the required pixel count for your print size, not trusting the on-screen preview.
What resolution do printables need to print sharp?
Most printables need 300 pixels per inch at the final print size for close-up viewing, calculated as inches multiplied by 300. Large-format pieces viewed from a distance can get away with around 150 PPI, as export guidance for digital art confirms.
Can I fix a blurry printable without the original file?
Yes, within limits.
Should I use JPEG or PNG for printable exports?
Use JPEG at quality 95 or higher for full-colour artwork, and PNG when the design needs a transparent background. Craftsuprint’s PDF versus JPG guide covers when a PDF makes more sense for marketplace delivery.
Does Craftsuprint sell print-ready printables?
Yes, Craftsuprint’s downloadable packs, including its Card Making and Paper Craft categories, are exported at print-ready settings and organised by size ratio. Current prices for individual packs are listed on the site.