
10 creative DIY card kit examples for craft enthusiasts
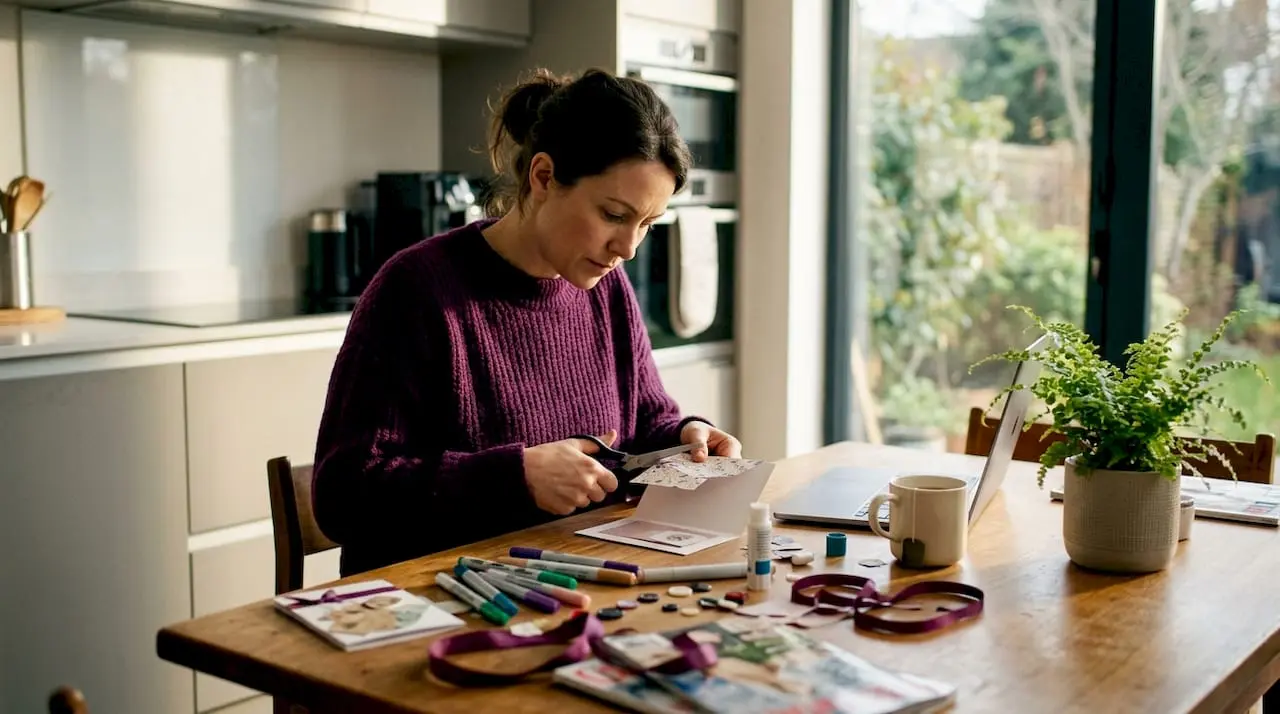
Choosing the right DIY card kit can feel overwhelming when you are surrounded by so many options, from simple printable templates to elaborate pop-up mechanisms. Whether you are crafting a single heartfelt birthday card or producing a batch of festive greetings, the kit you choose shapes everything: the time you spend, the skills you develop, and the final result. Printable card kits in particular have transformed home crafting by offering endless customisation without the need for specialist tools. This article walks you through ten creative examples across five key categories, helping you match the right kit to your goals, your budget, and your skill level.
Table of Contents
- DIY card kit selection criteria
- Classic printable card kits
- Interactive and pop-up DIY card kits
- Mixed media and embellishment DIY card kits
- Budget and bulk DIY card kits
- Our perspective: Why kit choice truly shapes your creative results
- Discover and download your next DIY card kit
- Frequently asked questions
Key Takeaways
| Point | Details |
|---|---|
| Personalisation power | Printable DIY card kits make it easy to create unique, customised cards for any occasion. |
| Interactive options | Pop-up and slider kits add movement and surprise, taking handmade cards to the next level. |
| Variety of kits | From bulk-friendly to mixed media kits, there is an option for every crafter and budget. |
| Selection criteria | Choosing by materials, complexity, and personalisation ensures the most rewarding crafting experience. |
DIY card kit selection criteria
Having set the stage for creative opportunities, let’s pinpoint what matters most when choosing a DIY card kit. Getting this right from the start saves you money, frustration, and wasted materials.
Base material is your first consideration. Most kits use either cardstock or standard printer paper. Cardstock (typically 200gsm or heavier) gives cards a professional, sturdy feel and holds embellishments well. Thinner paper suits layered or decoupage styles but can feel flimsy as a standalone card base. Always check the recommended paper weight before purchasing a kit, especially if you plan to print at home.
Included embellishments vary enormously between kits. Some offer bare-bones templates that you decorate entirely yourself. Others include ribbons, brads, foam pads for dimension, or pre-cut die-cut shapes. For beginners, a kit with more included elements reduces the need to source additional supplies separately.
Interactive elements such as pop-up mechanisms, sliders, or gatefold folds add wow factor but also add complexity. These are brilliant for experienced crafters who want a showstopper result, but they can frustrate newcomers if instructions are unclear.
Here are the key factors to evaluate before buying any kit:
- Occasion suitability: Does the kit include themes for birthdays, Christmas, thank you cards, or weddings?
- Skill level: Is the kit labelled as beginner, intermediate, or advanced?
- Customisation options: Can you change colours, fonts, or sentiments in a digital file?
- Print-at-home compatibility: Does the kit specify ink and paper requirements?
- Kit versatility: Can one kit produce multiple card variations or just a single design?
- Budget: Are you paying for a one-time download or a physical kit with consumables?
Occasion suitability matters more than many crafters realise. A generic floral template might work for birthdays and thank you cards, but it will look out of place on a Christmas card. Look for kits that either focus on one occasion with depth or offer a themed collection covering several events.
Pro Tip: Before committing to a new kit style, download a free sample or freebie from the designer first. Many designers on card making downloads offer taster files so you can test the print quality and assembly process before spending money on a full kit.
Budget deserves careful thought too. A £2 printable download that yields twenty cards is exceptional value compared to a £15 physical kit that produces only five. Calculate your cost per card, not just the upfront price, to get a true picture of value.
Classic printable card kits
With criteria in mind, let’s see how classic printable kits meet these needs. These are the workhorses of the card making world, and for good reason.
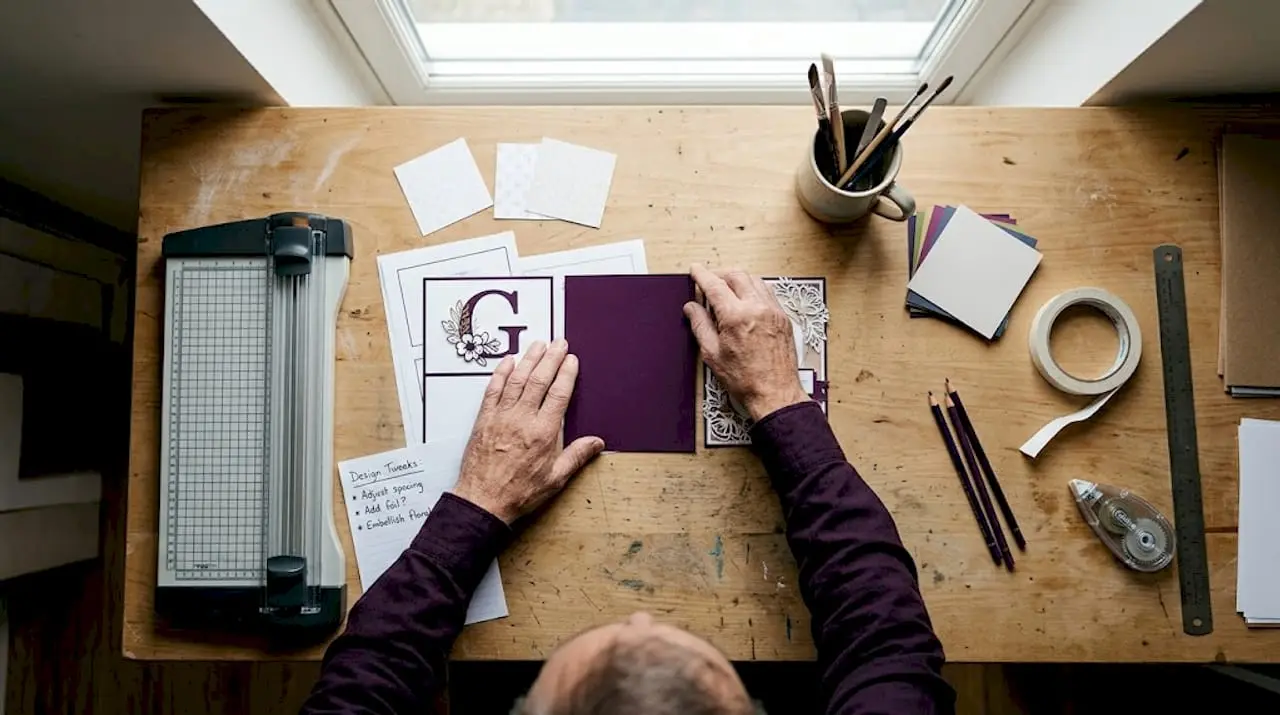
Classic printable kits typically include layered templates designed for folding, decoupage, or flat assembly. You print the sheets, cut along marked lines, and layer the pieces to build a finished card. The result can look remarkably professional with very little specialist equipment.
Here is a step-by-step overview of how most classic printable kits work:
- Download and open the file in a PDF viewer or image editor.
- Customise if the file allows it by changing text, colours, or sentiments.
- Print onto your chosen cardstock at the recommended size, usually A4 or letter.
- Cut out each layer using scissors or a craft knife and cutting mat.
- Score and fold the base card along marked lines for a crisp finish.
- Layer and adhere the printed pieces using foam pads or adhesive for dimension.
- Add any finishing touches such as gems, ribbon, or a handwritten sentiment.
The beauty of printable kits is their flexibility. You can print multiple copies for bulk projects, resize elements slightly to fit different card formats, and mix pieces from different kits to create something entirely unique. This makes them ideal for group crafting sessions, school projects, and charity card drives.
“Printable kits are genuinely one of the most democratic tools in card making. A beginner can produce a polished result on their first attempt, while an experienced crafter can use the same template as a jumping-off point for something far more elaborate.” This insight reflects what many crafters discover after experimenting with both physical and digital kits.
Fonts and colour choices within editable printable files give you control that physical kits simply cannot match. Want to change a red Christmas design to a gold and navy palette? With an editable PDF or layered file, that takes minutes. This level of personalisation is why so many crafters return to card kit projects again and again for seasonal and occasion-based designs.
Pro Tip: Print a test page on plain printer paper before committing to your good cardstock. This lets you check sizing, colour accuracy, and cutting lines without wasting expensive materials.
Interactive and pop-up DIY card kits
Beyond classics, interactive kits elevate crafting with movement and surprise. These kits are the ones that make recipients gasp when they open an envelope.
The most popular interactive mechanism right now is the slider pop-up.
Key components you will typically find in an interactive kit:
- Pre-scored cardstock strips ready for wrapping and gluing
- Decorative focal elements such as die-cut flowers, layered butterflies, or sentiment banners
- A sturdy card base sized to accommodate the internal mechanism
- Step-by-step photographic instructions showing each fold and glue point
- A belly band template for securing the finished card
Here is a quick comparison of interactive kit types to help you decide which suits your project:
| Kit type | Complexity | Visual impact | Best for |
|---|---|---|---|
| Slider pop-up | Intermediate | Very high | Birthdays, anniversaries |
| Gatefold | Beginner | High | Weddings, special occasions |
| Tunnel card | Advanced | Very high | Showcasing scenes |
| Shaker card | Beginner to intermediate | High | Children, novelty gifts |
| Accordion fold | Beginner | Medium | Photo cards, travel themes |
Interactive kits consistently rank among the most sought-after options for gift-giving occasions, precisely because the mechanism transforms a flat piece of card into a memorable experience. The recipient is not just reading a message; they are interacting with something you built. That tactile, surprising quality is very difficult to replicate with a standard flat card.
Sourcing quality pop-up card supplies that include clear instructions is essential for these kits. Vague or poorly photographed guides are the single biggest reason crafters give up on interactive designs mid-project.
Mixed media and embellishment DIY card kits
Interactivity aside, embellishment-focused kits encourage artistry and experimentation. These kits appeal to crafters who want to move beyond clean, graphic designs and into something more tactile and layered.
Mixed media kits typically combine printable elements with physical embellishments. You might print a background sheet, then layer hand-torn tissue paper, apply texture paste through a stencil, add ribbon, and finish with layered die-cut flowers. The result has depth and dimension that purely digital designs cannot achieve.
Common embellishment types found in mixed media kits include:
- Layered die-cuts in coordinating colours for flowers, leaves, or geometric shapes
- Ribbon and twine for tying bows or wrapping around card fronts
- Texture paste or embossing powder for raised, tactile surfaces
- Washi tape for borders and decorative accents
- Sequins, gems, and pearls for sparkle and focal points
Here is a summary of popular kit types and their embellishment features:
| Kit type | Key embellishments | Skill level | Typical occasions |
|---|---|---|---|
| Decoupage layering | Printed layers, foam pads | Beginner | All occasions |
| Ribbon and bow | Ribbon, printed base | Beginner | Birthdays, weddings |
| Mixed media art | Texture paste, die-cuts, ink | Advanced | Artistic gifts |
| Botanical layered | Die-cut florals, leaves | Intermediate | Spring, sympathy |
| Geometric modern | Washi tape, bold prints | Beginner | Contemporary events |
The real advantage of embellishment-heavy kits is the sensory quality of the finished card. A card with a velvet ribbon, raised embossing, and layered florals communicates effort and care in a way that even the most beautifully printed flat card cannot. Recipients notice the difference immediately.
Sourcing versatile craft supplies that coordinate with your chosen kit ensures a cohesive finished result. Mismatched embellishment colours or incompatible textures are the most common pitfall with mixed media projects, so always check that your physical materials complement the printed palette before you begin.
Budget and bulk DIY card kits
For those seeking value or needing to craft in quantity, budget kits deliver efficiency and practicality. These are the kits designed for producing ten, twenty, or even fifty cards from a single download.
Bulk card making is common for Christmas card lists, party favour tags, wedding table cards, and charity fundraising events. The key to success with bulk kits is choosing designs with minimal steps and repetitive assembly so that you can work in a production-line rhythm.
Here is how to approach a bulk card-making session effectively:
- Choose a kit with three layers or fewer to keep assembly fast and consistent.
- Print all sheets in one session to ensure colour consistency across your batch.
- Cut all pieces before you start adhering anything, sorting them into piles by layer.
- Set up a production line with adhesive, base cards, and layers in separate stations.
- Add any personalisation last such as names, dates, or handwritten messages.
- Package cards as you finish to avoid mixing up completed and incomplete pieces.
Budget kits for birthdays, thank you cards, and festive themes are particularly well suited to this approach. Simple designs with bold graphics and minimal fussy cutting produce a polished result quickly. Many crafters find that a clean, well-designed budget kit outperforms an overly complicated premium kit when time is limited.
Pro Tip: When sourcing bulk card kits, look for designers who offer multi-occasion bundles. A single purchase covering birthdays, Christmas, and thank you themes gives you maximum versatility from one transaction, reducing both cost and the time spent searching for individual kits.
Group crafting sessions benefit enormously from bulk kits. When ten people are assembling cards together, a simple three-step kit keeps everyone moving at the same pace. Complex kits with many fiddly stages cause bottlenecks and frustration in group settings, so always prioritise ease of assembly when planning a crafting event.
Our perspective: Why kit choice truly shapes your creative results
After exploring diverse kit options, it is worth reflecting on what truly shapes an enjoyable and successful card-making experience. The honest answer is this: most crafters underestimate how much the kit itself determines the outcome, independent of their own skill level.
We have seen this pattern repeatedly. A talented crafter picks up a poorly documented interactive kit, struggles with the mechanism, and concludes that pop-up cards are too difficult. Meanwhile, a complete beginner follows a clear, well-structured printable kit and produces something genuinely beautiful on their first attempt. The kit, not the crafter, was the deciding variable.
Our contrarian advice is to start simpler than you think you need to. Master a classic printable kit first. Understand how paper behaves, how layers build up, and how adhesive placement affects the finished look. Then, when you step up to an interactive mechanism like the slider pop-up technique, you already have the foundational knowledge to troubleshoot problems.
Interactive kits genuinely offer the highest impact for gifting, but they require patience and good instructions. Tutorials and community resources, including the expert tutorials available through dedicated craft platforms, make an enormous difference to your success rate with complex kits. Never attempt a new mechanism without watching or reading a guide first.
The crafters who get the most from their kits are not necessarily the most skilled. They are the ones who match kit complexity to their current confidence level, invest in good quality materials, and use community knowledge to fill in the gaps. That mindset, more than any individual kit choice, is what produces consistently satisfying results.
Discover and download your next DIY card kit
Ready to bring your creative vision to life? Whether you are drawn to classic printable designs, interactive pop-up mechanisms, or richly embellished mixed media creations, the right starting point is a well-stocked, well-organised library of options.
At Craftsuprint, you will find an extensive collection of card kit downloads spanning every occasion, skill level, and style. Browse themed mini kits, seasonal collections, and designer bundles, all available as instant digital downloads. Alongside the kits themselves, you will find community tutorials, weekly freebies, and a supportive network of fellow crafters to inspire your next project. Start with a style that excites you, and let the making begin.
Frequently asked questions
What is included in a DIY card kit?
Most DIY card kits feature base card sheets, design templates, embellishments, instructions, and sometimes digital printables for customisation. The exact contents vary by kit type and price point, so always check the product description before purchasing.
How do slider pop-up card kits work?
Slider pop-up kits use scored cardstock strips wrapped around a base and glued inside, creating 3D elements that slide and pop up when the card is opened. A belly band around the outside secures the card and prevents the mechanism from triggering inside the envelope.
Are printable card kits suitable for beginners?
Yes, printable kits often include easy-to-follow instructions and pre-designed templates, making them ideal for those new to card making. Many platforms also offer free sample files so beginners can test a kit before committing to a purchase.
What are the advantages of bulk DIY card kits?
Bulk kits save time and money by offering simpler assembly for multiple cards, which is perfect for group crafting or frequent occasions. Working in a production-line approach with a minimal-step kit allows you to produce large batches quickly without sacrificing quality.